Ergonomic Sitting Wall Proportions & Standards
Outdoor masonry seat walls bridge hardscape boundaries and casual entertaining. Building an ergonomic bench requires balancing vertical sitting heights, horizontal cap widths, and adult clearance tolerances per American Society of Landscape Architects (ASLA) recommendations.
Measured from finished patio pavers to top of capstones. Heights below 17″ cause knee bending fatigue, while heights above 22″ leave feet dangling. If 2″ high-density foam cushions are planned, build the core to 16″.
Single-sided retaining seat walls require at least 12″ depth. Freestanding double-sided walls work best with 14″ to 16″ bullnose caps, allowing guests to pivot, perch drinks, or recline comfortably.
Allocate 24 linear inches (2 feet) of wall per seated adult for casual dining, or 30 inches per person for spacious lounge arrangements around fire pits and outdoor cooking centers.
Double-Sided Wall Blocks vs. Standard Cinder Blocks
Unlike soil-retaining walls that hide their back face against an earth embankment, freestanding patio sitting walls expose both sides to view. Selecting the proper masonry unit determines labor, stability, and aesthetics:
Engineered with split-face architectural texturing on both opposing faces. Units feature tapered sides for constructing curves, integrated alignment pins or lips, and dry-stack construction without wet mortar joints.
Smooth 8×8×16 grey hollow concrete masonry units require full Type S mortar bedding and an exterior finish (natural stone veneer, stucco parging, or brick facing) on both sides to conceal raw block faces.
Curved Bench Geometry & Fire Pit Clearances
Curved sitting walls naturally frame circular patio fire pits and radial flagstone patios. When laying out radial seat walls, balance radiant heat clearance with conversational sightlines:
Fire Pit Radius & Comfort Clearances
- Optimal Fire Pit Spacing: Maintain 48 to 60 inches (4 to 5 feet) of clear legroom between the outer coping of a 36-inch fire pit and the inside face of the curved seat wall.
- Bench Centerline Radius: For a 36-inch fire pit with 4.5 feet of walk space and an 8-inch deep block, set your radius stake at the center of the pit and scribe a 6.5 to 7.0-foot arc radius.
- Minimum Arc Radius: Factory tapered trapezoidal blocks have a manufacturer-specified minimum curve radius (typically 3 to 6 feet). If an arc is tighter than the block limit, saw-cut block tails with a masonry diamond blade.
Gravel Base Trenching & Freeze-Thaw Stability
Sitting walls under 24 inches in height do not require deep poured concrete footers unless soil conditions or local building departments specifically mandate them. A properly compacted aggregate trench base accommodates minor seasonal ground heaving without structural cracking:
Excavate 6″ deep and 18″ wide (at least 6″ wider than block depth) to support the base course symmetrically.
Install 4″ to 6″ of dense-grade aggregate (crusher run or #57 crushed limestone) compacted in 2″ lifts to 95% Standard Proctor density.
Bury the first course of blocks 2″ to 3″ below finished patio grade to prevent lateral sliding under adult shifting weight.
Step-by-Step Seat Wall Construction Guide
Layout Bench Run & Establish Arc Radius Stake
Drive a center wooden stake at the fire pit pivot point or patio perimeter. Attach a non-stretching nylon string line marked to the desired radius. Scribe the inner and outer trench boundaries using marking spray paint.
Excavate & Compact Dense Aggregate Base Trench
Dig a trench 6 inches deep and 18 inches wide along the painted arc. Line the trench with non-woven geotextile fabric. Fill with 4 to 6 inches of crushed gravel base (ASTM D2940) and tamp thoroughly with a plate compactor.
Bed & Level the Sub-Grade Starter Course
Set the first course of blocks directly on the compacted gravel bed, embedding at least 2 inches below finished grade. Use a torpedo level and 4-foot level to verify each block is dead-level front-to-back and side-to-side.
Stack Interlocking Double-Sided Wall Courses
Stagger vertical joints by one-half block length on subsequent courses (running bond). For curved benches, alternate tapered blocks or trim block ears with a masonry chisel so the front and back seams close tightly without gaps.
Glue Bullnose Capstones with Exterior Polyurethane
Dry-fit all coping caps with a 1.5-inch comfort overhang on both front and back. Apply two continuous 1/4-inch zigzag beads of high-strength exterior polyurethane masonry adhesive (ASTM D3498) atop the top block course and firmly press each cap into place.
Frequently Asked Questions
What is the standard ergonomic height for a patio seat wall?
The standard ergonomic height for an outdoor patio seat wall is 18 to 21 inches from finished grade to the top of the capstone. This matches standard dining chair and bench heights. If 2-inch outdoor seat cushions are planned, build the masonry core to 16 to 18 inches so the final compressed sitting height remains comfortable.
How many people can sit on a patio seat wall?
Landscape design standards allocate 24 to 30 linear inches (2.0 to 2.5 feet) of bench length per seated adult. A 15-foot straight patio wall comfortably seats 6 to 7 adults, while a 20-foot curved fire pit bench accommodates 8 to 10 adults with comfortable elbow room.
How do you calculate blocks for a curved seat wall around a fire pit?
Curved seat walls require double-sided tapered or wedge blocks designed to form continuous arcs without visible gaps. Calculate the arc length along the centerline, then add a 5% to 10% curve waste allowance for joint alignment cuts. For a 10-foot radius arc, standard 12-inch wide tapered units create a smooth perimeter without open rear gaps.
Do patio seat walls require a poured concrete footing?
Freestanding sitting walls under 24 inches tall do not require a poured concrete foundation. Instead, excavate a trench 6 inches deep and 18 inches wide, line it with geotextile fabric, and compact 4 to 6 inches of crushed #57 or dense-grade gravel aggregate (ASTM D2940). This flexible base prevents frost heave damage.
Should seat wall capstones be glued with adhesive or mortared?
Bullnose coping capstones should be secured with heavy-duty polyurethane masonry adhesive (such as Loctite PL Premium or SRW adhesive) rather than rigid mortar. Polyurethane construction adhesive remains flexible during thermal expansion and freeze-thaw cycles, preventing the hairline cracking and loose caps common with mortar beds.
Popular Quick Estimates
Illustrative takeoffs with stated assumptions; verify project quantities
Cinder Blocks for a 10x10 Wall: Exact Count & Mortar Math
Standard residential yard & garden wall run
20x20 Wall Estimate
Large perimeter enclosure or garage structure
Retaining Wall Budget
Illustrative budget range; replace with local quotes
Crawlspace Stem Wall
Course-height example; footing design is site-specific
Related Calculators
Specialized tools for foundation, core fill, and budgeting
Cost per square foot, material prices and excavation budget
Straight and multi-wall runs with mortar and waste allowances
Estimate block quantities; structural design is separate
Installed cost per square foot and full budget forecast
Blogs & Construction Guides
Practical guides to block sizing, material estimates and project planning
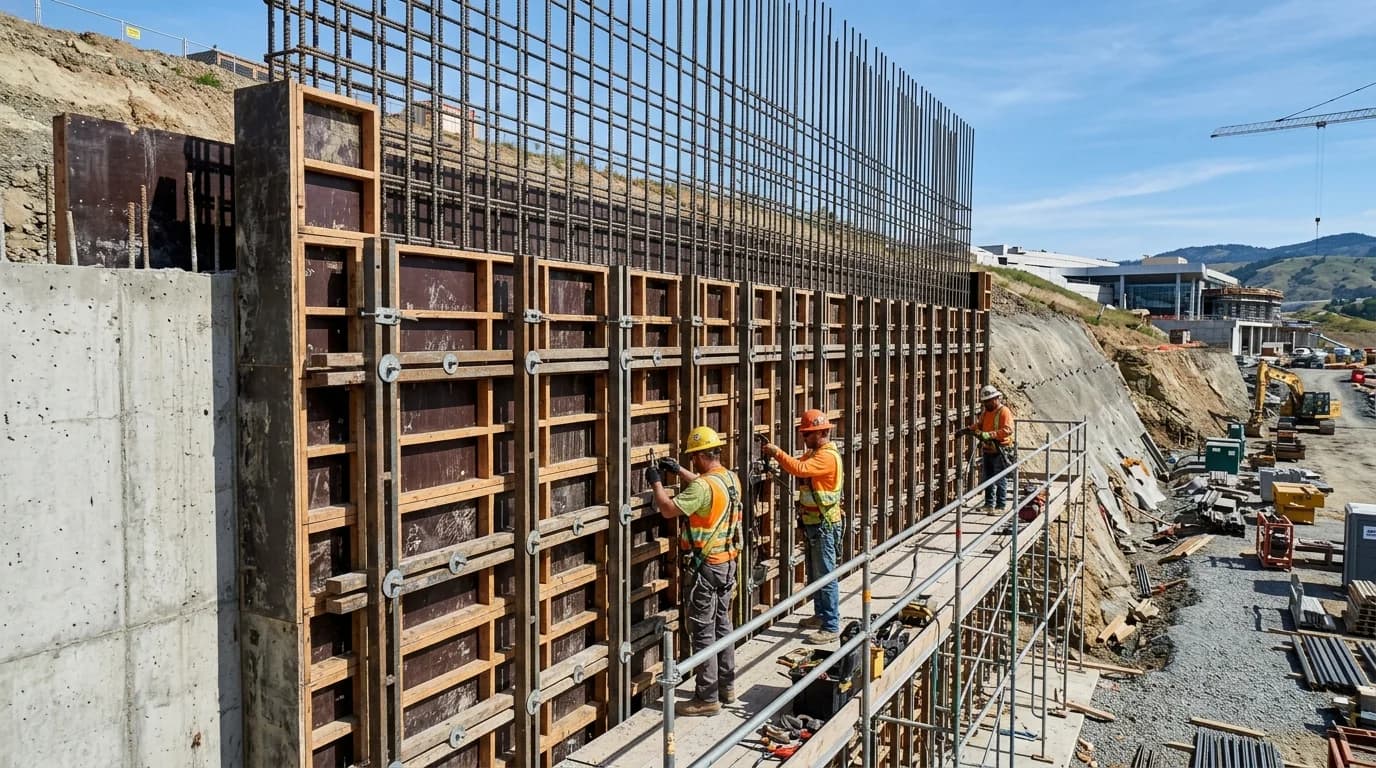
How to Build a Poured Concrete Wall: Forms & Rebar Guide
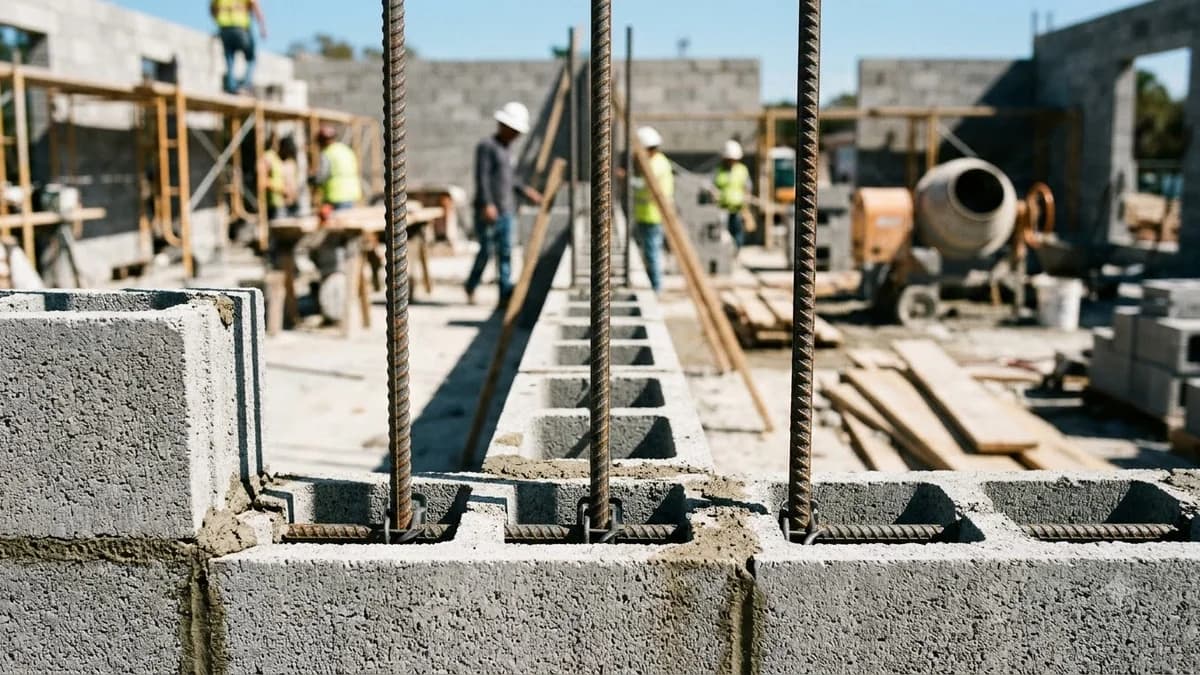
Rebar Spacing for Cinder Block Walls: IRC Code
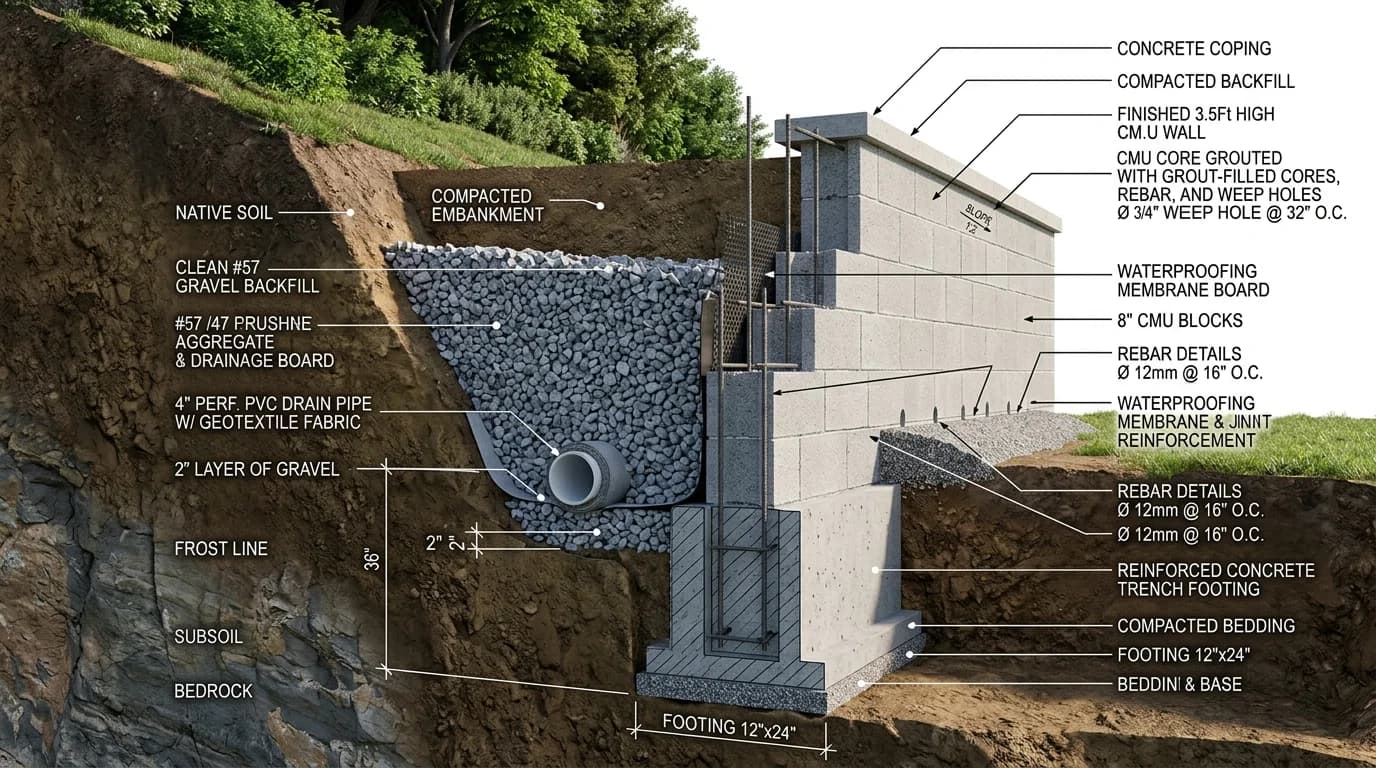
How to Build a Cinder Block Retaining Wall Step-by-Step