1. The Three Slump Profiles: True Slump, Shear, and Collapse
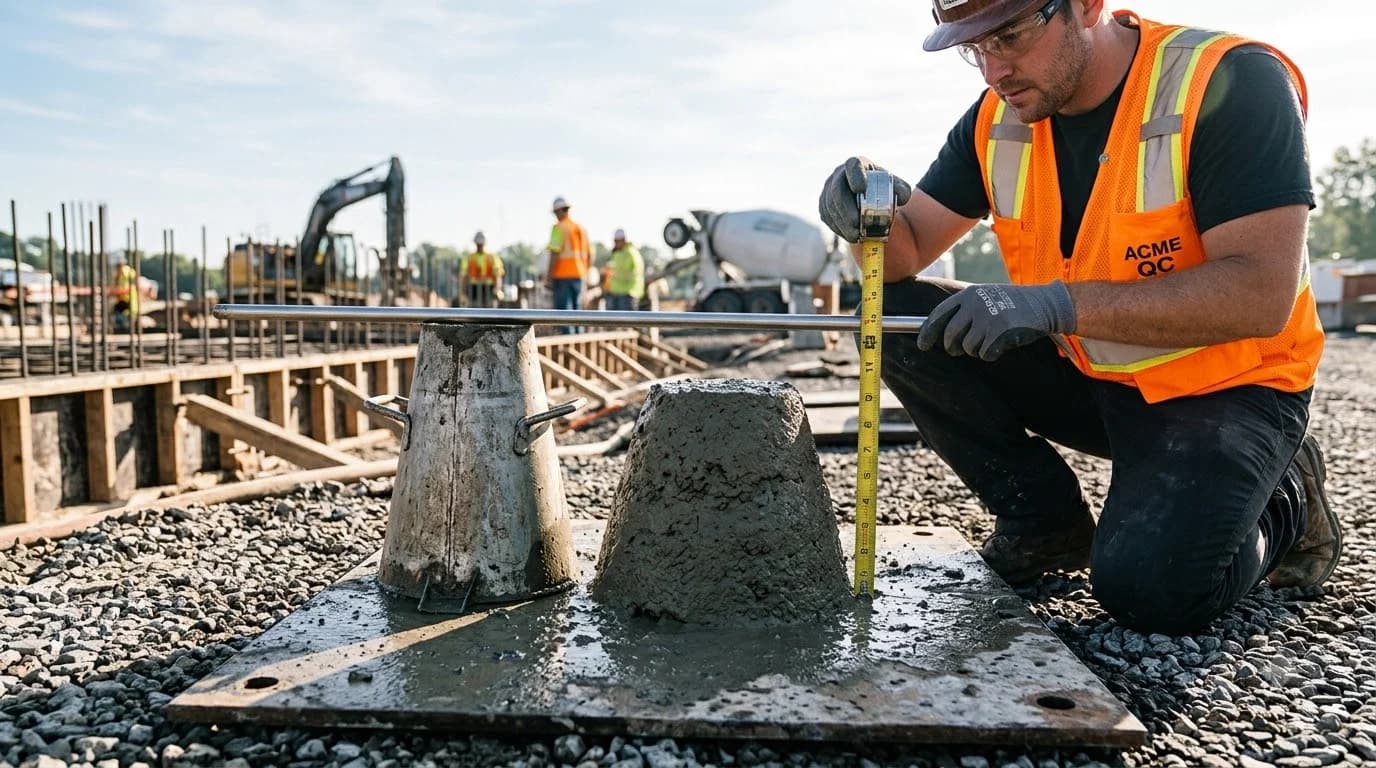
When the slump cone is inverted alongside the subsided concrete mass, the technician evaluates the geometric behavior of the sample:
1. True Slump (Valid)
The concrete subsides uniformly and symmetrically, maintaining its overall conical profile. Measure the vertical distance between the top of the mold and the displaced original center of the top surface to the nearest 1/4 inch.
2. Shear Slump (Invalid)
A portion of the top half cleaves and slides off diagonally along an inclined shear plane. This indicates a harsh, non-cohesive mix. The test is invalid and must be immediately repeated with a fresh sample.
3. Collapse Slump (Rejection)
The concrete completely flattens into a puddle. This indicates an excessive water-cement ratio (w/c > 0.70) or severe aggregate segregation. The batch fails ASTM C94 criteria and should be rejected.
2. Master Slump Specification Table by Structural Element
According to American Concrete Institute guidelines (ACI 211.1 and ACI 301), target slumps vary based on placement methods and structural geometry:
| Structural Application | Min Slump | Max Slump | Target w/cm | Primary Consolidation Method |
|---|---|---|---|---|
| Mass Concrete & Gravity Dams | 1.0" | 2.0" | < 0.40 | Heavy high-cycle internal immersion vibrators |
| Plain Concrete Footings & Caissons | 1.0" | 3.0" | 0.50 – 0.55 | Mechanical spud vibration / tamping |
| Reinforced Foundation Walls | 3.0" | 5.0" | 0.45 – 0.50 | Internal pencil vibrator + form tapping |
| Residential Driveways, Slabs & Patios | 4.0" | 5.0" | 0.45 | Vibratory screed / bull floating |
| Pumped Concrete (Line Pump) | 5.0" | 6.5" | 0.42 – 0.45 | Hydraulic line pump with water-reducing admixtures |
| Self-Consolidating Concrete (SCC) | 20" – 28" Slump Flow Spread | < 0.40 | Zero vibration required (Self-leveling) | |
3. Step-by-Step ASTM C143 Testing Protocol
Follow the strict procedural standards established by ASTM C143 and AASHTO T 119:
- Dampen Equipment & Secure Base: Moisten the inside of the cone and the non-absorbent rigid base plate. Stand firmly on the two foot pieces to lock the mold securely against the ground.
- Fill in Three Volumetric Layers: Do not fill by equal height! Because of the conical taper, fill layer 1 to approximately 2-5/8 inches deep, layer 2 to 6-1/8 inches deep, and overfill layer 3 above the rim.
- Rod Each Layer 25 Times: Use a 5/8-inch rounded bullet-tip tamping rod. Distribute strokes evenly in a spiral pattern. For layers 2 and 3, penetrate roughly 1 inch into the underlying layer.
- Strike Off the Top Surface: Roll the tamping rod across the rim in a sawing motion to screed concrete perfectly level with the top of the mold. Clean away spilled excess concrete from around the base.
- Lift the Mold in 5 Seconds: Step off the foot pieces and raise the mold vertically in a steady, smooth upward motion taking 5 ± 2 seconds. Never rotate, twist, or tilt the cone sideways.
- Measure Subsidence: Invert the cone next to the slumped concrete. Lay the tamping rod horizontally across the top of the inverted mold, and measure down to the displaced original center point to the nearest 1/4 inch.
4. Five Fatal Mistakes That Invalidate Slump Tests
1. Testing on an Unstable or Vibrating Base
Performing a slump test on loose dirt, bouncy plywood, or within 15 feet of an idling diesel mixer causes ground vibrations that collapse the concrete cone prematurely, skewing results.
2. Twisting the Cone While Lifting
Twisting or rocking the mold breaks the internal aggregate interlock, inducing an artificial shear failure that invalidates the test.
3. Taking Longer Than 2.5 Minutes
In hot dry weather, cement begins rapid chemical hydration immediately. Exceeding the 2.5-minute time limit results in false low slump readings due to moisture loss.
4. Adding Chute Hose Water to "Fix" Slump
Crews often add 10 gallons of water to make stiff concrete pour easily. Adding water weakens compressive strength, increases shrinkage cracking, and causes surface delamination.
5. Superplasticizers: Achieving High Slump Without Weakening Concrete
When a structural element requires a fluid 7-inch slump (e.g. densely reinforced foundation footings or pump lines), modern ready-mix suppliers utilize ASTM C494 Type F/G polycarboxylate superplasticizers:
- Molecular Electrostatic Dispersion: Polycarboxylate molecules coat individual cement particles with negative charges. Like identical magnetic poles, the particles push apart, releasing trapped water to flow freely.
- Zero Strength Penalty: A superplasticized mix can achieve a liquid 8-inch slump with a low 0.40 water-cement ratio, yielding over 5,000 PSI compressive strength with effortless placement.
6. ASTM C1611 Slump Flow: Testing Self-Consolidating Concrete (SCC)
When working with ultra-fluid self-consolidating concrete (SCC), traditional vertical slump subsidence cannot be measured because the concrete flattens completely. Instead, ASTM C1611 measures horizontal radial spread:
Slump Flow Diameter
The inverted or upright cone is lifted without rodding. Technicians measure the maximum spread diameter across two perpendicular axes; target specifications range from 20 to 28 inches.
T50 Viscosity Timing
A stopwatch records the elapsed time required for the concrete spread circle to reach 20 inches (50 cm) in diameter. A T50 time between 2 and 5 seconds indicates optimal viscosity.
Visual Stability Index (VSI)
The edge of the concrete patty is visually inspected on a 0 to 3 scale. A VSI of 0 indicates zero bleeding or aggregate ring separation; a VSI > 1 indicates unacceptable segregation.
Frequently Asked Questions
What is the ideal concrete slump for pouring a residential slab or driveway?
A 4-inch to 5-inch slump (100 to 125 mm) is the North American industry standard for residential flatwork. It provides sufficient fluidity to consolidate around wire mesh and screed easily without inducing excessive bleed water or aggregate segregation.
Can a contractor add water to the ready-mix truck on site to increase slump?
Under ASTM C94 Section 12.7, wash water can only be added once upon immediate arrival if the measured slump is below project specifications, provided the structural engineer's maximum water-cement ratio is not exceeded. The drum must then be rotated for at least 30 revolutions at mixing speed. Adding water beyond this limit permanently decreases compressive strength by roughly 200 PSI per gallon per yard.
What is the difference between a true slump, shear slump, and collapse slump?
A true slump subsides evenly and symmetrically, maintaining its overall conical shape (valid test). A shear slump breaks off diagonally along an inclined shear plane, indicating harshness or lack of cohesion (invalid test; must be discarded and repeated). A collapse slump flattens completely into a liquid puddle, indicating excessive water or segregated aggregate (grounds for batch rejection).
How long do you have to perform an ASTM C143 slump test?
Under ASTM C143 guidelines, the entire slump test—from filling the first layer to measuring the final subsidence—must be completed without interruption within 2.5 minutes of obtaining the representative field sample. Lifting the cone must take precisely 5 plus or minus 2 seconds.
How do superplasticizers increase slump without weakening concrete?
High-range water reducers (HRWR / polycarboxylate superplasticizers conforming to ASTM C494 Type F) neutralize electrostatic charges on cement grains. Instead of clumping together and trapping water, the cement particles disperse and repel each other. This increases slump from a stiff 2 inches to an ultra-fluid 8 inches without adding any water, preserving full 5,000+ PSI compressive strength.
Building Codes & Primary Standards Cited
Standard Test Method for Slump of Hydraulic-Cement Concrete
The authoritative North American test standard for measuring fresh concrete consistency.
Standard Method of Test for Slump of Hydraulic Cement Concrete
State Department of Transportation testing manual for highway and bridge deck slump verification.
Standard Practice for Selecting Proportions for Normal, Heavyweight, and Mass Concrete
Establishes slump tolerances and water-cementitious materials ratios across structural classes.
Standard Specification for Ready-Mixed Concrete
Regulates jobsite batch water adjustments, drum revolution limits, and delivery acceptance criteria.
Estimations adhere to standard North American modular 3/8-inch mortar joint physics and 5% to 10% material waste factors. Local municipal building inspectors, stamped architectural blueprints, and local frost depth requirements supersede general reference guidelines.
Popular Quick Estimates
Pre-engineered takeoffs & benchmarks matched to this project
Related Calculators
Specialized tools for foundation, core fill, and budgeting
Cubic yards, bags, and slab volume for flatwork and footings
Heavyweight structural blocks and bond beam units
Core grout volume in cubic yards and 80-lb pre-mix bags
Cell fill requirements for low-lift and high-lift grouting
Blogs & Construction Guides
Technical articles, IRC code standards, rebar schedules & freight logistics
How to Mix Concrete by Hand: Wheelbarrow Water Ratio
How to Cure Concrete: Wet Curing vs Curing Compounds
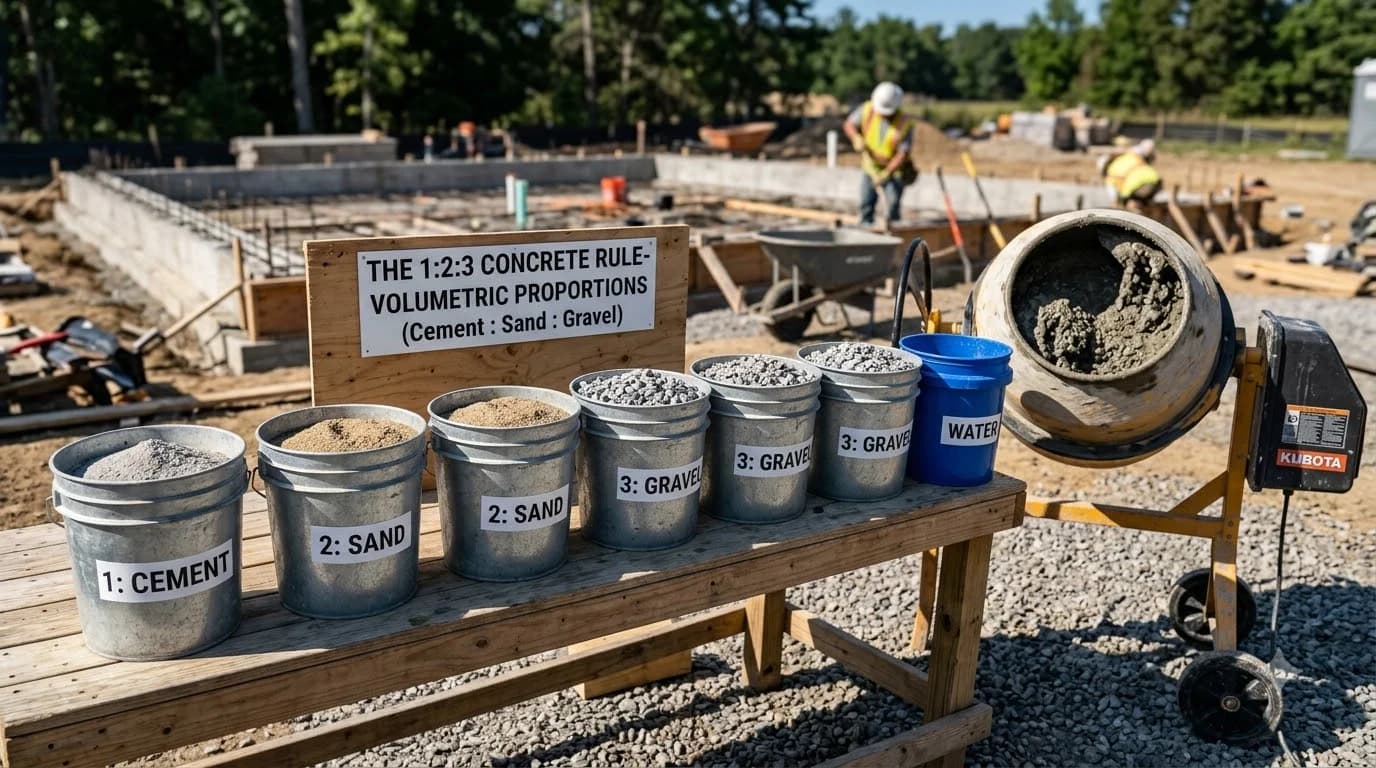
Concrete Mix Ratios: The 1-2-3 Cement Proportion Formula