1. IRC Code Stair Geometry & The Riser-Tread Math Formula
Building poured concrete steps begins with a laser transit or 6-foot carpenter's level. Under the International Residential Code (IRC Section R311), stairway dimensions are strictly regulated to protect human safety:
- Maximum Riser Height: 7-3/4 inches (196 mm). In professional practice, 6.75 to 7.25 inches is the sweet spot for residential comfort.
- Minimum Tread Run: 10.0 inches (254 mm) measured horizontally from nosing to nosing. Professional contractors typically frame 11-to-12-inch treads for comfortable footing.
- Strict Uniformity Rule: The difference between the tallest and shortest riser in a flight cannot exceed 3/8 inch (9.5 mm). The same 3/8-inch limit applies to tread depths.
- The Classic Comfort Formula: Building codes and architectural standards recommend that two risers plus one tread depth should equal 24 to 25 inches: 2R + T = 24" to 25". For example: 2 × 7.0" + 11.0" = 25.0" (ideal ergonomic rhythm).
To calculate your stair flight, measure the Total Rise: the vertical height from the top of the sidewalk or landing pad to the top of the finished threshold. Divide Total Rise by 7 inches to determine the step count. Round to the nearest whole number, then divide Total Rise by that step count to establish your exact unit riser height.
2. Subgrade Excavation, Frost Footings & Epoxy Foundation Tie-Ins
Concrete weighs approximately 145 to 150 lbs per cubic foot. A standard 4-step entrance porch weighs over 4,000 lbs. Placing this concentrated mass onto uncompacted topsoil or loose backfill guarantees differential settling, tilted treads, and separation cracks from the home.
Subgrade Excavation
Excavate 8 to 10 inches below final subbase grade. Remove all organic soil and roots. Install 4 to 6 inches of crushed #57 limestone gravel or crusher run. Compact thoroughly using a mechanical vibrating plate compactor.
Frost-Depth Footing
In freezing regions, dig a trench footing beneath the front edge of the lowest step down to the local frost line (36 to 48 inches). This prevents frost heave from lifting the front of the stairway during winter.
Epoxy Rebar Dowels
Drill 1/2-inch holes 5 to 6 inches deep into the foundation wall using a rotary hammer. Blow out dust with compressed air, inject two-part structural anchoring epoxy, and embed #4 (1/2-inch) rebar dowels every 16 inches.
Tie the foundation dowels into an internal grid of #4 steel rebar spaced 12 inches on center in both directions. Support the rebar on 2-inch plastic or concrete chairs so steel is encased in the middle third of each step thickness, never lying on the gravel.
3. Concrete Steps Dimensional & Material Takeoff Matrix
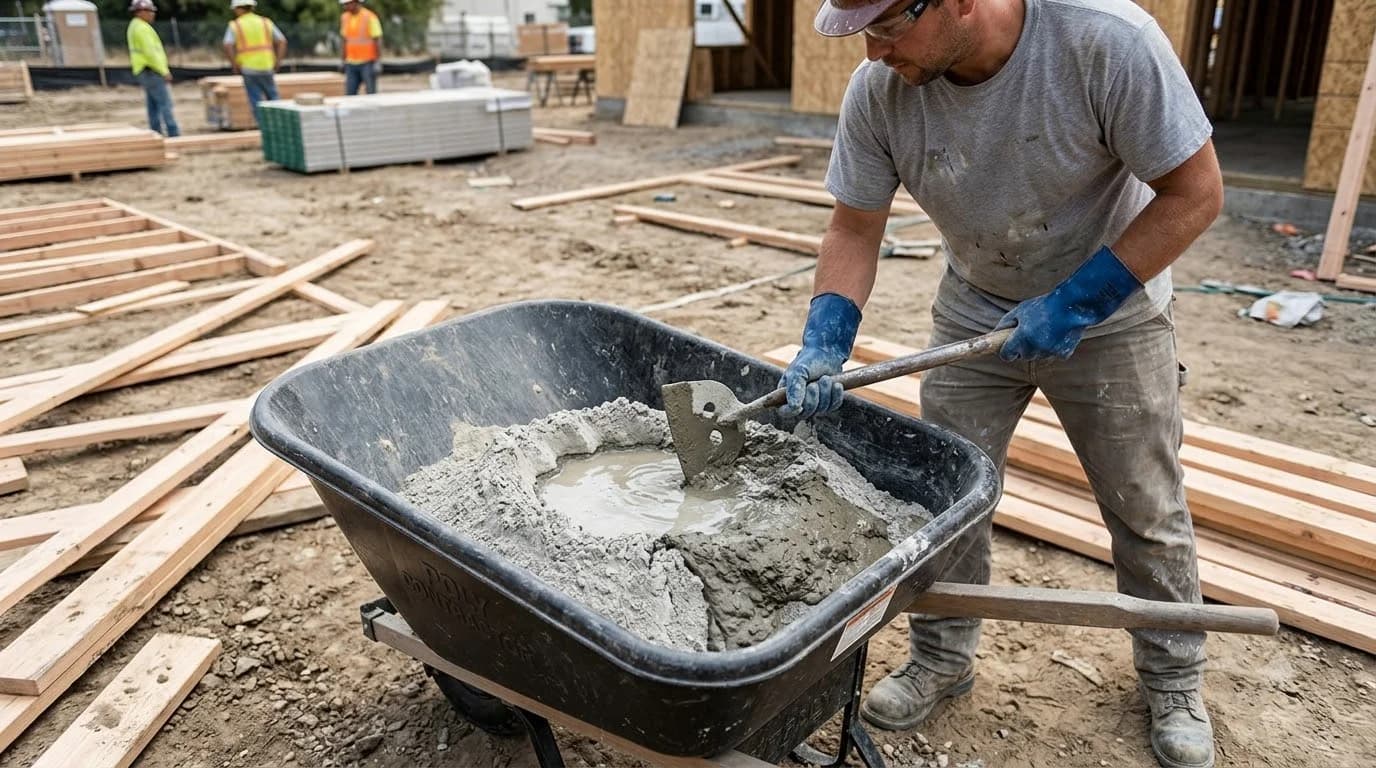
Calculate concrete volume, 80-lb bag counts, rebar footage, and estimated 2026 material costs based on a standard 36-inch stairway width with 11-inch treads and 7-inch risers:
| Step Configuration | Total Rise & Run | Concrete (Solid Monolith) | 80-lb Bags (Solid) | Rebar #4 Linear Ft | 2026 Material Cost |
|---|---|---|---|---|---|
| 2 Steps (1 Landing) | 14" Rise × 22" Run | 0.35 cu yd | 16 Bags | 24 ft | $140 – $190 |
| 3 Steps (Standard Porch) | 21" Rise × 33" Run | 0.65 cu yd | 30 Bags | 42 ft | $240 – $320 |
| 4 Steps (Elevated Entry) | 28" Rise × 44" Run | 1.10 cu yd | 50 Bags | 65 ft | $380 – $490 |
| 5 Steps (High Foundation) | 35" Rise × 55" Run | 1.65 cu yd | 75 Bags | 92 ft | $540 – $710 |
| 6 Steps (Full Walkout) | 42" Rise × 66" Run | 2.30 cu yd | Order Ready-Mix Truck | 120 ft | $750 – $980 |
Note: Concrete volumes reflect solid monolithic pours. Stepping the crushed gravel subbase beneath the steps reduces concrete requirements by approximately 30% to 40%.
4. Formwork Carpentry: Stringers, Hanging Cleats & Beveled Risers
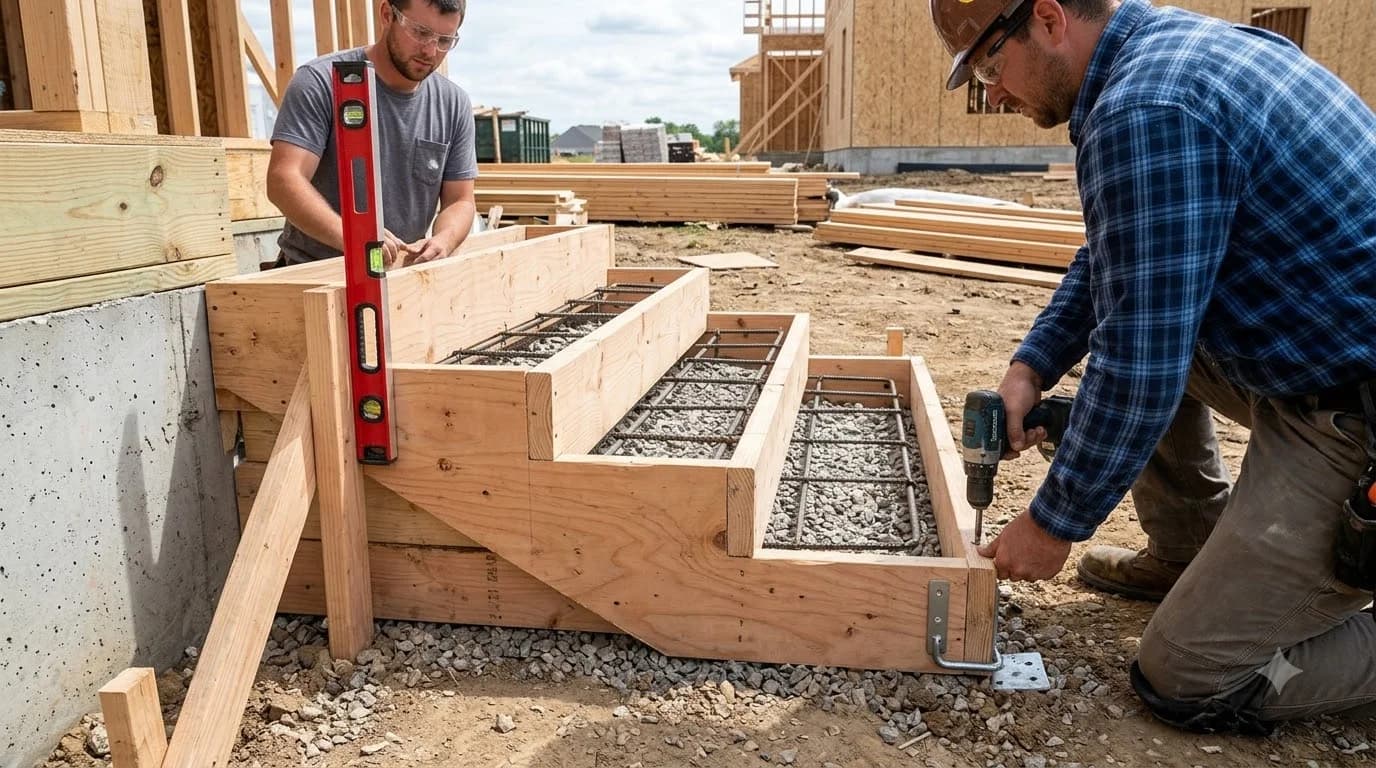
Step formwork is subjected to dynamic downward and lateral hydrostatic loads during placement. Build the formwork with precision using 3/4-inch exterior ACX plywood or 2x10 lumber:
- Cut Left and Right Side Stringers: Lay out the stepped profile on 3/4-inch plywood side panels or 2x10 stringers. Account for the 1/4-inch forward tread slope on each step.
- 45-Degree Bevel on Riser Bottoms: Using a circular saw set to a 45-degree angle, bevel the bottom edge of every 2x8 riser board. The sharp beveled edge faces inward and down. This allows the magnesium hand float to glide underneath the form board to consolidate concrete at the back of each tread.
- Slight Riser Batter (Inward Slope): Plumb each riser board with a 1/2-inch inward batter (the bottom of the board sits 1/2 inch further back than the top). This provides natural toe clearance when ascending the steps and improves structural nosing durability.
- Hanging Cleats & Strongbacks:Fasten the riser boards to the side stringers using 2x4 vertical cleats. Run a center 2x4 "strongback" down the middle of stairways wider than 36 inches to prevent the riser boards from bowing outward under wet concrete pressure.
- Diagonal Staking & Form Oil: Drive 2x4 wooden stakes into the ground every 24 inches along the stringers. Screw diagonal kickers from the stakes to the tops of the side forms. Spray all form boards thoroughly with non-staining commercial form release oil (or vegetable oil) to ensure clean stripping without spalling.
5. Five Critical Concrete Step Construction Mistakes to Avoid
1. Pouring Excessively Wet Concrete (> 5-Inch Slump)
Wet, soupy concrete cannot hold its shape on a stepped elevation. The weight of concrete poured into upper steps creates hydraulic head pressure that boils out from beneath the bottom riser board, creating an uncontrollable overflow mess. Maintain a stiff 3.5-to-4.5-inch slump.
2. Forgetting the Forward Drainage Wash (1/4" per Foot)
Treads must never be framed perfectly level front-to-back. If a tread is dead-level or slopes backward toward the riser, rainwater and melting snow pool against the corner. During freezing winter nights, this ponding creates dangerous invisible black ice sheets.
3. Stripping Form Boards Too Late
Leaving riser boards on overnight makes finishing the vertical faces nearly impossible. By morning, the concrete has hardened beyond the point where it can be rubbed. Riser forms must be unscrewed 2 to 4 hours after pouring so the faces can be sponge-floated and nosings edged.
4. Neglecting Air-Entrainment in Cold Climates
Steps are exposed to severe freeze-thaw cycles and chemical deicers carried on footwear. Pouring standard non-air-entrained interior concrete ensures the top 1/8-inch paste layer will scale, pit, and delaminate during the first harsh winter. Always specify ASTM C94 5% to 7% air entrainment.
5. Unequal First or Last Step Height After Finishing
Failing to subtract the thickness of final finish paving (such as pavers, flagstone, or indoor hardwood) from the bottom and top risers creates a dangerous 1-to-2-inch height discrepancy on the final step. This violates the IRC 3/8-inch uniformity rule and causes trip-and-fall liability.
6. Pouring, Screeding & Non-Slip Broom Finishing Sequence
Follow the time-tested step-finishing protocol used by master flatwork masons:
- Bottom-Up Pour Sequence: Always fill the lowest step first. Consolidate concrete around rebar using a rod and tap the side forms with a rubber mallet to bring air bubbles to the surface. Allow the lowest step to firm up for 15 to 20 minutes before placing the next step upward.
- Screeding the Treads: Use a short 2x4 straightedge or magnesium screed resting on the top of the lower riser board and the bottom of the upper riser board. Saw the board back and forth to strike off the concrete level with the beveled form tops.
- Magnesium Floating: Immediately float the tread with a magnesium hand float to embed coarse aggregate and raise a creamy layer of cement paste.
- Stripping Risers & Edging: As soon as the concrete can support thumb pressure without indenting more than 1/4 inch (typically 2 to 3 hours), gently remove screws and strip the front riser boards. Use a curved 3/8-inch radius step edger to round all nosings.
- Face Rubbing & Non-Slip Brooming: Dip a sponge float into a bucket of water and cement slurry, then rub the vertical riser faces to erase any honeycombing or board grain marks. Finally, drag a horsehair concrete broom lightly across each tread perpendicular to pedestrian traffic to produce a clean, uniform, slip-resistant texture.
Frequently Asked Questions
How many concrete bags do I need to build standard 3-step stairs?
A standard solid 3-step exterior stairway (36 inches wide, 11-inch treads, 7-inch risers with a 36-inch deep landing platform) requires approximately 0.75 to 0.90 cubic yards of concrete if poured as a solid monolith. This equals roughly 34 to 40 standard 80-lb bags of ready-mix concrete (or 45 to 54 60-lb bags). If you step and slope the crushed gravel subgrade beneath the formwork to maintain a uniform 6-inch concrete slab thickness, you can reduce concrete volume to approximately 0.45 cubic yards (20 to 22 80-lb bags).
Can you pour concrete steps directly against a house foundation without rebar dowels?
No. Never pour concrete steps against an existing foundation wall without structural rebar dowels. As backfill soil naturally consolidates or experiences seasonal freeze-thaw frost heave, unpinned steps will rotate, tilt downward, and pull away from the house, leaving dangerous gaps. Code mandates drilling 1/2-inch holes 5 to 6 inches deep into the foundation wall, blowing out masonry dust, and anchoring #4 rebar dowels with high-strength structural anchoring epoxy at 12-to-16-inch horizontal intervals.
Why are the bottom edges of wooden riser form boards cut at a 45-degree angle?
Beveling the bottom edge of wooden 2x8 riser form boards at a 45-degree under-bevel allows the concrete finisher to float and trowel the entire tread surface right up to the back intersection of the step. If the board is left square, the flat 1.5-inch wooden bottom creates an unreachable pocket where air voids and unfinished honeycombing form, requiring difficult cosmetic patching later.
How soon after pouring can you safely strip wooden step forms and walk on the stairs?
The front vertical riser boards must be stripped within 2 to 4 hours after pouring—just as soon as the concrete has stiffened enough to hold its vertical shape without slumping. This allows the finisher to float, rub, and sponge the riser faces smooth and round all step nosing edges with an edger tool before final set. However, do not walk on fresh concrete steps for at least 48 to 72 hours, and protect from heavy construction loads for a minimum of 7 days.
What is the maximum allowable variation in riser height under residential building codes?
Under IRC Section R311.7.5.1, the greatest riser height within any flight of stairs shall not exceed the smallest riser height by more than 3/8 inch (9.5 mm). Similarly, the greatest tread run cannot exceed the smallest tread run by more than 3/8 inch. Human neuromuscular gait automatically memorizes the cadence of the first step; any variation exceeding 3/8 inch is a proven major trip-and-fall hazard.
Building Codes & Primary Standards Cited
Means of Egress - Stairways, Risers, and Treads
Prescribes maximum riser height, minimum tread depth, dimensional uniformity tolerances, and landings for residential dwellings.
Residential Code Requirements for Structural Concrete
Defines minimum compressive strength, steel rebar coverage, and frost footing depths for exterior residential concrete structures.
Standard Specification for Ready-Mixed Concrete
Mandates slump tolerances and air entrainment percentages (5% to 7%) to prevent freeze-thaw surface spalling and deicer attack.
Estimations adhere to standard North American modular 3/8-inch mortar joint physics and 5% to 10% material waste factors. Local municipal building inspectors, stamped architectural blueprints, and local frost depth requirements supersede general reference guidelines.
Popular Quick Estimates
Pre-engineered takeoffs & benchmarks matched to this project
Related Calculators
Specialized tools for foundation, core fill, and budgeting
Heavyweight structural blocks and bond beam units
Cubic yards, bags, and slab volume for flatwork and footings
Masonry steps, riser heights and solid core fill volume
Core grout volume in cubic yards and 80-lb pre-mix bags
Blogs & Construction Guides
Technical articles, IRC code standards, rebar schedules & freight logistics
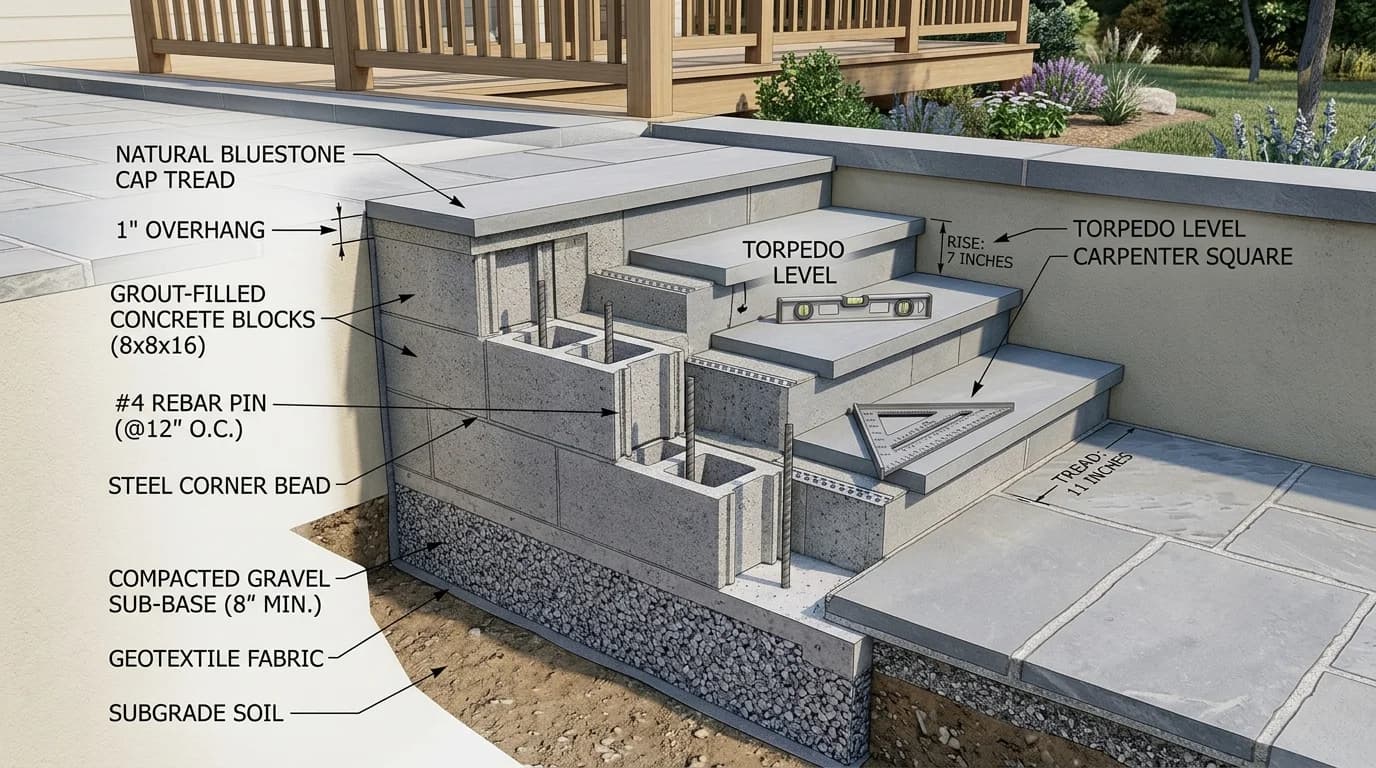
How to Build Outdoor Cinder Block Steps & Stairs
How to Build a Poured Concrete Wall: Forms & Rebar Guide
How to Repair Damaged Concrete Steps: Rebuild Broken Edges