1. Subgrade Preparation, Soil Grading & Compacted Gravel Base
A concrete slab is only as sound as the ground directly beneath it. Concrete has exceptional compressive strength (tolerating thousands of pounds per square inch pushed downward), but its tensile flexural strength is only about 10% of its compressive capacity. If the soil beneath a corner settles even 1/4 inch, the unsupported slab will crack cleanly under its own weight.
Follow the standard civil earthwork protocol before placing a single piece of form lumber:
- Strip All Organic Topsoil: Dig down 8 to 10 inches below your target slab height. Remove all turf, grass, organic root zones, and loose mud. Never pour concrete over organic topsoil; decomposing organic matter consolidates and leaves hollow subterranean cavities.
- Proof-Roll the Native Soil:Walk or run a mechanical vibrating plate compactor over the native subgrade. If you observe soft, spongy soil ("pumping"), dig out the soft pocket and backfill with crushed stone.
- Install 4 Inches of Crushed Aggregate: Spread a minimum 4-inch layer of #57 open-graded crushed limestone or dense-graded crushed aggregate road base (crusher run). Run a vibrating plate compactor over the gravel in three overlapping passes. A properly compacted gravel base provides a stable unyielding bed, prevents capillary groundwater rise, and distributes vehicle loads evenly.
- Vapor Retarder (Interior / Enclosed Slabs): If the slab will be enclosed within a shed, workshop, or garage, lay a 10-mil to 15-mil virgin polyolefin vapor barrier (ASTM E1745 Class A) over the compacted stone with 6-inch taped seams. This blocks subterranean water vapor from sweating through the cured concrete and damaging tools or flooring.
2. Formwork Carpentry, Staking & Drainage Slope Math
Formwork must withstand the substantial lateral fluid pressure of wet concrete (150 lbs per cubic foot) without bowing outward:
Lumber Selection
Use straight, knot-free #2 Douglas Fir or SPF 2x4 lumber (actual width 3.5 inches) for standard 4-inch slabs. For heavy-duty 5.5-to-6-inch driveways or garage slabs, use 2x6 form boards.
Squareness (3-4-5 Rule)
Square the corners using the Pythagorean theorem: measure 3 feet along one board, 4 feet along the perpendicular board; the diagonal distance between marks must equal exactly 5 feet (or 6-8-10 for larger slabs).
Staking & Kickers
Drive pointed 2x4 wooden stakes into the ground every 24 to 36 inches along the outside of the form boards. Fasten with 3-inch exterior screws driven from the outside in. Add diagonal kicker braces at mid-span.
Drainage Pitch Math: Patios, shed ramps, and walkways must pitch away from house walls to prevent rainwater from pooling against the siding. Frame the forms with a minimum slope of 1/8 inch to 1/4 inch per linear foot. On a 12-foot wide patio, the outer edge form board should sit 1.5 to 2.0 inches lower than the edge anchored against the house foundation.
3. Slab Sizing, Concrete Volume & Material Takeoff Matrix
Use this comprehensive sizing matrix to calculate concrete cubic yardage (including a 10% safety margin for subgrade unevenness), rebar linear footage, and estimated 2026 ready-mix truck costs:
| Slab Dimensions | Surface Area | 4" Slab Yards (+10%) | 6" Slab Yards (+10%) | #4 Rebar (18" Grid) | 2026 Truck Cost |
|---|---|---|---|---|---|
| 10' × 10' (Shed / Small Patio) | 100 sq ft | 1.35 cu yd | 2.05 cu yd | 140 lin ft | $240 – $340 |
| 12' × 16' (Large Storage Shed) | 192 sq ft | 2.60 cu yd | 3.90 cu yd | 260 lin ft | $420 – $580 |
| 16' × 20' (1-Car Garage Pad) | 320 sq ft | 4.35 cu yd | 6.50 cu yd | 425 lin ft | $700 – $950 |
| 20' × 20' (2-Car Standard Garage) | 400 sq ft | 5.40 cu yd | 8.15 cu yd | 530 lin ft | $860 – $1,200 |
| 24' × 24' (Large 2-Car Workshop) | 576 sq ft | 7.80 cu yd | 11.70 cu yd | 760 lin ft | $1,250 – $1,750 |
Formula:Cubic Yards = (Length ft × Width ft × Depth ft) / 27 × 1.10. For a 4-inch slab, depth is 0.333 ft; for a 6-inch slab, depth is 0.50 ft.
4. Steel Reinforcement: Rebar Grid vs. Welded Wire Mesh
One of the most persistent DIY mistakes is laying welded wire fabric (WWF 6x6 mesh) flat on the gravel subbase and assuming it will reinforce the concrete. Steel provides structural tensile reinforcement only when fully encapsulated within the concrete matrix.
When concrete trucks pour over loose wire mesh, the crew walks on the wire, pressing it into the mud. When cured, the steel sits at the very bottom of the slab where moisture rusts it away, providing zero structural resistance against top-surface tensile cracking.
Professional flatwork contractors strongly prefer Grade 60 #3 (3/8-inch) or #4 (1/2-inch) deformed steel rebar:
- Grid Spacing: Tie rebar in a square checkerboard grid on 16-inch to 18-inch centers using 16-gauge tie wire and a manual wire-twister tool.
- Support on Rebar Chairs:Elevate the rebar grid on 2-inch plastic chairs or concrete "doby" blocks spaced every 3 to 4 feet. Rebar chairs keep the steel rigidly suspended at exactly the middle third of the 4-inch slab thickness during the entire pour.
- Edge Clearance & Lap Splicing: Terminate rebar 2 to 3 inches away from the outer wooden form boards to prevent edge rust bleed. Where rebar bars overlap, provide a minimum lap splice length of 30 bar diameters (15 inches for #4 rebar) and secure with two wire ties.
5. Five Costly DIY Slab Pouring Mistakes to Avoid
1. Adding Garden Hose Water to the Concrete Chute
Stiff concrete is hard physical labor to pull and screed. Tempted DIYers frequently ask truck drivers to add water to make the mix "soupier." Every extra gallon of water added weakens 4,000 PSI concrete by up to 200 PSI, drastically increases shrinkage cracking, and causes the cured surface to turn to powder.
2. Floating Concrete While Bleed Water is Still Pooling
As heavy stone aggregate settles, displaced water rises to the slab surface (bleed water). Troweling or floating the surface while bleed water is still present works excess water back into the surface paste. This destroys surface abrasion strength, leading to severe crazing, blistering, and delamination.
3. Cutting Control Joints Too Late or Too Shallow
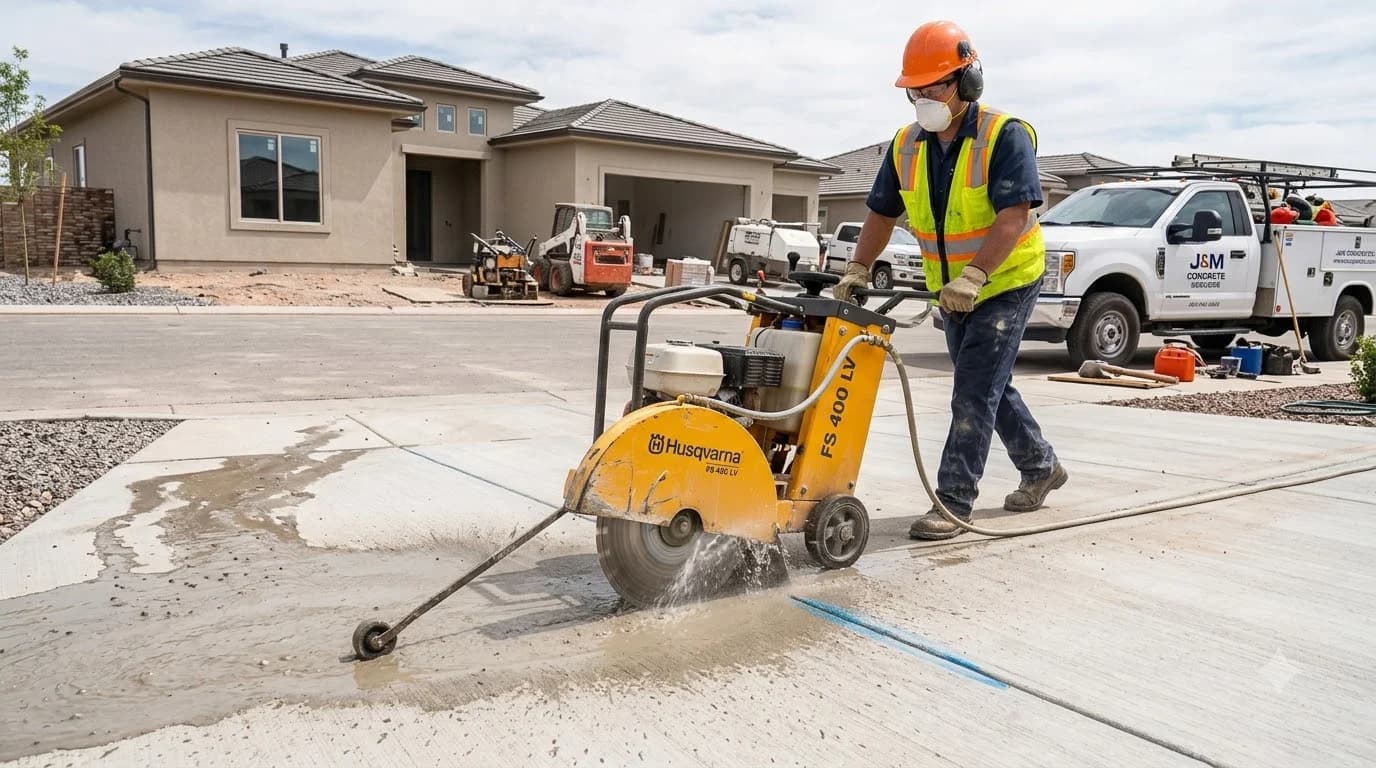
Concrete will shrink as water evaporates during hydration; cracking is inevitable. Control joints tell concrete where to crack neatly. If joints are spaced wider than 10 feet, cut shallower than 1/4 slab depth (1 inch), or sawed days later, jagged uncontrolled cracks will fracture the slab.
4. Neglecting Formwork Staking & Diagonal Kickers
A 12x16 slab contains over 10,000 lbs of liquid concrete. Pushing concrete against flimsy 2x4 forms with stakes placed 4 feet apart will cause the forms to bow outward or blow off the stakes completely, ruining slab squareness and wasting thousands of dollars of concrete.
5. Allowing Fresh Concrete to Dry Out in the Sun (Rapid Desiccation)
Concrete cures through chemical hydration, not evaporation. If a fresh slab is left exposed to hot sun or dry wind without curing compound, surface water rapidly evaporates before cement crystals form. The top 1/4 inch fails to hydrate, leading to deep plastic shrinkage cracks. Always spray an ASTM C309 curing compound or cover with wet burlap for 7 days.
6. Pouring, Screeding, Floating & Curing Execution Sequence
Pour day is fast-paced and irreversible. Assemble a crew of at least 3 to 4 able-bodied workers and follow this chronological finishing sequence:
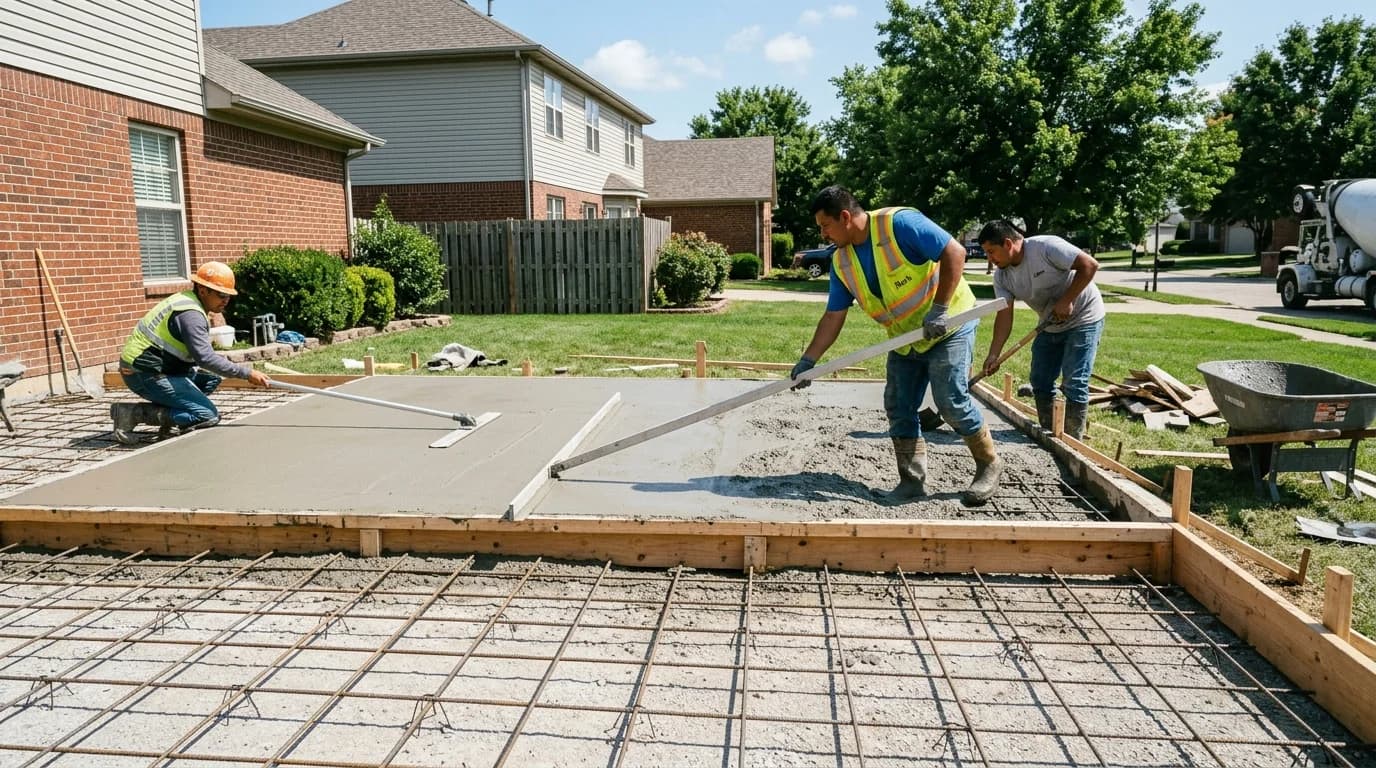
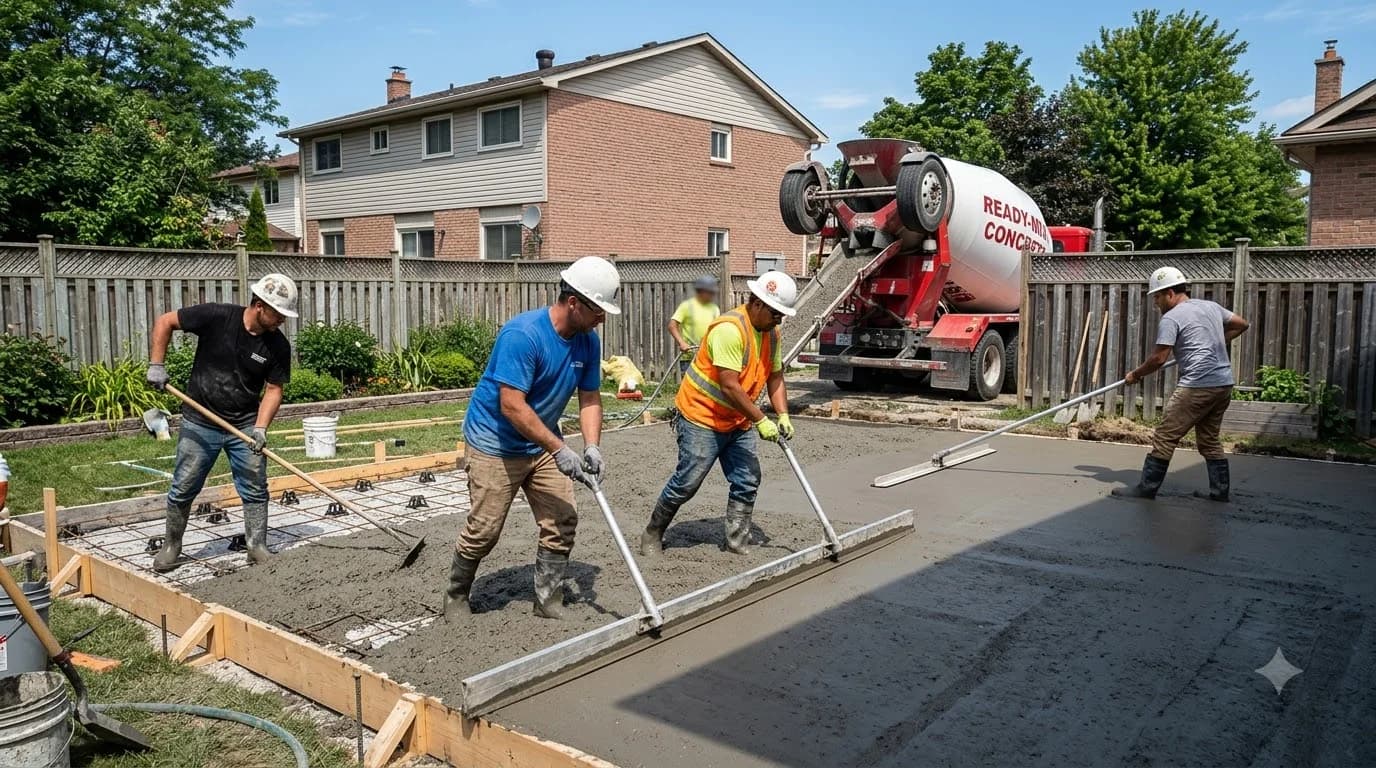
- Chute Placement & Raking: Start placing concrete at the farthest corner of the forms. Have two workers spread the wet concrete slightly higher than the form boards using square-point shovels or masonry come-alongs (concrete rakes). Never use garden rakes, which pull coarse stone aggregate out of the paste.
- Screeding (Strike-Off): Two workers operate a straight, stiff 2x4 screed board resting on the top edges of the forms. Pull the screed backward while sawing side-to-side in short 3-inch strokes, striking the concrete perfectly flush with form tops.
- Bull Floating Immediately: Within minutes of screeding, run a magnesium bull float with extension handles across the wet slab perpendicular to the screed direction. Keep the leading edge tilted slightly up. The bull float knocks down high ridges, fills micro-valleys, and forces large gravel 1/8 inch down while drawing a rich paste to the surface.
- The Bleed Water Waiting Period: Step away and do not touch the slab while bleed water rises and pools on the surface. Depending on temperature and humidity, wait 45 minutes to 2 hours until the watery sheen completely evaporates and the concrete can support your footprints with no more than 1/4-inch indentation.
- Hand Edging & Control Jointing: Run a 1/2-inch radius steel edger along the outer wooden forms to create a smooth, rounded edge that resists chipping. Cut control joints every 8 to 10 feet using a walking groover on an extension handle, keeping lines straight with a snapped string or 2x4 guide board.
- Non-Slip Broom Finish & Moist Curing: Lightly drag a damp horsehair concrete finish broom in straight, continuous passes across the slab perpendicular to the anticipated walking or driving direction. As soon as the surface is firm enough to resist water damage, spray an ASTM C309 curing and sealing compound or mist with water and seal under 4-mil polyethylene sheeting for 7 days.
Frequently Asked Questions
How thick should a DIY concrete slab be for a shed, patio, or garage?
Standard residential concrete slabs intended for foot traffic, patios, walkways, and light storage sheds (under 10x12 feet) should be 4 inches thick (nominally 3.5 inches when formed with 2x4 lumber). For detached garages, vehicle parking pads, heavy equipment sheds, or RV storage, the slab must be a minimum of 5.5 to 6 inches thick (formed with 2x6 lumber) with thickened 10-to-12-inch monolithic perimeter footings to support wheel point loads.
Can I mix bags of concrete by hand instead of ordering a ready-mix truck?
Hand-mixing bagged concrete in a wheelbarrow is practical only for small pads under 1 cubic yard (roughly 45 80-lb bags, such as a 6x8-foot trash can pad). For anything larger than 1.5 cubic yards (68+ bags), ordering a commercial ready-mix concrete delivery truck is strongly recommended. Hand-mixing large volumes results in cold joints between batches, inconsistent water-cement ratios, severe physical exhaustion, and structural slab cracking.
Why do you need expansion joints between a new concrete slab and the house foundation?
Concrete naturally expands during hot summer days and contracts in winter freezing temperatures. Installing a 1/2-inch asphalt-impregnated fiberboard or closed-cell polyethylene foam expansion joint against existing house foundation walls, brick veneer, or garage thresholds isolates thermal movement. Without an expansion joint, the expanding slab exerts intense lateral force against the house wall, causing foundation cracking or buckling the slab.
When should you cut control joints in a freshly poured concrete slab?
Control joints must be cut into the slab within 6 to 18 hours after pouring—just as soon as the concrete has hardened enough to be cut without edge raveling or aggregate tear-out, but before internal drying shrinkage stresses trigger random cracking. Hand-tooled joints are grooved during final finishing with a walking groover. Saw-cut joints are cut the following morning using an early-entry green concrete saw to a depth equal to 1/4 the total slab thickness (1 inch deep for a 4-inch slab).
How long after pouring a concrete slab can you walk on it and build on top?
You can safely walk on a newly poured concrete slab 24 to 48 hours after placement. You can begin light framing carpentry, installing bottom wall plates, and erecting sheds after 7 days, when the concrete has achieved approximately 70% of its design compressive strength. Avoid driving passenger vehicles onto the slab for at least 14 days, and wait the full 28-day hydration period before parking heavy trucks or motorhomes.
Building Codes & Primary Standards Cited
Guide to Concrete Floor and Slab Construction
Primary American Concrete Institute standard detailing subgrade grading, screeding, bull floating, and jointing tolerances.
Building Code Requirements for Structural Concrete and Commentary
Authoritative national standard governing rebar reinforcement design, chair clearances, and compressive strength criteria.
Standard Specification for Ready-Mixed Concrete
Mandates delivery batching limits, slump tolerances, and temperature thresholds for ready-mix truck transit.
Estimations adhere to standard North American modular 3/8-inch mortar joint physics and 5% to 10% material waste factors. Local municipal building inspectors, stamped architectural blueprints, and local frost depth requirements supersede general reference guidelines.
Popular Quick Estimates
Pre-engineered takeoffs & benchmarks matched to this project
Related Calculators
Specialized tools for foundation, core fill, and budgeting
Cubic yards, bags, and slab volume for flatwork and footings
Heavyweight structural blocks and bond beam units
Core grout volume in cubic yards and 80-lb pre-mix bags
Cell fill requirements for low-lift and high-lift grouting
Blogs & Construction Guides
Technical articles, IRC code standards, rebar schedules & freight logistics
Cost to Pour Concrete per Square Foot (2026 Price Guide)
How to Seal Concrete: Siloxane vs Acrylic Sealers
How to Cut Concrete Slabs: Circular Saw & Diamond Blades