Quick Contractor Diagnosis: Active Moving Cracks Need Polyurethane; Rigid Foundations Need Epoxy
Horizontal driveway and patio cracks move with freeze-thaw cycles: chase the crack into a clean 1/4" × 1/2" channel, insert foam backer rod, and seal with self-leveling polyurethane caulk (ASTM C920). For non-moving vertical basement foundation cracks, seal surface ports and pressure-inject high-modulus structural epoxy (ASTM C881) to weld the concrete monolithically back together.
1. Crack Morphology & Classification (ACI 224.1R)
According to the American Concrete Institute (ACI 224.1R - Causes, Evaluation, and Repair of Cracks in Concrete Structures), effective crack repair begins with identifying whether a crack is active or dormant:
- Dormant Cracks (Plastic Shrinkage & Craze Cracking): Hairline surface fissures (under 1/16 inch) that formed during the initial 24 hours of curing. They do not expand or contract seasonally and pose zero structural threat. They are repaired with low-viscosity penetrating sealers or epoxy flood coats.
- Active Moving Cracks (Thermal & Subgrade Movement): Cracks that widen in sub-zero winter temperatures and close tightly during summer heat. If you fill an active moving crack with rigid mortar, the patch will shear and pop out within 12 months. Active cracks require flexible elastomeric sealants.
- Structural Settlement Cracks: Cracks exceeding 1/4 inch in width, horizontal cracks across foundation walls, or offset cracks where one side has settled vertically. These indicate foundation displacement or soil failure requiring engineering stabilization.
2. Repair Materials & Chemical Specification Matrix
Review the mechanical properties, movement capabilities, and ASTM ratings of professional repair systems:
| Crack Classification | Repair Material | ASTM Standard | Movement Capability | Mechanical Function |
|---|---|---|---|---|
| Hairline Horizontal (<1/16") | Ultra-low viscosity polyurea or epoxy | ASTM C881 Type I | Rigid (0% stretch) | Capillary deep penetration; locks out water and deicing salts |
| Driveway & Patio (1/16" to 1/2") | Self-leveling polyurethane caulk (Sikaflex) | ASTM C920 Class 25/35 | High (±25% to ±35%) | Flexible waterproof seal that bridges seasonal joint expansion |
| Vertical Dry Basement Walls | Two-component structural injection epoxy | ASTM C881 Type IV | Rigid (Structural weld) | Restores monolithic tensile and compressive foundation strength |
| Active Leaking Foundation Cracks | Hydrophobic expanding polyurethane foam | Proprietary geotechnical | Flexible closed-cell rubber | Reacts with water, expanding 20x to stop active leaks permanently |
| Wide Chipped Spalls (>1/2") | Polymer-modified cementitious mortar | ASTM C1059 Type II | Rigid mortar patch | Rebuilds broken concrete shoulders and step nosings |
3. The Driveway & Slab Routing Protocol
Caulking over a hairline crack without surface preparation is guaranteed to peel. Follow this professional routing protocol:
- Crack Chasing (Routing): Mount a V-shaped or U-shaped “crack-chaser” diamond blade onto a 4.5-inch angle grinder. Grind along the crack to create a clean, uniform channel approximately 1/4 inch wide by 1/2 inch deep. This removes weak micro-fractured edges and creates vertical bonding sidewalls.
- Evacuate Dust: Wire-brush the routed channel and blow out all silica dust with compressed air or a HEPA vacuum. Dust acts as a bond breaker.
- Install Closed-Cell Backer Rod: If the crack exceeds 1/2 inch in depth, press a round foam backer rod into the slot. Maintain an engineered 2:1 width-to-depth ratio (e.g., 1/4" deep for a 1/2" wide crack). The backer rod prevents three-sided adhesion, allowing the sealant to stretch freely across the gap.
- Apply Self-Leveling Polyurethane: Puncture the seal on a cartridge of self-leveling polyurethane (such as Sika Sikaflex-1c SL). Dispense slowly, allowing the liquid to flow and self-level. Stop the bead 1/8 inch below the concrete surface plane so vehicle tires cannot shear the rubber bead.
4. Foundation Wall Pressure Injection Protocol
Vertical cracks in poured concrete basement foundation walls allow groundwater infiltration and weaken structural shear strength:
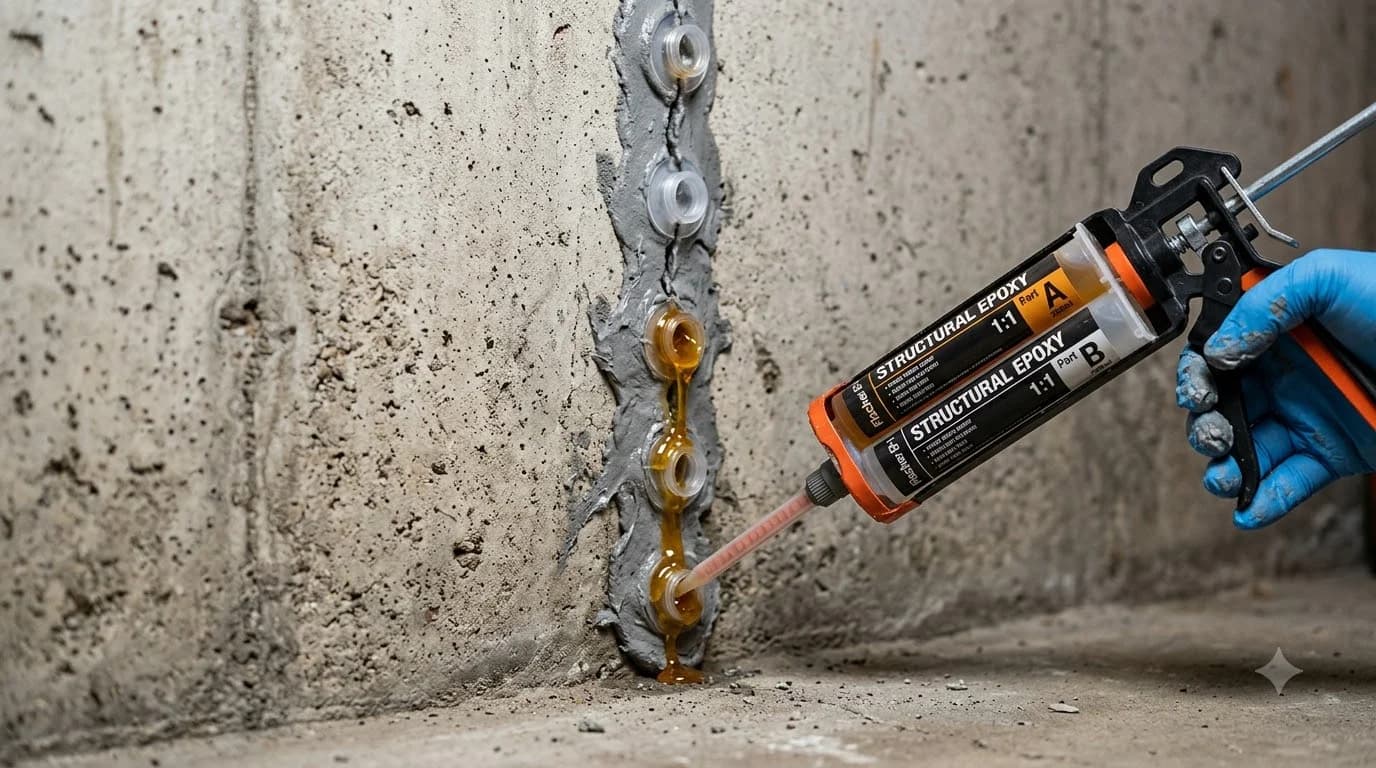
- Install Injection Ports: Clean the wall surface with a wire brush. Adhere plastic injection ports along the crack every 6 to 10 inches (spaced roughly equal to the wall thickness) using fast-setting epoxy paste.
- Apply Surface Capping Paste: Trowel a 1/8-inch thick layer of structural epoxy paste over the entire length of the crack between ports. This creates a pressure-tight surface seal to keep liquid epoxy from leaking out.
- Bottom-Up Injection: Once the paste cures (2 to 4 hours), attach the injection cartridge to the lowest port. Pump low-viscosity structural epoxy under low pressure (20 to 40 PSI) until liquid epoxy begins oozing out of the port directly above it. Cap the lower port, move to the next port up, and repeat until the entire 8-foot foundation wall is filled through its complete cross-section.
5. Wide Spalled Crack Reconstruction
For jagged, fractured cracks wider than 1/2 inch with broken concrete shoulders:
Use a cold chisel and 3-lb hammer to undercut the edges at a slight reverse angle (dovetail profile). Never feather the edge of patch mortar to a zero-thickness blade—thin edges immediately crumble. Prime the dampened slot with an ASTM C1059 Type II acrylic bonding agent, then pack the void with non-shrink polymer repair mortar (such as Quikrete FastSet Concrete Repair), tamping firmly to eliminate internal voids and finishing flush with a steel margin trowel.
5 Critical Concrete Crack Repair Mistakes to Avoid
Using Rigid Mortar on Active Cracks
Filling an exterior slab crack with hydraulic cement or sand mix fails because rigid cement has zero elongation capability. Winter thermal contraction will snap the patch in one season.
Skipping the Foam Backer Rod
Without a backer rod, sealant adheres to the bottom of the crack (three-sided adhesion). When the slab moves, the sealant tears down the middle instead of stretching freely.
Feathering Mortar to a Paper-Thin Edge
Cementitious repair mortars require a minimum thickness of 1/4 to 1/2 inch. Feathered edges have no aggregate interlock and quickly chip away under car tires.
Injecting Epoxy into Actively Leaking Water Cracks
Standard structural epoxies will not cure or bond in the presence of active hydrostatic water pressure. You must use hydrophobic polyurethane foam to stop running water.
Planning a Concrete Repair or Slab Takeoff?
Calculate repair mortar bags, polyurethane tubes, slab volumes, and 2026 material costs.
Frequently Asked Questions
Why do concrete crack patches fail and pop out after one winter?
Patches fail when rigid hydraulic cement or mortar is used in an active moving crack that expands during winter freeze-thaw cycles, when cracks are not routed into a clean 'U' channel, or when fine dust is left inside the groove preventing a mechanical bond.
Can you fill concrete cracks with regular Portland cement?
Never use plain Portland cement and sand mortar. Unmodified cement shrinks as it cures, pulling away from the crack sidewalls within 24 hours. Always use flexible ASTM C920 polyurethane sealants or ASTM C1059 polymer-modified repair mortars.
How do you stop active water leaking through a basement wall crack?
Inject hydrophobic polyurethane foam into the crack via surface ports. Polyurethane reacts instantly upon contacting water, expanding 20 times its liquid volume to form a flexible, watertight rubber gasket deep within the foundation wall.
When does a concrete crack indicate structural foundation failure?
Cracks wider than 1/4 inch, horizontal cracks running across basement walls (indicating hydrostatic soil pressure), stair-step cracks in CMU blocks with shear displacement, or cracks where one side has dropped indicate structural settlement requiring an engineer.
Why is a foam backer rod necessary before caulking wide cracks?
Backer rods prevent three-sided adhesion. If sealant sticks to the bottom of the crack, it cannot stretch laterally as the concrete moves, causing premature adhesive tearing. A backer rod ensures the caulk adheres only to the sidewalls in an ideal 2:1 width-to-depth ratio.
Building Codes & Primary Standards Cited
Causes, Evaluation, and Repair of Cracks in Concrete Structures
Defines crack classification, structural vs cosmetic distinctions, and repair methods.
Standard Specification for Epoxy-Resin-Base Bonding Systems for Concrete
Governs viscosity, tensile strength, and bonding standards for pressure injection epoxies.
Standard Specification for Elastomeric Joint Sealants
Establishes movement capability classes (Class 25 and 35) for horizontal concrete joint sealants.
Estimations adhere to standard North American modular 3/8-inch mortar joint physics and 5% to 10% material waste factors. Local municipal building inspectors, stamped architectural blueprints, and local frost depth requirements supersede general reference guidelines.
Popular Quick Estimates
Pre-engineered takeoffs & benchmarks matched to this project
Related Calculators
Specialized tools for foundation, core fill, and budgeting
Heavyweight structural blocks and bond beam units
Cubic yards, bags, and slab volume for flatwork and footings
Core grout volume in cubic yards and 80-lb pre-mix bags
Cell fill requirements for low-lift and high-lift grouting
Blogs & Construction Guides
Technical articles, IRC code standards, rebar schedules & freight logistics
How to Mix Concrete by Hand: Wheelbarrow Water Ratio
How to Calculate Concrete Yards: Step-by-Step Math
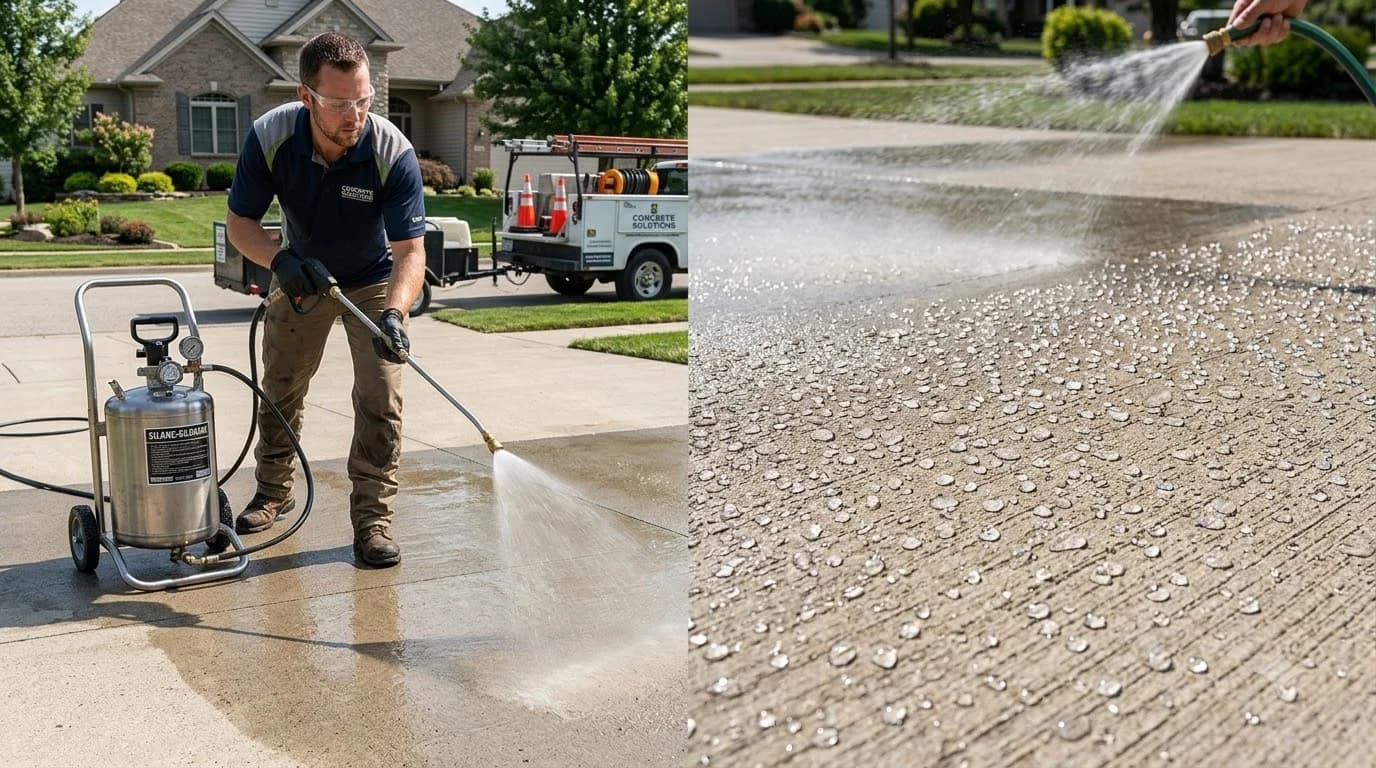
How to Seal Concrete: Siloxane vs Acrylic Sealers