1. Required Masonry Tools & Safety Gear
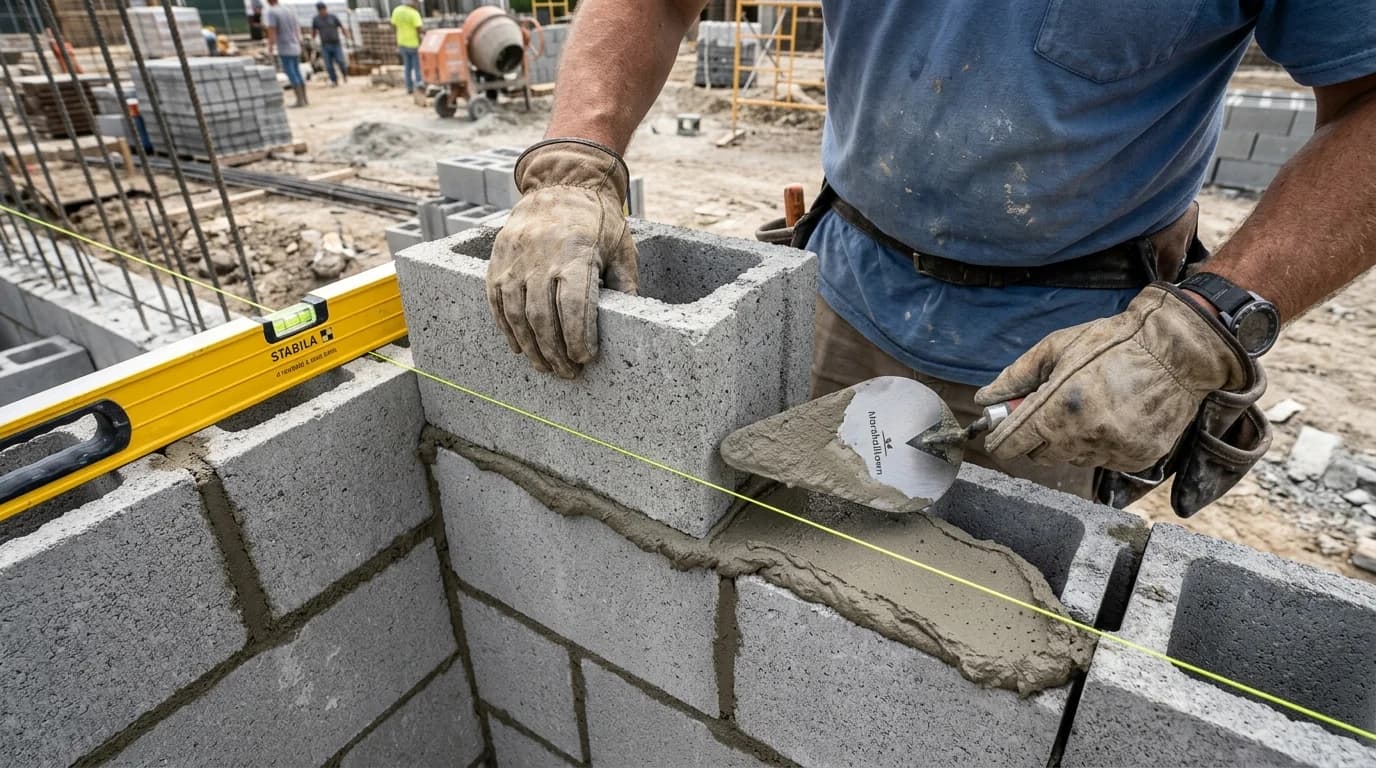
Having the right masonry hand tools makes the difference between a messy, crooked wall and clean, razor-straight coursing:
10-11" London or Philly Trowel
Forged carbon steel with flexible heel to scoop, spread, and cut mortar ribbons smoothly.
48" Spirit Level & Torpedo Level
Heavy aluminum or wood 4-ft level to verify plumb and level across multiple blocks simultaneously.
Braided Nylon Line & Line Blocks
High-visibility braided neon line that stays under tight tension without sagging across wall spans.
Convex S-Jointer & Mason's Brush
3/8" or 1/2" steel jointer to compress mortar joints for weatherproofing, plus horsehair brush for burrs.
2. Mixing Mortar: The Peanut Butter Test
Mortar serves as the glue, leveling cushion, and water seal between concrete units. For exterior walls, structural walls, and retaining walls, always use ASTM C270 Type S mortar (1,800 PSI minimum compressive strength).
How to Achieve Optimal Consistency
Add clean water to your wheelbarrow or mortar box first, then gradually fold in dry Type S mortar mix. Mix thoroughly with a masonry hoe until there are no dry powdery pockets.
3. Step-by-Step Cinder Block Laying Workflow
Dry-Lay the Base Course
Snap a chalk line onto your cured concrete footing. Set out your first course of blocks end-to-end completely dry without mortar, placing a 3/8-inch plywood spacer between every head joint. This allows you to verify that full 16-inch modular units fit without requiring awkward sliver cuts at the ends.
Build the Corner Leads First
Spread a full 1-inch thick bed of mortar onto the footing at the corner. Press the corner block into the mortar until the bed compacts down to exactly 3/8 inch. Check three directions with your 4-foot level: (1) level across the length, (2) level across the width, and (3) perfectly plumb vertically. Build each corner upward 3 to 4 courses in a stepped pyramid pattern.
Attach the Mason's String Line
Hook wooden line blocks with braided nylon string onto the outer top edges of both corner leads. Pull the line drum-tight. The string line establishes the exact height and horizontal alignment plane for every intermediate block. Keep a 1/16-inch hair's-breadth gap between the block face and the string.
Butter the Ears and Fill the Course
Spread two parallel ribbons of mortar along the top outer face shells of the course below. Stand the block to be laid vertically on end and swipe mortar downward onto both outer ears (head joints). Set the block into position, nudging it toward the adjacent block to compress the head joint to 3/8 inch. Tap with the wooden trowel handle until top edge matches the string line.
Set the Closure Block
The final block in the middle of each course is the closure block. Butter all four vertical edges (both ends of the opening and both ends of the closure block). Carefully lower the block straight down into the pocket without scraping mortar off the edges, and tap down level.
4. Striking Joints for Weatherproofing
Tooling is not merely decorative; it is the primary mechanical line of defense against rainwater penetration. Tooling compresses the mortar tightly against the block face shells, sealing micro-capillaries:
1. Horizontal Joints First: Always strike all horizontal bed joints first using smooth, continuous strokes with a convex jointer.
2. Vertical Head Joints Second: Tool the vertical joints next, blending the intersection points cleanly into the horizontal grooves.
3. Brush the Face: Once striking is complete, use a dry horsehair mason's brush to gently sweep away loose mortar burrs at a 45-degree angle without smearing wet paste across the porous block face.
Calculate Blocks & Mortar Bags for Your Wall
Enter your wall length and height to get exact counts for 8x8x16 CMUs, Type S mortar bags, and sand.
Frequently Asked Block Laying Questions
What mortar type is best for laying cinder block walls?
ASTM C270 Type S mortar is the standard contractor choice for exterior and structural block walls. It yields 1,800 PSI compressive strength with superior lateral flexural bond strength. For below-grade retaining walls or heavy foundation loads, use Type M (2,500 PSI). Avoid Type N (750 PSI) for structural or exterior loadbearing CMU walls.
Which side of the cinder block faces up when laying?
The side with the thicker face shells and web crossbars must always face UP. This thicker top edge provides a wider bed area (mortar surface) for troweling mortar ribbons and supporting the weight of subsequent courses. Laying blocks upside-down significantly reduces mortar contact area and structural integrity.
How thick should mortar joints be between cinder blocks?
Standard masonry mortar joints are engineered to be exactly 3/8 inch (0.375 in) thick. Because a manufactured standard 8-inch CMU measures 7-5/8 x 7-5/8 x 15-5/8 inches, the 3/8-inch bed and head joints create perfect modular 8 x 8 x 16-inch architectural spacing.
When should you strike or tool mortar joints?
Strike mortar joints when the mortar reaches 'thumbprint hardness'—typically 20 to 45 minutes after laying, depending on temperature and block suction. If you press your thumb firmly against the joint and it leaves a slight matte impression without sticking to your skin, it is ready for the convex jointer.
Building Codes & Primary Standards Cited
Standard Specification for Mortar for Unit Masonry
Proportion specifications and compressive requirements for Type M (2,500 psi) and Type S (1,800 psi) mortar mixes.
Building Code Requirements for Masonry Structures
Workmanship specifications for mortar joint thickness (3/8-inch), head joint buttering, and wall alignment tolerances.
Standard Specification for Loadbearing Concrete Masonry Units
Specifies dimensions, minimum face shell and web thickness, and compressive strength of hollow CMUs.
Estimations adhere to standard North American modular 3/8-inch mortar joint physics and 5% to 10% material waste factors. Local municipal building inspectors, stamped architectural blueprints, and local frost depth requirements supersede general reference guidelines.
Popular Quick Estimates
Pre-engineered takeoffs & benchmarks matched to this project
Related Calculators
Specialized tools for foundation, core fill, and budgeting
Step-by-step masonry formulas and corner waste rules
Direct wall dimensions with window and door deductions
4-wall enclosures, interior partitions and door openings
Installed cost per square foot and full budget forecast
Blogs & Construction Guides
Technical articles, IRC code standards, rebar schedules & freight logistics
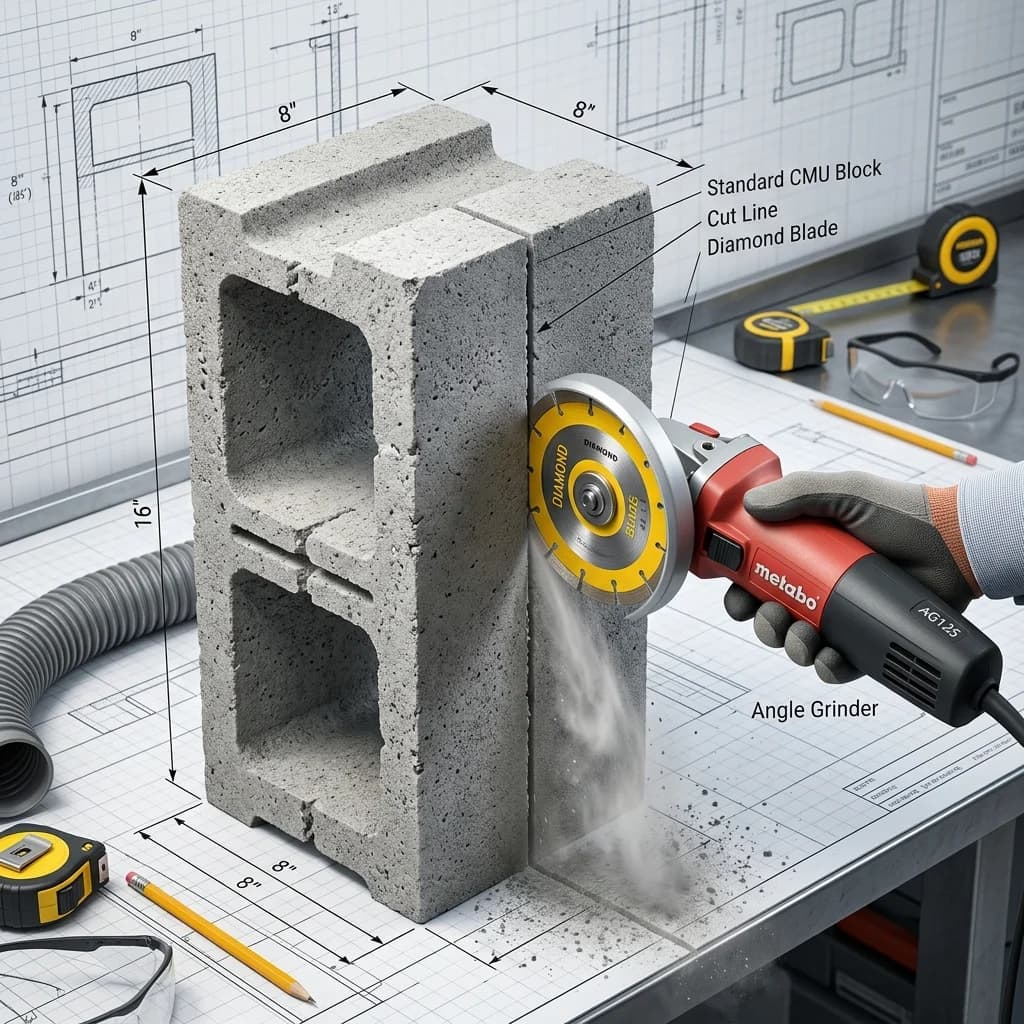
How to Cut Cinder Blocks: Grinder, Saw & Chisel Guide
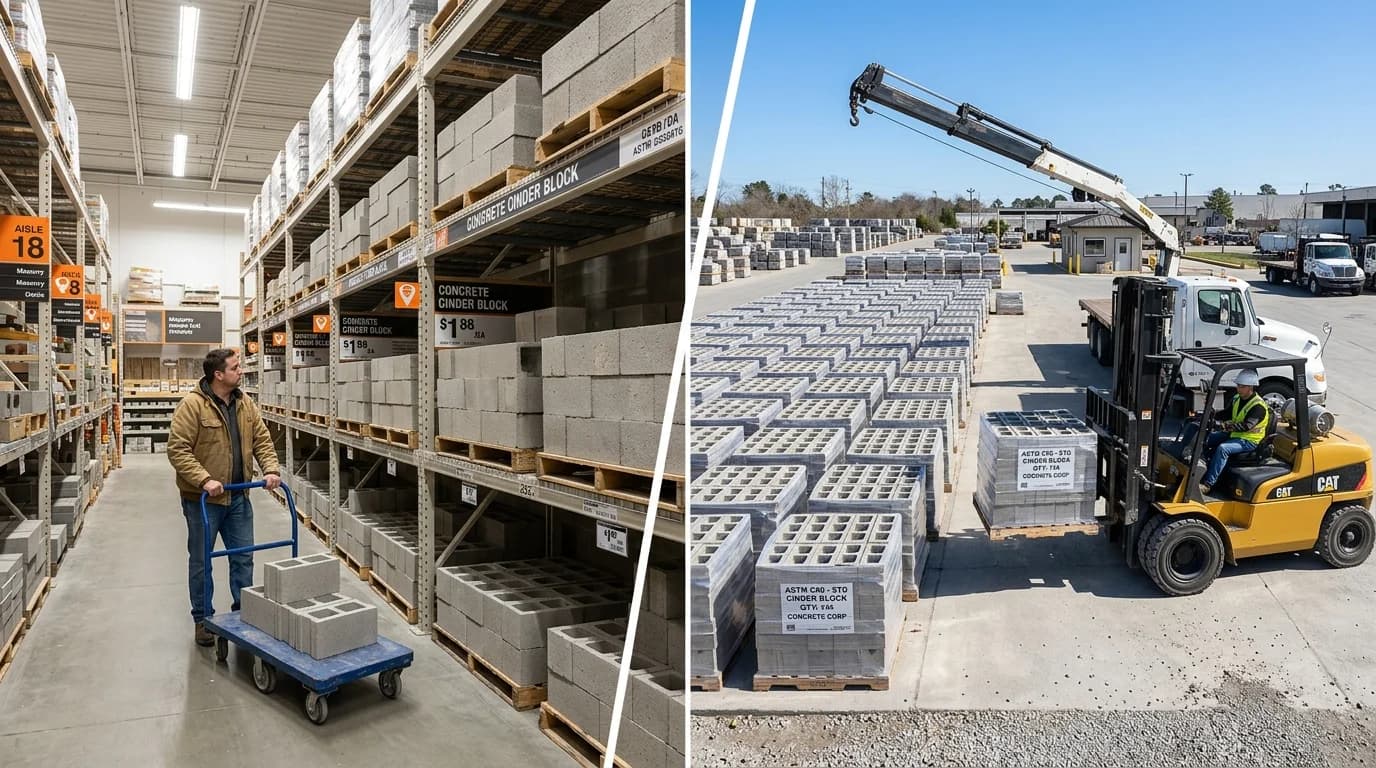
Where to Buy Cinder Blocks: Big Box vs Masonry Yards
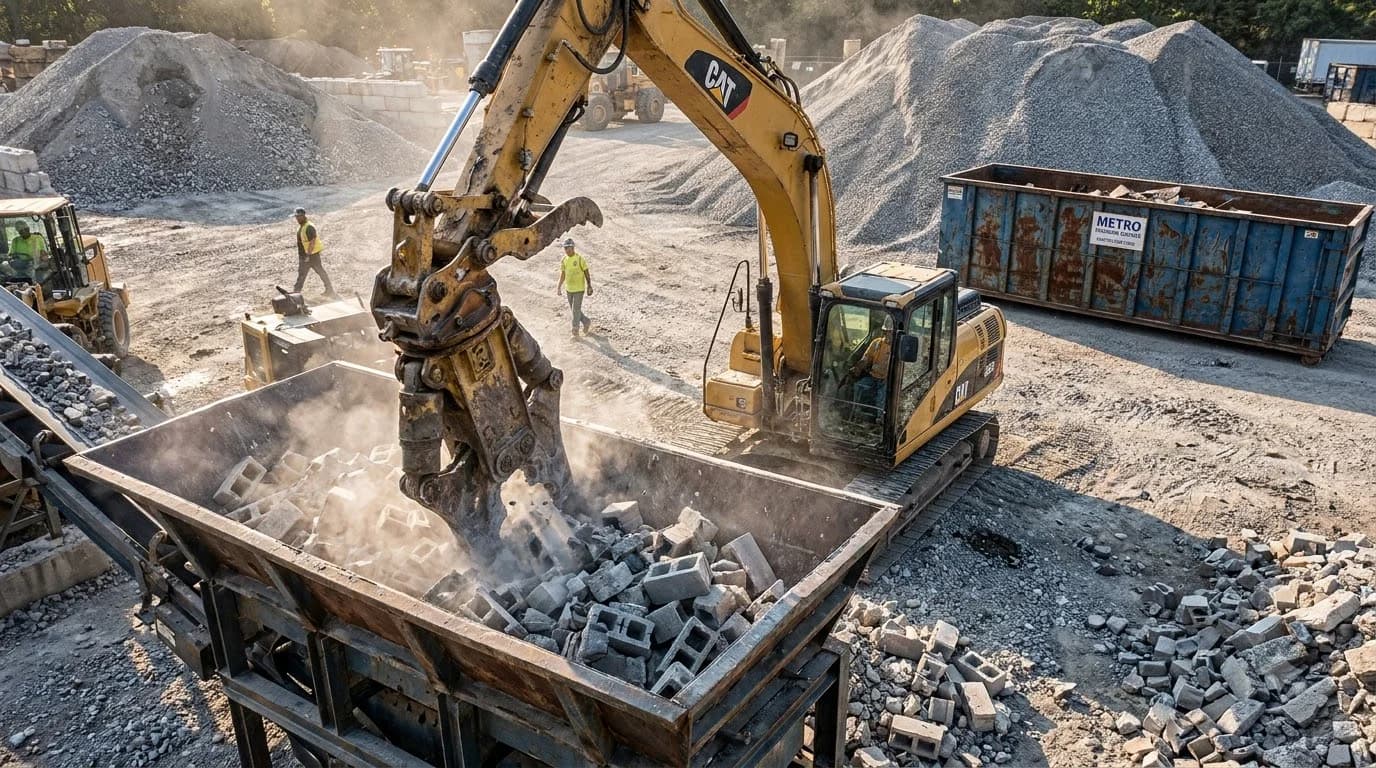
How to Dispose of Cinder Blocks: Free Recycling & Waste