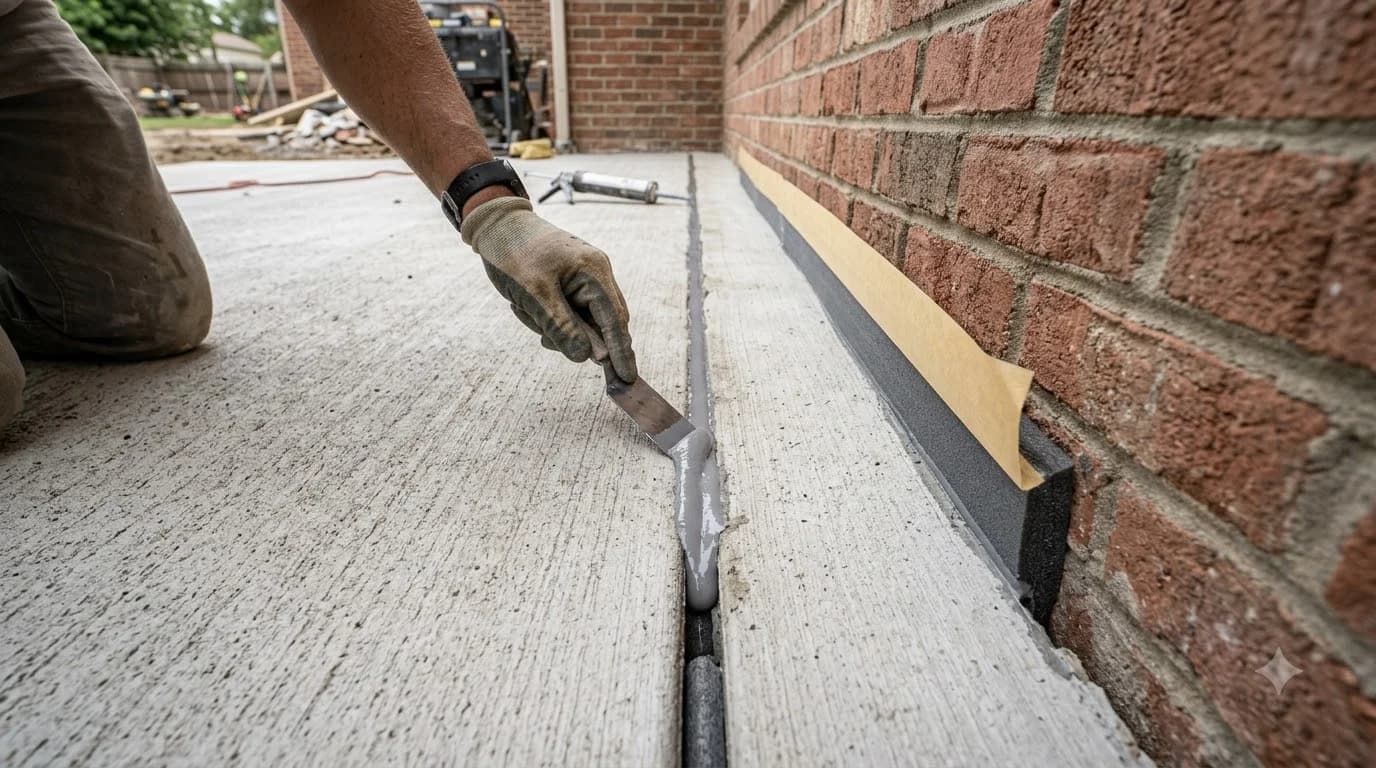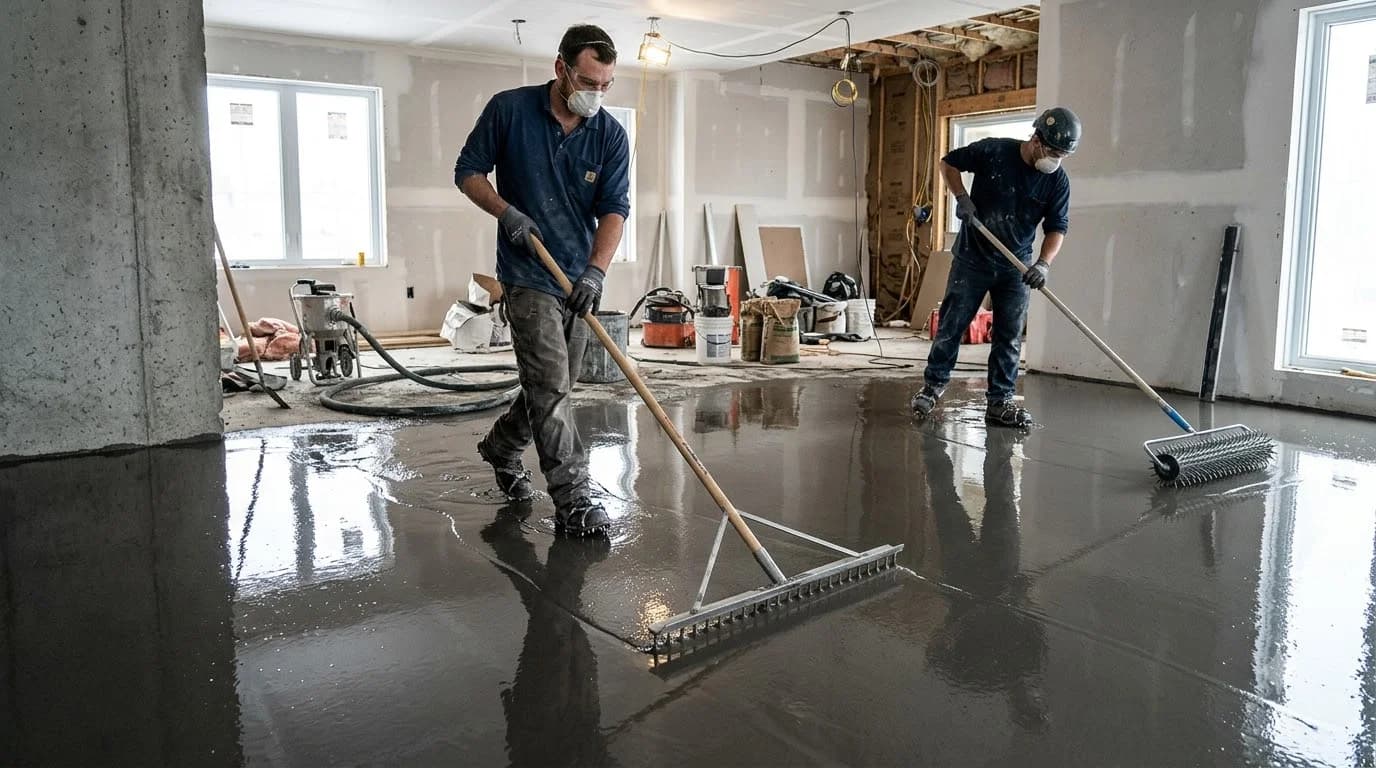
Flooring manufacturers enforce strict subfloor tolerances under ASTM F710: no more than 3/16-inch deviation over a 10-foot radius. To achieve this, grind down high humps using a diamond cup wheel with HEPA dust containment, fill active cracks with structural epoxy, seal perimeter walls with foam expansion tape, apply an acrylic bonding primer to eliminate pinholing, and pour a polymer-modified self-leveling underlayment (SLU) smoothed with a gauge rake and spiked roller.
1. Subfloor Tolerances: ASTM F710 & The 10-Foot Straightedge Rule
Before installing finished flooring over an interior concrete slab, understanding the engineering distinction between level and flat is critical:
Level means perpendicular to the Earth's gravity plane. Flat means a planar surface free of localized dips, humps, or undulations. Flooring does not care if a room slopes 1/4" across 30 feet, but sharp dips of 1/4" over 3 feet will snap the tongue-and-groove joints of modern click-lock LVP and hardwood planks.
ASTM F710 mandates that interior concrete substrates have a maximum variance of 3/16 inch per 10 linear feet (4.8 mm in 3.05 m) for resilient flooring. Large-format ceramic tiles (15" or longer) require an even stricter tolerance of 1/8 inch in 10 feet to prevent severe tile lippage.
2. Floor Mapping: Grinding Humps vs. Filling Low Depressions
Place a rigid 10-foot aluminum straightedge on edge across the room. Slide a graduated taper gauge beneath the straightedge to locate low depressions. Rotate the straightedge 360 degrees across high points to mark crowns and ridges with a grease pencil.
Grinding High Spots: It is economically wasteful to pour self-leveling compound over an entire floor just to bury a single 1/4-inch concrete hump. Use a 7-inch angle grinder equipped with a double-row diamond cup wheel and an OSHA-compliant HEPA dust shroud to shave high crowns flat before pouring underlayment.
Volume Calculation: One standard 50-lb bag of polymer-modified self-leveling underlayment yields roughly 0.45 cubic feet of fluid slurry. This covers approximately 43 sq ft at 1/8" thickness, or 21 sq ft at 1/4" thickness. Always purchase 15% extra material to prevent running short during mid-pour.
3. Surface Preparation & The Mandatory Priming Phase
More self-leveling installations fail due to inadequate priming than any other reason. Underlayments rely on liquid cross-linking polymers that require an engineered chemical bridge:
Why Priming is Non-Negotiable: Raw concrete is an ultra-porous sponge. If wet self-leveling slurry touches dry concrete, the substrate instantly draws water out of the mixture. This halts hydraulic cement hydration, leaving a chalky, un-bonded powder at the interface.
Preventing Outgassing Pinholes: As water enters concrete pores, displaced air bubbles rise through the liquid slurry, freezing into thousands of tiny craters (pinholes). An approved acrylic or epoxy underlayment primer seals concrete pores, stopping air migration and providing chemical adhesion exceeding 300 PSI.
4. Master Interior Floor Leveling Systems Matrix
Compare technical specifications, lift depths, and cure kinetics across interior leveling compounds:
| Leveling System Type | Neat Lift Thickness | Compressive Strength (28-Day) | Walkable Time | Flooring Install Window | 2026 Material Cost / sq ft |
|---|---|---|---|---|---|
| Standard Self-Leveling Underlayment | 1/8 in to 1-1/2 in | 4,000 – 4,500 PSI | 3 to 4 hours | 16 to 24 hours | $1.35 – $2.10 / sq ft (@ 1/4") |
| Rapid-Setting Underlayment | 1/16 in to 1-0 in | 4,500 – 5,500 PSI | 90 minutes | 4 to 6 hours | $2.20 – $3.40 / sq ft (@ 1/4") |
| Pea-Gravel Extended Underlayment | 1-1/2 in to 4-0 in | 5,000 – 6,000 PSI | 4 to 6 hours | 24 to 48 hours | $1.10 – $1.70 / sq ft (High volume) |
| Decorative Self-Leveling Wear-Topping | 1/4 in to 1-0 in | 5,500 – 7,000 PSI | 3 to 4 hours | Polishable at 24 hrs | $3.50 – $5.80 / sq ft |
5. Step-by-Step Self-Leveling Pour Protocol
Self-leveling underlayment has a strict 15-to-20 minute working life. Execute this jobsite sequence:
- Install Perimeter Expansion Strips: Fasten 1/4-inch closed-cell foam tape around all drywall perimeters, columns, and pipes. This isolates the underlayment, allowing the building frame to move independently without cracking the floor.
- Dam Off Openings: Use weatherstripping foam or temporary wood lath sealed with silicone caulking to dam off floor registers, stairwells, and doorways.
- Continuous Barrel Mixing: Station two 15-gallon mixing barrels. In barrel #1, measure exact cold water (typically 5.0 to 5.25 quarts per 50-lb bag). Add powder while mixing with an eggbeater paddle at 700 RPM for 2 minutes. While barrel #1 is being poured, mix barrel #2 immediately to maintain an uninterrupted wet edge.
- Spread with a Gauge Rake: Pour the slurry across the lowest area. Use an adjustable gauge rake set to your target depth to distribute the compound uniformly without pushing down hard.
- Smooth with Spiked Roller: Roll a spiked roller (porcupine roller) across the wet slurry. The spikes pop entrained air bubbles, blend adjacent pour ribbons, and assist the fluid dynamics of surface leveling.
6. Five Costly Floor Leveling Mistakes to Avoid
Adding even 1/2 quart of extra water causes polymer separation and aggregate settling. The cured surface will develop a chalky white film that crumbles under foot traffic and fails to bond with flooring adhesives.
Liquid self-leveler has water-like viscosity. If you pour over unsealed cracks, hundreds of dollars of material will disappear down foundation fissures into the gravel subbase within minutes.
Air drafts from open windows cause rapid surface skinning. The surface crusts over while the core remains fluid, creating ugly ripples and tears when passed with a roller. Close all windows and HVAC vents during pouring.
Once the self-leveling polymers begin cross-linking (at roughly 15 to 20 minutes), touching the slurry with a squeegee or trowel freezes permanent gouges and ridges that must be ground out later.
If self-leveler bonds directly to perimeter wall plates, natural seasonal framing movement will put the floor under severe compression, causing tenting, buckled planks, and hollow delamination.
Calculating Concrete or Underlayment Takeoffs?
Get exact bag counts, cubic yards, and 2026 material costs instantly.
Frequently Asked Questions
Do I really need primer before pouring self-leveling concrete?
Yes, primer is 100% mandatory. Unprimed dry concrete is porous and rapidly leaches water out of the fresh self-leveling slurry. This suction halts hydration, triggers premature flash-setting, creates millions of micro-pinholes from air outgassing, and results in catastrophic delamination under traffic.
Can self-leveling underlayment be left as a finished floor?
Standard self-leveling underlayments (SLUs) are brittle, non-abrasion-resistant compounds designed strictly as a flat substrate beneath carpet, hardwood, or luxury vinyl plank. If left exposed, they will dust and crumble. To create an exposed finished concrete floor, you must install a specialized self-leveling 'wear topping' rated for 5,500+ PSI.
How thick can self-leveling underlayment be poured in a single lift?
Most neat polymer-modified underlayments can be poured from 1/8 inch (feather-edge) up to 1.5 inches deep in a single pass. For deep low spots between 1.5 and 4 inches, manufacturers require extending the mix by adding 25 to 30 lbs of washed, dry 3/8-inch pea gravel per 50-lb bag of powder.
How long after pouring self-leveling underlayment can I install flooring?
You can walk on self-leveling underlayment in 2 to 4 hours. Ceramic and porcelain tile can typically be installed in 12 to 16 hours. However, moisture-sensitive floorings (such as glued hardwood, bamboo, or click-lock vinyl plank) require 24 to 48 hours until internal moisture vapor emissions satisfy manufacturer guidelines.
What is the acceptable floor flatness tolerance for LVP and tile?
Under ASTM F710, standard floor flatness for resilient flooring, laminate, and luxury vinyl tile requires a maximum deviation of 3/16 inch over a 10-foot span (or 1/8 inch over 6 feet). Large-format porcelain tiles (greater than 15 inches per side) require an even stricter 1/8 inch in 10 feet.
Building Codes & Primary Standards Cited
Standard Practice for Preparing Concrete Floors to Receive Resilient Flooring
Governs substrate surface flatness, moisture limits, and pH requirements for modern floor coverings.
Standard Test Methods for Self-Consolidating Mortar / Underlayment
Defines flowability, compressive strength, and shrinkage limits for polymer-modified underlayments.
Standard Test Method for Determining Relative Humidity in Concrete Floor Slabs
Specifies in-situ relative humidity probe testing to prevent moisture-induced underlayment debonding.
Estimations adhere to standard North American modular 3/8-inch mortar joint physics and 5% to 10% material waste factors. Local municipal building inspectors, stamped architectural blueprints, and local frost depth requirements supersede general reference guidelines.
Popular Quick Estimates
Pre-engineered takeoffs & benchmarks matched to this project
Related Calculators
Specialized tools for foundation, core fill, and budgeting
Cubic yards, bags, and slab volume for flatwork and footings
Heavyweight structural blocks and bond beam units
Core grout volume in cubic yards and 80-lb pre-mix bags
Cell fill requirements for low-lift and high-lift grouting
Blogs & Construction Guides
Technical articles, IRC code standards, rebar schedules & freight logistics
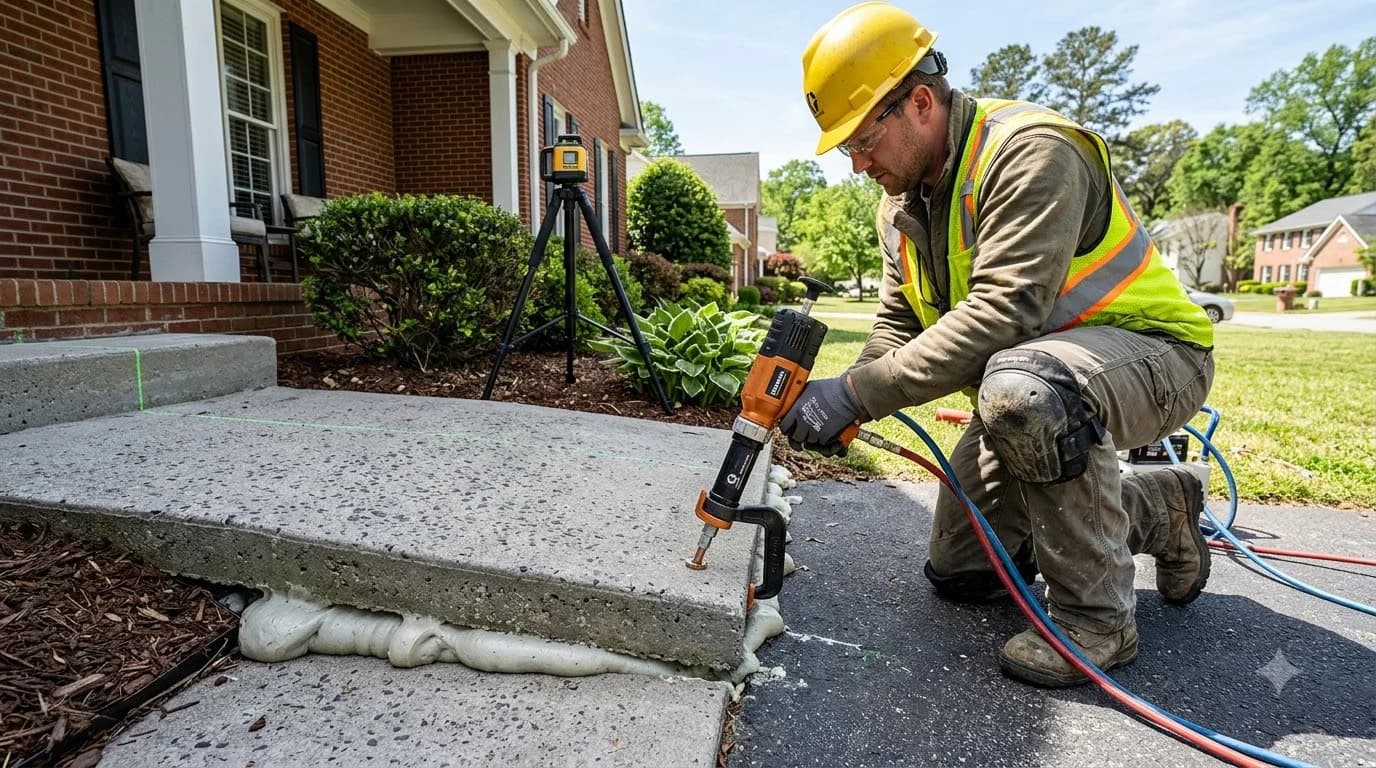
Concrete Leveling: Polyjacking vs Mudjacking
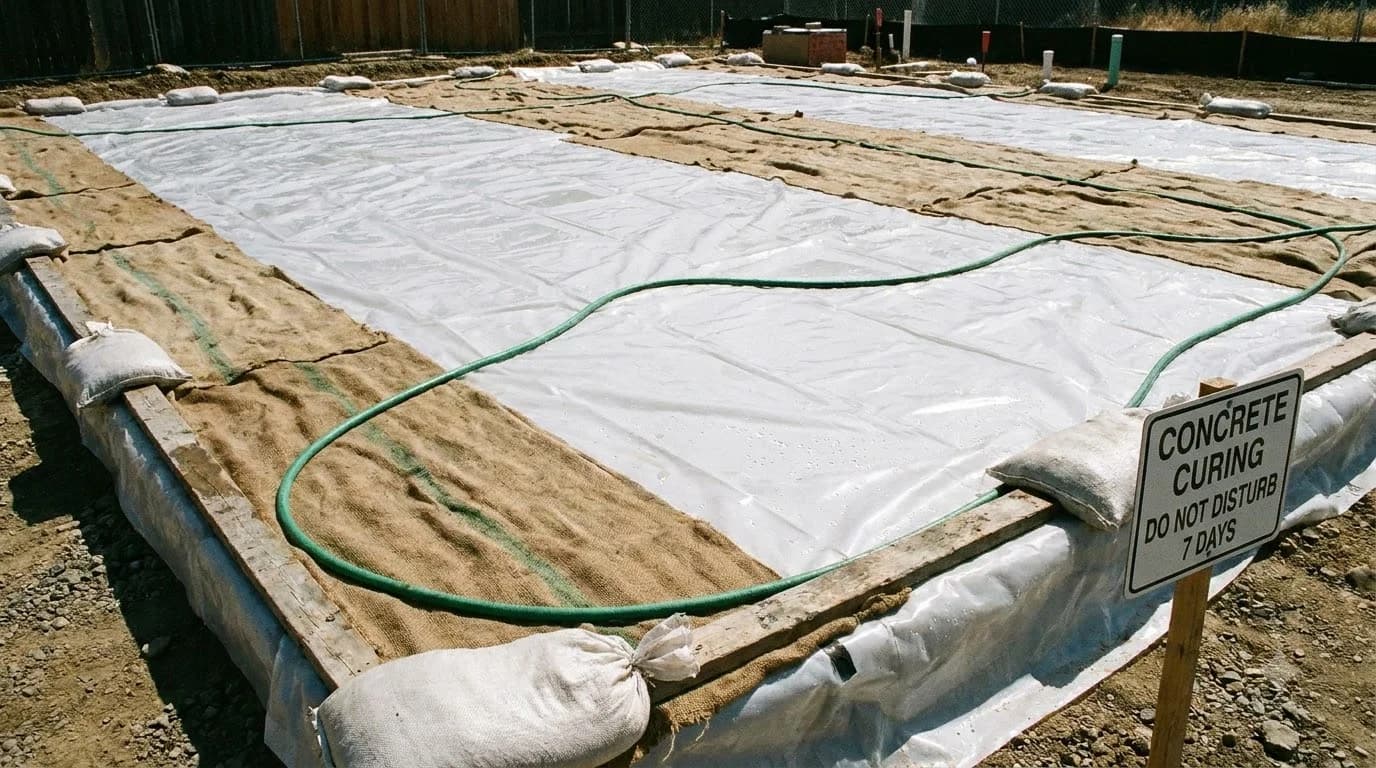
How to Cure Concrete: Wet Curing vs Curing Compounds
Concrete Steps Calculator: Estimate Yards & Bags