Quick Contractor Takeoff: Saw-Cut Vertical Shoulders, Pre-Wet to SSD, Use Polymer Resurfacers
Never spread patch material with a feather-edge over dirty, flaking concrete. First, saw-cut the spall perimeter 1/2-inch deep to create a vertical 90-degree shoulder. Chip away all fractured paste down to sound aggregate. Pressure wash thoroughly, pre-soak the concrete to a Saturated Surface-Dry (SSD) condition, scrub in an acrylic bonding slurry, apply an ASTM C928 polymer-modified resurfacer, and protect with a breathable silane/siloxane sealer.
1. The Root Causes of Concrete Spalling & Scaling (ACI 201.2R)
Concrete spalling is defined as the delamination, flaking, or popping loose of the top 1/8 to 2 inches of a concrete slab. Under ACI 201.2R (Guide to Durable Concrete), spalling is rarely a simple cosmetic blemish; it is an indicator of environmental degradation or placement errors:
Freeze-Thaw Pore Pressure: Hardened concrete paste contains microscopic capillary pores. When saturated concrete freezes, water expands by 9% in volume. In concrete placed without microscopic air-entraining admixtures (ASTM C260), this volumetric expansion generates internal hydraulic pressures exceeding 2,000 psi, fracturing the brittle cement paste surrounding aggregate particles.
Premature Finishing & High Water-Cement Ratio: If finishing trowels are operated while bleed water is still rising to the surface, excess water becomes trapped immediately beneath the surface crust. This artificially elevates the local water-cement ratio to over 0.60, creating a weak, porous surface layer called laitance that readily flakes under traffic.
Deicing Salt Chemical Degradation: Chemical deicers (sodium chloride, calcium chloride, and magnesium chloride) cause thermal shock and osmotic pressure differentials that suck water into the concrete paste, dramatically accelerating freeze-thaw cycles. In addition, chemical reactions between calcium chloride and calcium aluminate in the cement form expansive calcium oxychloride crystals that break apart the paste matrix.
Rebar Corrosion (Rust Jacking): When carbonation or deicing chlorides penetrate to embedded steel reinforcement, the passive alkaline oxide film on the rebar breaks down. As steel rusts, its volume expands by 600%. This outward radial force generates tens of thousands of pounds of pressure, creating horizontal cleavage cracks that pop the concrete off in large sheets.
2. Spall Damage Severity Classification Matrix
Determine the appropriate repair methodology based on defect depth, area coverage, and steel involvement:
| Defect Classification | Spall Depth | Substrate Preparation | Recommended Repair Material | Estimated Service Life | 2026 Turnkey Cost |
|---|---|---|---|---|---|
| Light Surface Scaling / Crazing | 1/16 in to 1/8 in | Pressure wash (3,500 psi) + acid/grind | Polymer-modified cementitious micro-finish | 5 to 8 Years | $3.50 - $5.50 / sq ft |
| Moderate Driveway Spalling & Pitting | 1/4 in to 3/4 in | Saw-cut 1/2-in edge + pneumatic chip | High-strength self-leveling polymer resurfacer | 8 to 12 Years | $4.50 - $8.00 / sq ft |
| Deep Structural Spalling / Popouts | 1 in to 2-1/2 in | Chisel to sound rock + mechanical keyway | ASTM C928 Class R2/R3 structural mortar | 12 to 15 Years | $6.00 - $10.00 / sq ft |
| Delamination with Corroded Rebar | Over 2 in | Undercut rebar 3/4-in + blast rust | Zinc-rich epoxy primer + polymer concrete | 15+ Years | $12.00 - $22.00 / sq ft |
3. Mechanical Perimeter Saw-Cutting & ICRI Surface Preparation
According to ICRI Guideline 310.1R (Surface Preparation for the Repair of Deteriorated Concrete), sound mechanical preparation is responsible for over 90% of structural patch bond strength. Never attempt to trowel repair mortar over an unprepared, sloping spall.
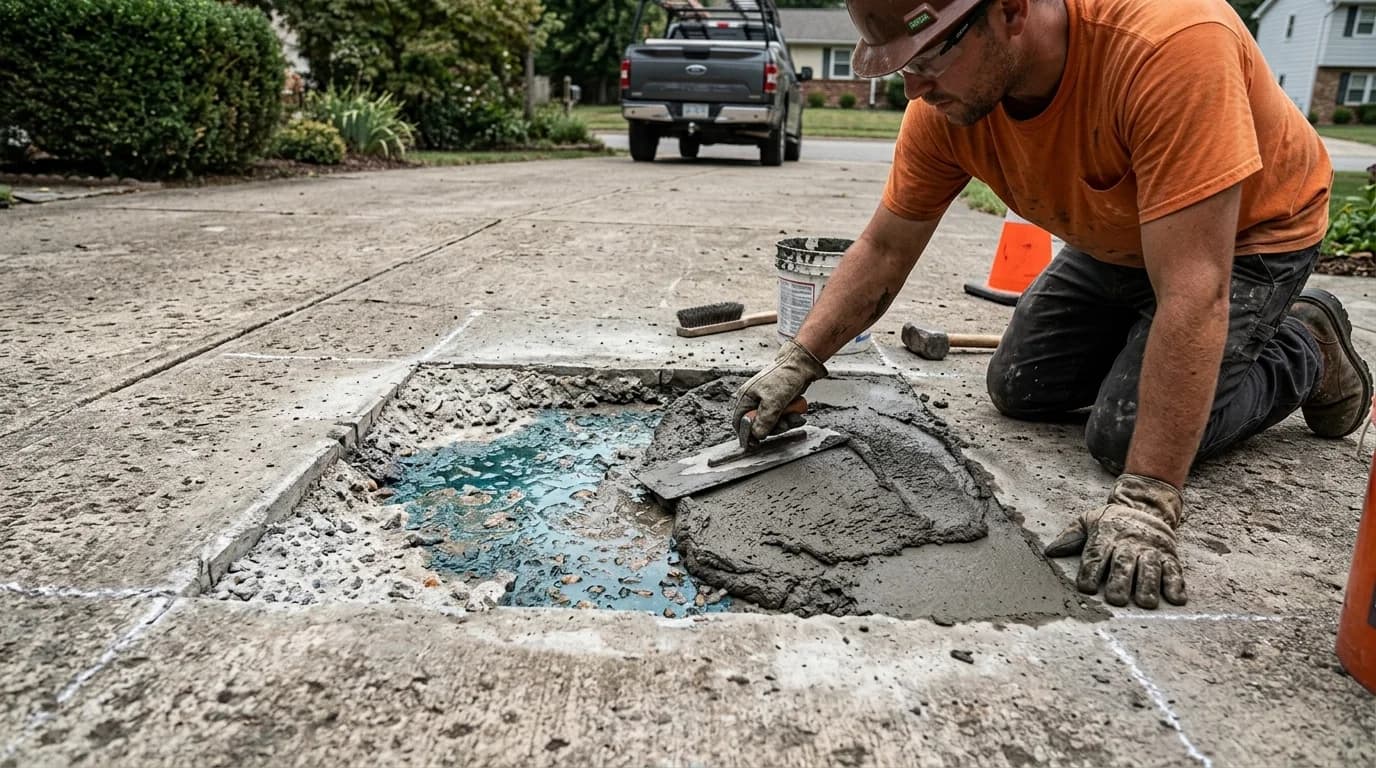
The 1/2-Inch Vertical Shoulder Rule: Using a circular saw or angle grinder fitted with a diamond masonry blade, saw-cut the entire perimeter of the spalled area to a minimum depth of 1/2 inch (13 mm). Cut at a 90-degree angle to the slab surface, or slightly undercut inward. This creates a sharp vertical shoulder that confines the patch material and gives it structural mass. Feather-edged mortar (tapered to zero thickness) invariably cracks, shrinks, and spalls off under vehicle tires.
Chipping to Sound Aggregate: Use a light 15-lb pneumatic chipping hammer or electric SDS rotary hammer fitted with a chisel point to remove all fractured, bruised, and micro-cracked concrete within the saw-cut boundary. Continue chipping until solid, unbroken coarse aggregate is exposed. Sound out the surrounding slab by tapping with a steel hammer—any area producing a hollow, drum-like rattle indicates sub-surface delamination and must be chiseled away.
High-Pressure Washing: Thoroughly blast the prepared cavity with a pressure washer delivering at least 3,500 psi to blow away pulverized dust, fractured paste, and carbonation. The concrete should achieve an ICRI Concrete Surface Profile of CSP 4 to CSP 6 (rough aggregate texture).
4. Step-by-Step Polymer Resurfacing Protocol
Follow this standardized 5-step operational protocol to guarantee a permanent, high-strength bond:
- Saturated Surface-Dry (SSD) Conditioning: Concrete is a porous mineral sponge. If you place fresh mortar directly onto dry concrete, the dry substrate immediately sucks mixing water out of the patch, starving the cement of hydration water and causing severe shrinkage debonding. Flood the cavity with clean water for 2 to 4 hours. Prior to placement, remove all standing puddles with a leaf blower or sponge. The surface must appear damp and dark, but with zero free glistening water.
- Bonding Primer Slurry Application: While commercial polymer mortars contain integral dry redispersible polymers, scrubbing a primer slurry dramatically boosts adhesion. Mix a small batch of the repair mortar with an ASTM C1059 Type II acrylic latex bonding liquid to the consistency of pancake batter. Vigorously scrub this slurry into the open concrete pores using a stiff-bristled brush. Place the structural patch while this slurry is still tacky—never allow it to dry.
- Mortar Mixing & Placement: Mix an ASTM C928 Class R2 or R3 polymer-modified rapid-hardening repair mortar using a heavy-duty 1/2-inch drill and spiral mixing paddle. Add the exact water volume specified by the manufacturer; excess water reduces compressive strength and causes excessive shrinkage cracking. Forcefully press the mortar into the cavity with a steel margin trowel, compacting it against the vertical saw-cut shoulders to eliminate entrapped air pockets.
- Screeding, Consolidating & Texturing: Overfill the patch slightly, then strike it off flush with the adjacent slab using a rigid aluminum or wood straightedge. For localized patches, finish the surface with a magnesium float. For full-width slab resurfacing, apply a polymer resurfacer using a gauge rake set to 1/8 to 1/4 inch, smooth with a long-handled magic trowel, and drag a clean concrete finishing broom lightly across the wet surface to create a skid-resistant texture.
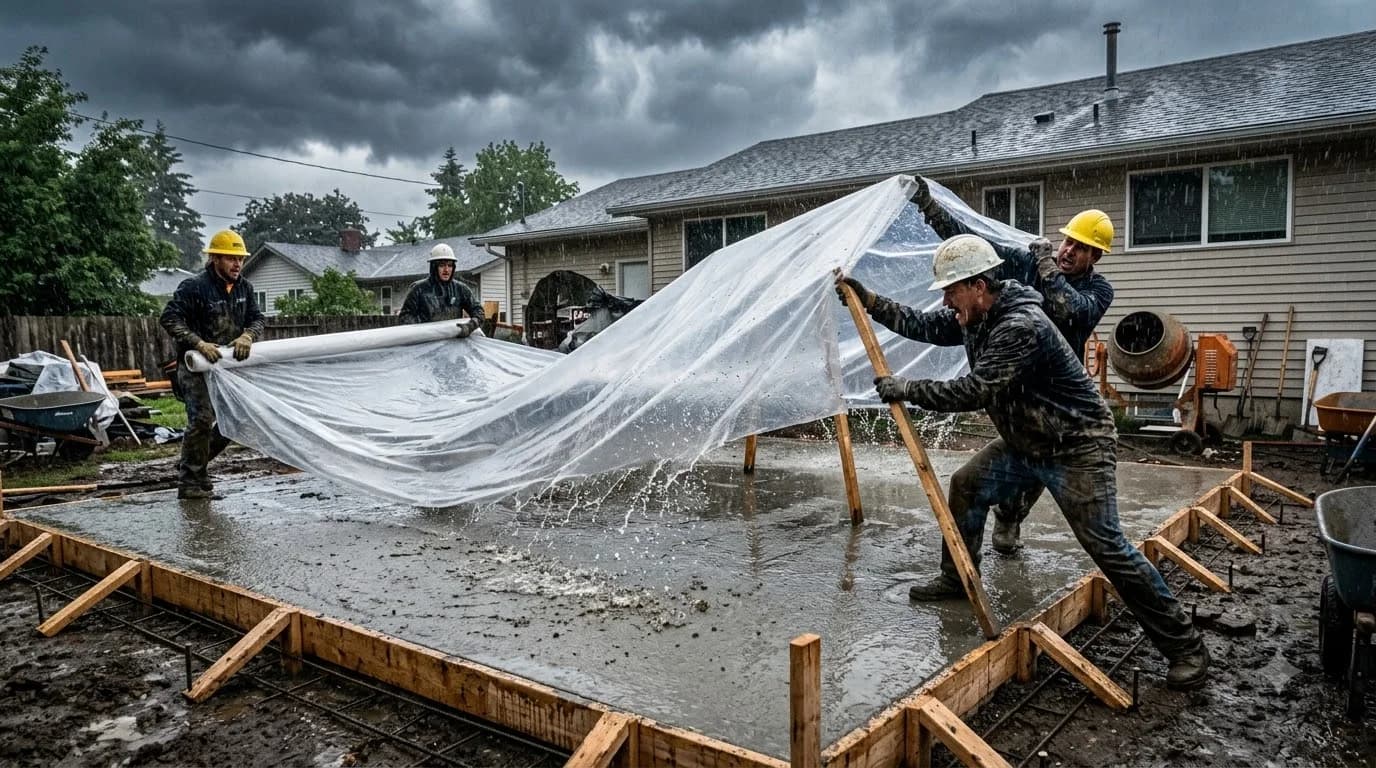
- Moisture Curing & Protection: Polymer mortars cure rapidly, reaching over 2,500 psi in 3 hours. In warm, sunny, or windy conditions, immediately mist the repair with water and cover with plastic sheeting for 24 hours to prevent plastic shrinkage cracking. Keep pedestrian traffic off for 4 to 6 hours and vehicular traffic off for a minimum of 24 to 48 hours.
5. Long-Term Hydrophobic Sealing & 2026 Repair Costs
Repairing the spall without sealing the surrounding slab leaves adjacent areas vulnerable to the same freeze-thaw cycles that caused the initial failure. After the patch cures for 28 days, treat the entire driveway or patio with a penetrating 100% silane or silane/siloxane blend meeting ASTM C672 (Scaling Resistance of Concrete Surfaces Exposed to Deicing Chemicals):
Why Penetrating Silane Is Mandatory
Silane molecules are small enough to penetrate 1/4 to 3/8 inch deep into concrete capillaries, reacting chemically to form an invisible hydrophobic silicone resin barrier. It repels liquid water and salt ions with a beading effect while remaining 100% vapor permeable (breathable), preventing trapped moisture from blistering the surface.
Why Film-Forming Sealers Fail Exterior
Impermeable paints, clear acrylics, and epoxies form an airtight surface film. Ground moisture rising under hydrostatic vapor pressure becomes trapped beneath the film, freezing into ice lenses during winter that pop the coating and new patch right off the concrete.
2026 Economic Takeoff: For a typical 400-square-foot residential driveway section, DIY patch and resurface materials cost $240 to $450 ($0.60 to $1.15/sq ft). Hiring a professional decorative resurfacing crew runs $1,800 to $3,600 ($4.50 to $9.00/sq ft) including mechanical diamond profiling, polymer self-leveling overlay, and industrial penetrating sealers. Complete demolition and repouring of a 400-sq-ft 4-inch reinforced slab costs $4,000 to $6,400 ($10.00 to $16.00/sq ft).
5 Costly Concrete Spalling Repair Mistakes to Avoid
1. Feather-Edging Mortar to a Paper-Thin Margin
Troweling patch mortar in a sloping zero-thickness wedge over untreated spalls guarantees failure. Without at least 1/2-inch vertical shoulder mass, vehicle tires will fracture and dislodge the patch within weeks.
2. Placing Patch Material on Bone-Dry Concrete
Dry concrete acts as a desiccant, sucking the crucial mixing water out of fresh mortar before cement paste can hydrate. The unhydrated interface turns into powdery dust, resulting in immediate debonding.
3. Overlaying Active Moving Structural Cracks
Spall resurfacers cannot span active moving settlement or expansion cracks. Any moving crack must be pre-stitched with carbon-fiber staples or saw-cut through the new overlay as a working control joint; otherwise, reflective cracking will reappear immediately.
4. Sealing with Impermeable Film Paints
Applying solid floor paint or non-breathable sealers traps subterranean moisture vapor beneath the concrete skin. Trapped moisture expands during freeze cycles, shearing the patch off in large sheets.
5. Spreading Chemical Deicers on Fresh Patches
Chemical rock salts and calcium chloride aggressively attack young cement paste through osmotic crystallization. Never use chemical deicers on concrete repairs during the first two winter seasons; spread clean sand for slip traction.
Planning a Slab Resurfacing or Concrete Pour?
Calculate total square footage, cubic yards of concrete, bagged mix bags, and 2026 material costs instantly.
Frequently Asked Questions
Why do thin concrete patches chip and pop off after a single winter?
Patches delaminate when applied over unsound, dusty concrete, when edges are feather-edged to a zero-thickness taper instead of cut with a 1/2-inch vertical shoulder, or when placed on dry concrete without Saturated Surface-Dry (SSD) preparation. Without proper mechanical keyways, moisture freezes behind the patch and breaks the bond.
What is the root cause of concrete surface scaling and flaking?
Concrete scaling is primarily triggered by cyclic freeze-thaw action in concrete lacking adequate microscopic entrained air voids (ASTM C260), aggravated by winter deicing salts. Finishing concrete while bleed water is still rising also weakens the surface water-cement ratio, creating a fragile top layer prone to delamination.
Can I just pour regular concrete mix over my spalled driveway slab?
No. Standard bagged concrete contains coarse gravel aggregate and cannot be placed thinner than 2 inches without cracking and crumbling. For spalls shallower than 2 inches, you must use a polymer-modified cementitious resurfacer or an ASTM C928 rapid-setting structural repair mortar designed for thin applications.
How deep must you chip concrete around rusted rebar when repairing spalls?
Under ICRI Guideline 310.1R, you must chip around the entire circumference of corroded steel reinforcement to achieve at least 3/4 inch (19 mm) of clear space behind the rebar. This allows you to sandblast rust to bare metal and fully encapsulate the bar in fresh repair mortar.
How much does it cost to repair spalled concrete slabs in 2026?
DIY resurfacing materials cost $0.60 to $1.25 per square foot ($35 to $48 per 40-lb bag of polymer resurfacer covering approximately 35 sq ft at 1/8-inch thickness). Professional concrete resurfacing contractors charge $4.50 to $9.00 per square foot for shot-blasting, crack repair, and polymer overlay. Complete slab demolition and repouring costs $10.00 to $16.00 per square foot.
Building Codes & Primary Standards Cited
Guide to Durable Concrete
American Concrete Institute guidelines detailing mechanisms of freeze-thaw scaling, air entrainment, deicer scaling, and corrosion mitigation.
Guide to Concrete Repair
Standardized protocols for concrete evaluation, mechanical surface preparation geometry, bonding agents, and polymer mortar placement.
Surface Preparation for the Repair of Deteriorated Concrete
Defines saw-cut perimeter shoulder depths, chipping procedures, and substrate cleanliness standards for high-performance overlays.
Estimations adhere to standard North American modular 3/8-inch mortar joint physics and 5% to 10% material waste factors. Local municipal building inspectors, stamped architectural blueprints, and local frost depth requirements supersede general reference guidelines.
Popular Quick Estimates
Pre-engineered takeoffs & benchmarks matched to this project
Related Calculators
Specialized tools for foundation, core fill, and budgeting
Heavyweight structural blocks and bond beam units
Cubic yards, bags, and slab volume for flatwork and footings
Core grout volume in cubic yards and 80-lb pre-mix bags
Subgrade walls, soil retention, waterproofing and grout
Blogs & Construction Guides
Technical articles, IRC code standards, rebar schedules & freight logistics
How to Repair Damaged Concrete Steps: Rebuild Broken Edges
Why Concrete Delaminates & Scales: Causes & Repair Guide
How to Repair Cracks in Cinder Block Foundation Walls