Concrete Honeycombing Void Grout & Repair Mortar Estimator
Size non-shrink structural repair grout bags or polymer patching mortar based on void depth, length, and exposed rebar status.
1. Why Concrete Honeycombing Happens During Placement
When forms strip away to reveal clusters of naked coarse stone separated by dark, interconnected air cavities, the concrete did not fail to cure—it failed to consolidate while plastic. Honeycombing is fundamentally a placement and paste-distribution defect. Once air voids trap between #57 crushed stone (3/4-inch to 1-inch nominal maximum aggregate) and formwork faces, water, de-icing salts, and freeze-thaw cycling gain a direct expressway to embedded reinforcing steel.
Inadequate Internal Pencil Vibration Around Rebar
Unvibrated concrete relies solely on gravity, leaving up to 15% to 20% entrapped air pockets inside corners, below window blockouts, and around dense #4 or #5 rebar cages. Tapping the outside of plywood forms with a hammer only liquefies the outer 1/2 inch; internal pencil vibration is mandatory to liquefy mortar paste inside congested columns, stem walls, and beam soffits.
Excessive 4 to 6+ ft Free-Fall Segregation
Dumping ready-mix straight off a chute or pump hose from 4 to 6+ feet above the footing sends heavy coarse aggregate rocketing downward ahead of the lighter sand-paste matrix. When falling stone ricochets off horizontal ties and rebar laps, rock piles accumulate at the wall base while wet paste puddles elsewhere—creating textbook base-of-wall honeycombing.
Undersized Bar Clearance vs. #57 Stone (ACI 309R / 318)
Under ACI 318 and ACI 309R consolidation rules, clear spacing between parallel bars—and between bars and form faces—must exceed 1.33 times the maximum coarse aggregate size (at least 1 to 1.33 inches for #57 stone). At congested rebar lap splices or tight corner hooks, stone arches across the gap and filters out the paste behind it.
Stiff Low-Slump Mix vs. Leaking Form Seams
A stiff mix below 3 inches of slump resists flowing around form ties unless dosed with a mid-range water reducer—never add jobsite water, which slashes strength. Conversely, unsealed form panel joints and open snap-tie cones bleed fluid paste outward under hydraulic head, leaving dry, sand-streaked rock pockets directly adjacent to the seam. Verify proportions with our concrete mix ratio calculator.
2. Severity Classification: Cosmetic vs. Moderate vs. Structural Voids
Before grabbing a trowel or chipping hammer, classify the defect by depth, continuity, and reinforcement exposure. Surface bug holes under 1/2 inch are purely aesthetic; deep pockets along loadbearing foundation walls, shear walls, or column bases threaten bearing area and corrosion protection.
| Severity Tier | Void Depth & Appearance | Rebar & Structural Risk | Required Action & Material |
|---|---|---|---|
| Cosmetic Shallow (< 1 in) | Isolated surface bug holes or thin sand-streaking under 1 in deep with solid paste beneath. | Zero exposed rebar; full structural cross-section and cover preserved. | Pressure-wash, SSD wet, and sack-rub or skim with polymer-modified resurfacing mortar. |
| Moderate (1–2 in) | Visible coarse aggregate rock pockets 1 to 2 in deep along lift lines or form joints. | No exposed steel, but freeze-thaw moisture can reach reinforcement cover zone. | Saw-cut 1/2-in square edges, chip to sound aggregate, SSD + bonding slurry, trowel high-build polymer-modified concrete repair mortar. |
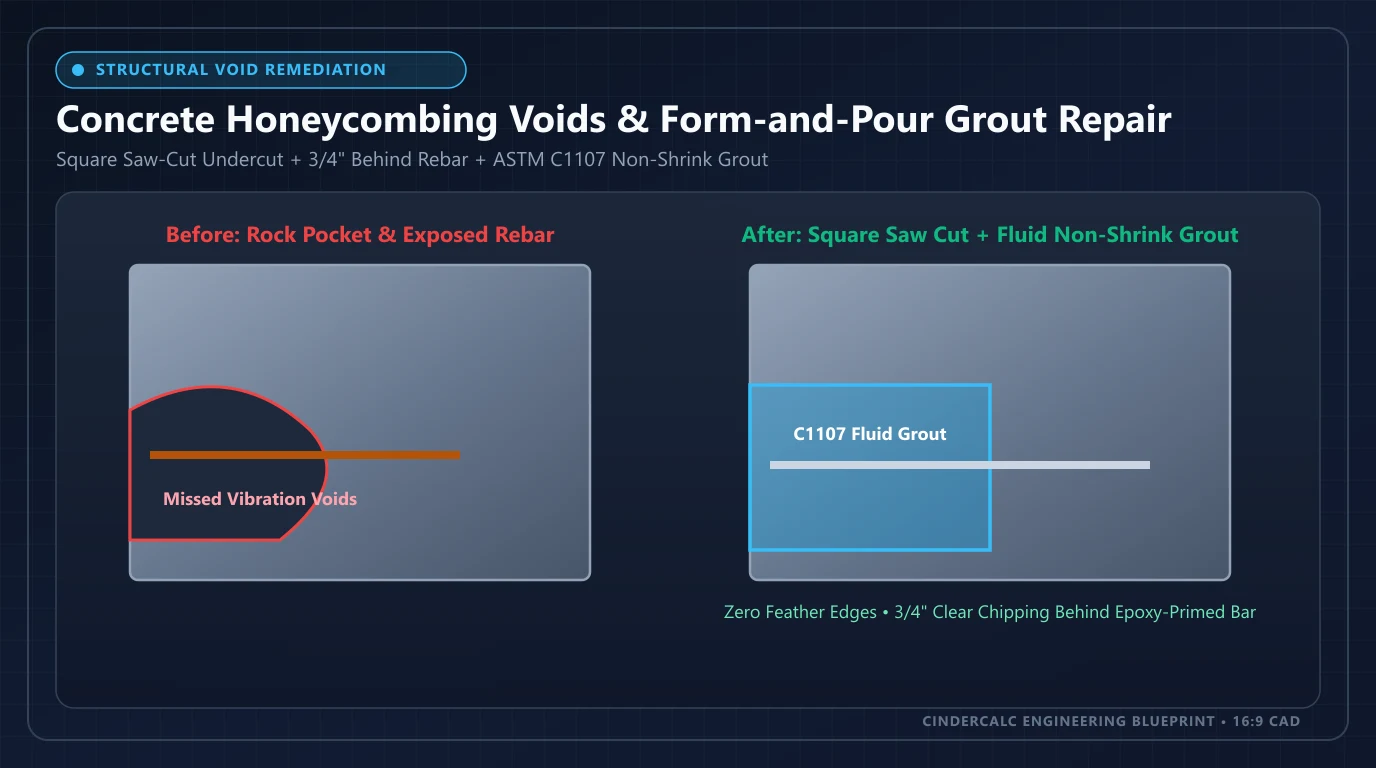
| Structural Deep (> 2 in) | Deep rock nests > 2 in, full-thickness wall voids, or honeycombed beam/column bearing zones. | Exposed or corroding rebar; reduced compression area and bond capacity. | Obtain licensed structural engineer evaluation first. Chip 3/4 in behind bars, zinc-prime steel, install sealed forms, and pour fluid ASTM C1107 non-shrink Portland grout. |
3. ACI 546 & ICRI 310.1R Surface Prep and Repair Sequence
Roughly 80% of concrete patch failures come from rushed preparation—smearing thin mortar straight over dusty loose gravel. Following ACI 546R and ICRI Guideline 310.1R turns a temporary cosmetic smear into a monolithic structural repair that bonds permanently to the parent member.
Step 1: Sound the Perimeter & Map the True Boundary
Tap across and 6 to 12 inches beyond the visible rock pocket with a mason's hammer or steel chain. Sharp, ringing pings indicate sound concrete; dull, hollow thuds reveal hidden micro-voids just beneath a thin mortar skin. Outline the entire hollow zone in soapstone, keeping repair borders simple rectangular or polygonal shapes with minimal acute corners.
Step 2: Saw-Cut a 1/2-Inch Square Perimeter Shoulder (Never Feather-Edge!)
Run a diamond-blade angle grinder or concrete saw 3/8 to 1/2 inch deep perpendicular (90°) to the wall face along your chalk outline—avoiding any shallow conduit or shallow rebar cover. Feather-edging mortar down to paper thickness guarantees curling and edge spalling under drying shrinkage. A crisp square shoulder gives the patch full mechanical depth right to the edge.
Step 3: Chip Loose Stone & Excavate 3/4 Inch Behind Exposed Rebar
Use a light electric chipping hammer (under 15 lb—heavy 30-lb jackhammers fracture sound aggregate beneath the patch, creating “bruising”). Remove all honeycombed rock until reaching fractured sound stone (ICRI Concrete Surface Profile CSP 6–8). Whenever rebar is exposed or rusted around > 25% of its circumference, chip a full 3/4 inch clear space behind the bar so fresh grout locks completely around the steel.
Step 4: Wire-Brush & Zinc-Prime Exposed Reinforcement
Clean corrosion and flaky mill scale off exposed bars with a rotary wire wheel or needle scaler back to bright steel. Immediately brush on two coats of an epoxy-zinc or zinc-rich rebar primer following manufacturer dry times. Keep primer strictly on the steel so it does not act as a bond-breaker on the surrounding concrete cavity.
Step 5: Saturated Surface Dry (SSD) Pre-Wetting & Bonding Slurry
Blow the cavity clean with oil-free compressed air and pressure-wash away dust. Keep the parent concrete damp for 4 to 24 hours, then blot away free water until the cavity looks dark matte damp with no glistening puddles—Saturated Surface Dry (SSD). Dry concrete wicks hydration water out of repair mortar and starves the bond line. Scrub a matching bonding slurry or epoxy bonding agent (if required by the bag datasheet) into the pores while placing material wet-on-wet.
Step 6: Trowel Repair Mortar vs. Form-and-Pour Non-Shrink Portland Grout
For cavities under 2 inches deep without rear rebar undercuts, force polymer-modified vertical/overhead concrete repair mortar firmly against the bottom of the pocket in 1/2 to 1 inch lifts, scoring each lift for the next. For voids deeper than 2 inches or exposed rebar, clamp a sealed plywood form box with an angled top “bird-mouth” pour chimney over the pocket, pour high-flow ASTM C1107 non-shrink Portland grout from the bottom up, rod or tap the form to purge trapped air, and wet-cure under poly for at least 72 hours after stripping the chimney.
4. Repair Mortar & Non-Shrink Grout Volume Math (50-lb Bag Yields)
Estimating repair bags from visible surface area alone almost always leaves crews short mid-pour because saw-cut square edges and chipping 3/4 inch behind bars add roughly 20% extra volume. Use the exact planning formula built into our interactive estimator at the top of this guide:
Repair Volume (cu ft) = Void Area (sq ft) × (Avg Chipped Depth (in) ÷ 12) × 1.20 (Square-Cut & Undercut Waste)
Worked Example A: 6 sq ft Column Base (2.5" Deep w/ Rebar)
6 sq ft × (2.5 ÷ 12) × 1.20 = 1.50 cu ft
⌈1.50 ÷ 0.45 cu ft/bag⌉ = 4 bags (50-lb) of fluid ASTM C1107 non-shrink Portland grout (form-and-pour).
Worked Example B: 12 sq ft Form Line (1.0" Surface Pocket)
12 sq ft × (1.0 ÷ 12) × 1.20 = 1.20 cu ft
⌈1.20 ÷ 0.45 cu ft/bag⌉ = 3 bags (50-lb) of polymer-modified vertical/overhead concrete repair mortar (trowel lifts).
| Repair Material Class | Typical 50-lb Bag Yield | Ideal Depth & Method | 28-Day Strength & Spec | Illustrative Bag Budget |
|---|---|---|---|---|
| Polymer-Modified Vertical / Overhead Repair Mortar | ~0.42 – 0.45 cu ft / 50-lb bag | 1/4" to 2" depth; hand-troweled in 1/2"–1" non-sag lifts (no formwork). | 5,000 – 7,500 psi (ASTM C928; low-shrinkage polymer bond). | ~$28 – $45 / 50-lb bag |
| Fluid Non-Shrink Portland Grout (Neat) | ~0.45 cu ft / 50-lb bag | 1" to 2" tight clearances & behind rebar; poured via sealed bird-mouth form. | 6,000 – 8,500+ psi (ASTM C1107 Grade B/C positive expansion). | ~$22 – $36 / 50-lb bag |
| Structural Form-and-Pour Repair Concrete (w/ 3/8" Pea Gravel) | ~0.48 – 0.52 cu ft / 50-lb bag (extended) | 2" to 6"+ deep voids; form-and-pour with pea gravel extender to cut heat & shrinkage. | 5,500 – 7,500 psi (matched thermal expansion to parent concrete). | ~$26 – $42 / 50-lb bag |
Note: Yield figures and bag prices above are illustrative planning examples only. Always confirm exact water dosage, maximum lift thickness, and 3/8-inch washed pea-gravel extension limits on the manufacturer's technical data sheet. For large full-depth member replacements exceeding several cubic feet, run yardage in our full concrete volume calculator.
5. Vibration Timing & Placement Rules to Prevent Future Honeycombing
The lowest-cost concrete repair is preventing the void on pour day. Under ACI 309R, disciplined lift heights and internal pencil vibration eliminate trapped air pockets without segregating the mix:
- Limit Lift Height to 12–18 Inches: Place wall and column concrete in shallow horizontal lifts using a tremie hose or elephant trunk so free-fall never exceeds 4 feet.
- Follow the 12–18 Inch Grid & 5–15 Second Rule: Drop a 1-1/4 to 2-inch internal pencil vibrator vertically every 12 to 18 inches (so overlapping radius of action covers every square inch) for 5 to 15 seconds until large air bubbles stop surfacing, a thin sheen of paste forms, and vibrator pitch steadies.
- Stitch Lifts by 6 Inches & Withdraw Slowly: Plunge the vibrator 6 inches into the prior plastic lift to erase cold-joint lines, then pull out slowly at roughly 3 inches per second so concrete closes behind the head.
- Never Drag Concrete Horizontally or Over-Vibrate: Using a vibrator to push mix down a form strips paste off stone; holding the head in one spot past 20–30 seconds sinks aggregate and pools bleed water.
- Seal Formwork Seams & Check Bar Spacing Early: Tape plywood butt joints, plug unused tie holes, and verify rebar-to-form clearance exceeds 1.33× maximum aggregate size before concrete arrives.
Engineering Evaluation & Planning Estimate Notice
All bag yields (~0.42–0.52 cu ft per 50-lb bag), 20% square-cut undercut allowances, and illustrative $22–$45 bag pricing in this guide are planning examples only. Structural concrete honeycombing deeper than 2 inches, voids inside loadbearing columns, beams, or retaining walls, or any cavity exposing corroded or structural reinforcement must be inspected and specified by a licensed structural engineer before repair.
Plan Your Concrete Mix, Rebar Clearances & Replacement Yardage
Need exact ready-mix volume for a replacement section, batching ratios, or rebar splice clearances on your next structural pour? Open our dedicated concrete estimators:
Frequently Asked Questions
What causes concrete honeycombing in walls and columns?
Concrete honeycombing happens when coarse aggregate cannot flow into tight zones or loses its fine mortar paste before hardening. The four primary causes are missed or underpowered internal pencil vibration around rebar cages, excessive 4 to 6+ foot free-fall drops that segregate stone from paste, bar-to-form clearance tighter than 1.33 times the #57 aggregate size, and stiff low-slump mixes or leaking form joints that bleed out paste.
Can you repair honeycombed concrete yourself, or when do you need an engineer?
Cosmetic surface bug holes under 1 inch deep and isolated non-structural rock pockets between 1 and 2 inches with intact rebar cover can typically be patched using ACI 546 surface prep and polymer-modified concrete repair mortar. Any honeycombing deeper than 2 inches, voids passing through a wall or column core, or cavities exposing main vertical or shear rebar require a licensed structural engineer evaluation before patching.
Why must you saw-cut a 1/2-inch square perimeter instead of feather-edging a patch?
Feather-edged repair mortar tapers down to zero thickness along the border, where rapid moisture loss creates curled edges with almost zero shear resistance. Saw-cutting a perpendicular 3/8 to 1/2-inch deep shoulder per ACI 546 and ICRI 310.1R locks the patch mechanically inside sound concrete and ensures full aggregate interlock right up to the repair joint.
How many 50-lb bags of non-shrink Portland grout or repair mortar do you need?
Multiply the mapped patch area in square feet by the chipped depth in feet (depth in inches divided by 12), multiply by 1.20 to cover 90-degree square-cut edges and rear rebar undercuts, and divide by the bag yield. A typical 50-lb bag yields roughly 0.42 to 0.45 cu ft for polymer-modified mortar or neat non-shrink Portland grout (up to ~0.50 cu ft when extended with 3/8-inch pea gravel per datasheet). For example, a 6 sq ft void chipped 2.5 inches deep needs 1.50 cu ft, or 4 bags (50-lb).
How do you prep exposed rebar inside a honeycombed concrete void?
Per ICRI 310.1R, chip a full 3/4 inch of clearance completely behind any exposed or corroded reinforcing bar so fresh repair grout wraps 360 degrees around the steel. Wire-brush or abrasive-clean loose rust and mill scale back to bright steel, then coat the bar with a zinc-rich or epoxy rebar primer while keeping the bonding primer off the surrounding concrete cavity.
How long should you vibrate concrete with a pencil vibrator to prevent honeycombing?
Insert an internal pencil vibrator vertically at 12 to 18 inch centers for roughly 5 to 15 seconds per spot—until large entrapped air bubbles stop escaping, the surface mortar glistens, and the tool pitch levels off. Penetrate 6 inches into the previous lift, withdraw slowly at about 3 inches per second so the hole closes, and never drag concrete sideways with the vibrator head.
Reference Standards & Source Catalogs
Guide to Concrete Repair
Establishes defect evaluation, saw-cut perimeter geometry, chipped substrate preparation, bonding systems, and form-and-pour vs. trowel-applied repair concrete selection.
Read sourceGuide for Surface Preparation for the Repair of Deteriorated Concrete Resulting from Reinforcing Steel Corrosion
Specifies 90-degree saw-cut edges, under-15-lb chipping hammers, 3/4-inch clearance behind exposed rebar, and concrete surface profile (CSP) preparation.
Read sourceGuide for Consolidation of Concrete
Defines internal vibrator head sizing, 12–18 inch insertion grids, lift overlap, withdrawal rates, and segregation limits during vertical formwork placement.
Read sourceBuilding Code Requirements for Structural Concrete
Governs minimum bar-to-bar and bar-to-form clear spacing relative to nominal maximum aggregate size and structural cover tolerances.
Read sourcePackaged Dry, Hydraulic-Grout (Nonshrink) & Rapid Hardening Repair Materials
Standard specifications for non-shrink Portland grout flow grades and high-strength polymer-modified structural patching mortars.
Read sourcePublisher links identify where to find the applicable standard; they do not establish certification or confirm every statement on this page. Check the edition, manufacturer data, and local adoption. Material takeoffs are planning estimates, and structural dimensions and reinforcement must come from the project design.
Popular Quick Estimates
Illustrative takeoffs with stated assumptions; verify project quantities
4-in Patio Slab Takeoff
Ready-mix yardage with 10% subgrade allowance
24x24 Garage Slab
576 ft² × 5/12 ft ÷ 27; excludes waste and design
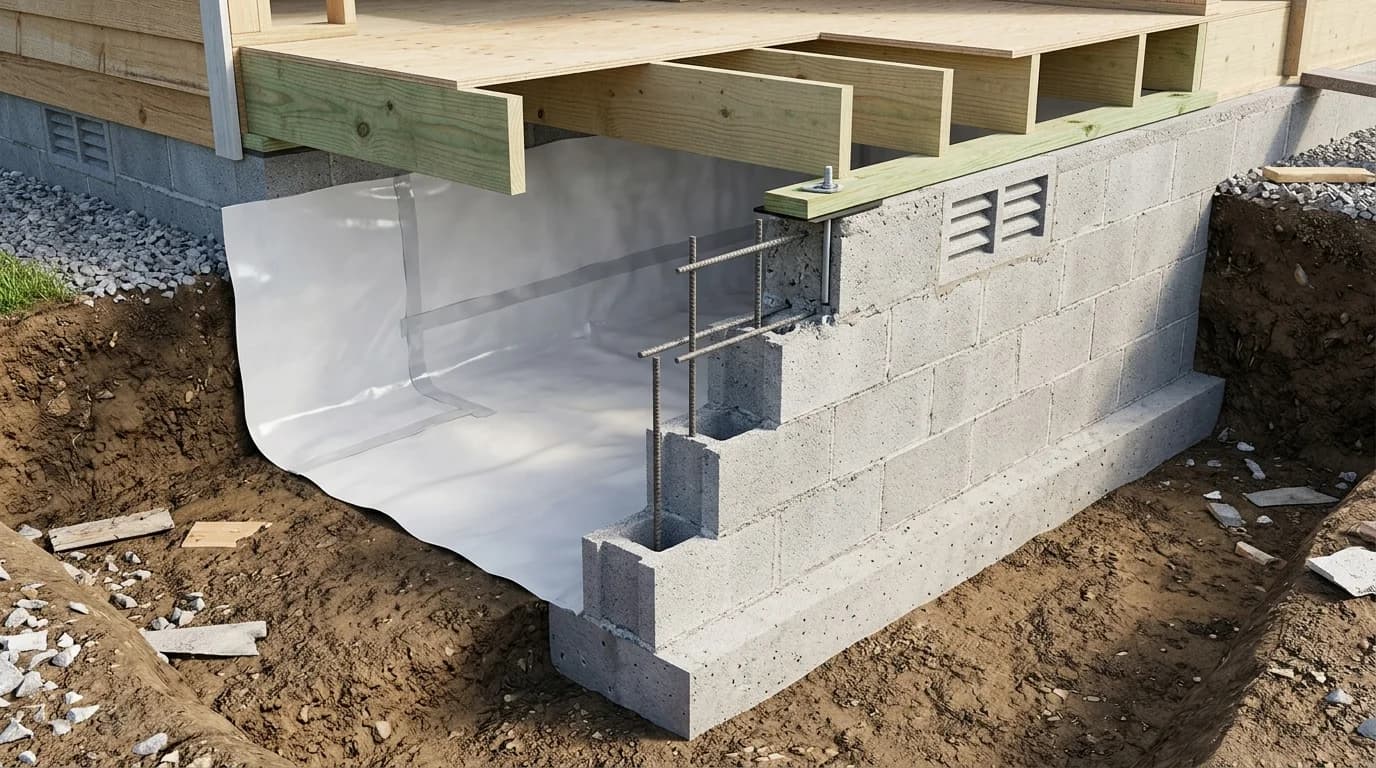
Crawlspace Stem Wall
Course-height example; footing design is site-specific
Core Grout Cell Volume
Example: 0.22 ft³ cores × 1/6 fill; excludes waste
Related Calculators
Specialized tools for foundation, core fill, and budgeting
Cubic yards, bags, and slab volume for flatwork and footings
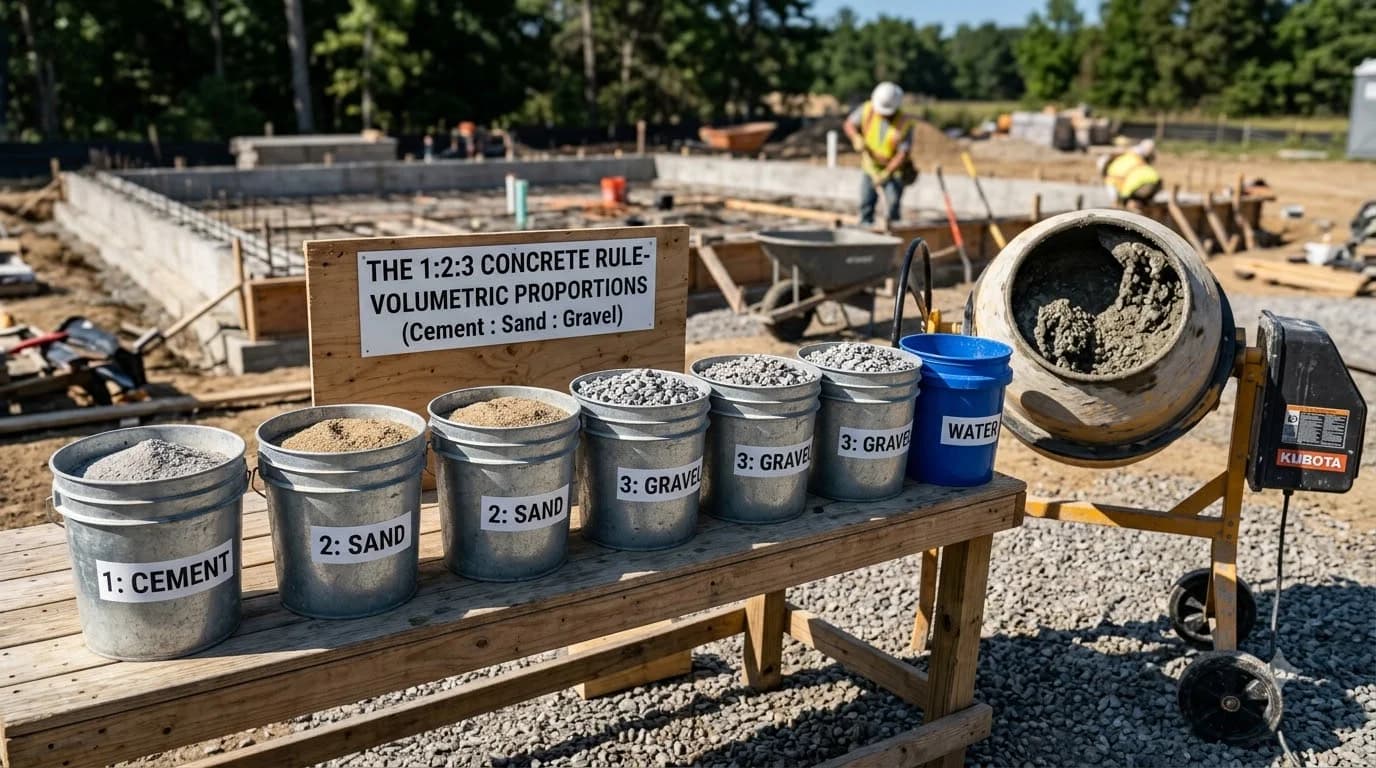
Volumetric 1:2:3 and 1:1.5:3 Portland cement, sand, #57 gravel, water, and 5-gal buckets
TMS 402 & ACI 318 tension splice lengths, 90° hooks, and 20-ft bar stock counts
ACI 302.1R saw-cut spacing grid, blade depth, linear feet, and 29-oz sealant tubes
Blogs & Construction Guides
Practical guides to block sizing, material estimates and project planning
Concrete Mix Ratios: The 1-2-3 Rule for 3,000 & 4,000 PSI
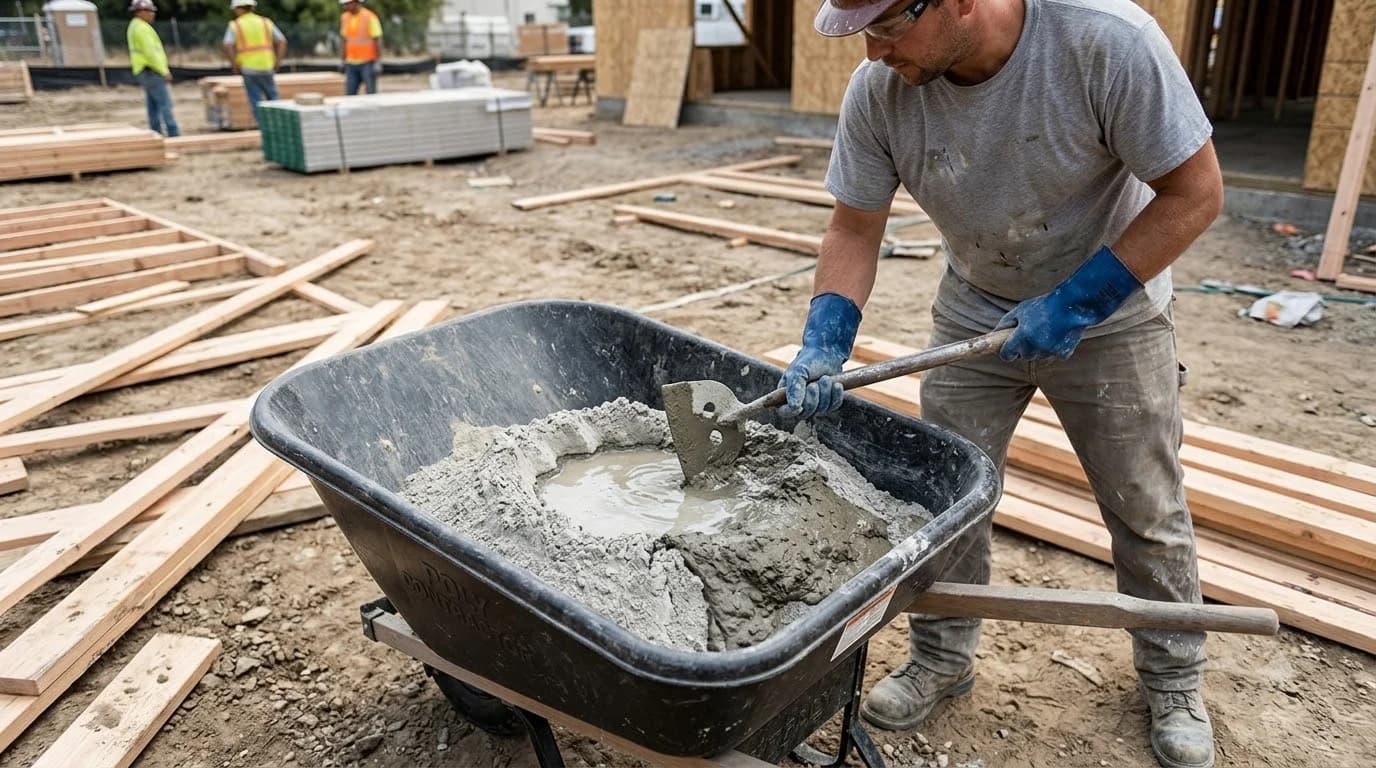
How to Mix Concrete by Hand: Wheelbarrow & Trough Math
CMU vs Poured Concrete Foundation: Cost & Strength