1. The Chemistry of Floor Coatings: 100% Solids vs. Water-Based Box Kits
The vast majority of DIY garage floor failures originate at the retail store checkout. Standard big box "epoxy paint" kits are not true commercial epoxies; they are water-borne or solvent-borne acrylic hybrids containing only 40% to 50% solids by volume.
When a water-based product is rolled onto concrete at an 8-mil wet film thickness, the water and carrier solvents evaporate into the atmosphere during drying. This leaves behind a fragile dry film thickness (DFT) of merely 2.5 to 3.5 mils—roughly the thickness of a piece of standard printer paper. Under vehicle traffic, this wafer-thin acrylic film quickly abrades, scratches, and succumbs to chemical dissolution from motor oils and gasoline.
In contrast, industrial-grade epoxy is 100% solids by volume. Formulated from pure bisphenol-A or bisphenol-F epoxy resin and cycloaliphatic amine curing agents, 100% solids products contain zero volatile water or solvent carriers. Every liquid droplet spread on the floor converts 1:1 into a dense, solid thermoset cross-linked polymer matrix:
- Full Film Retention: An application of 12 mils wet cures to an exact 12 mils dry film thickness (300 to 400 microns).
- Tensile Adhesion: Attains bond strength exceeding 400 to 500 PSI (ASTM D4541), easily exceeding the internal tensile strength of the concrete substrate itself (the concrete fails before the epoxy debonds).
- Zero Shrinkage Stress: Does not contract or pull away from joint edges and micro-pores as it cures.
2. Surface Preparation Science: Mechanical Diamond Grinding vs. Acid Etching
Ask any forensic concrete coating failure investigator why an epoxy floor peeled, and in 95% of cases the answer is improper surface preparation. Concrete is not a flat, static plastic; it is a porous, alkaline composite topped by a weak, brittle cream layer known as laitance.
Most home kits include a packet of citric acid or instructions for muriatic acid washing. While acid chemically reacts with free calcium carbonate in open concrete, it suffers from severe limitations:
- Cannot Penetrate Machine-Troweled Concrete: Residential garage slabs are machine power-troweled during construction to create a slick, dense surface. Acid beads on top and cannot penetrate the burnished paste.
- Impervious to Curing Compounds: Acid cannot dissolve curing sealers, silicone water repellents, or deep motor oil stains.
- Introduces Dangerous Moisture: Soaking a slab with water and acid forces gallons of moisture into capillaries, requiring 4 to 7 days of commercial dehumidification before coating.
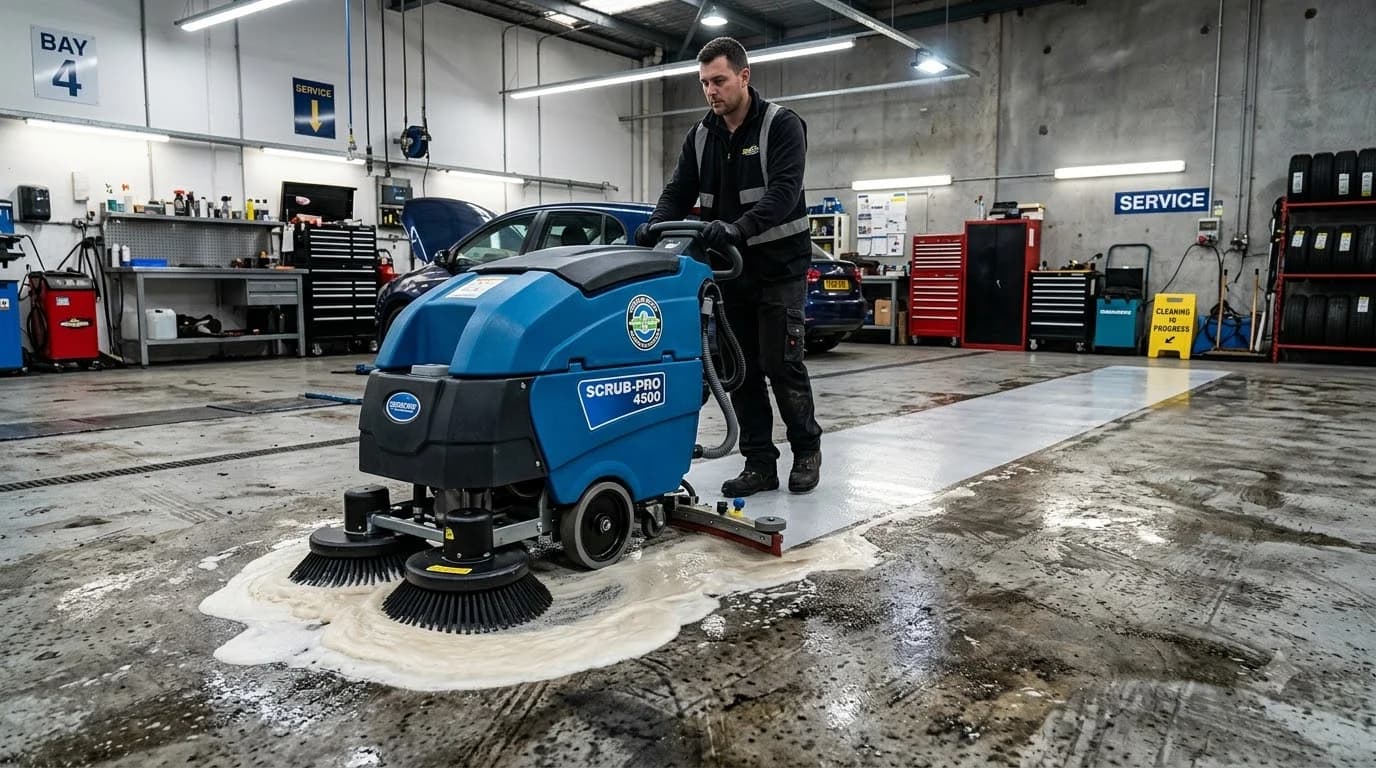
Professional contractors exclusively employ mechanical preparation using a rotary planetary diamond grinder equipped with 20/30 or 30/40 grit segmented metal-bond diamond tooling. Grinding removes the top 1/32 inch of weak laitance, eliminates sealers and grease, opens microscopic capillary pores, and levels high spots. It creates an ICRI Concrete Surface Profile (CSP) 2 to 3—a uniform sandpaper-like texture (comparable to 80-grit abrasive) that mechanically locks the liquid epoxy into the concrete matrix.
3. Garage Floor Coating Systems Comparison Matrix
Review the engineering specifications, physical durability metrics, and installed costs across the three major garage floor coating categories:
| Performance Metric | DIY Water-Based Kit | 100% Solids Epoxy + Urethane | Full Flake + Polyaspartic |
|---|---|---|---|
| Solids Content (% by Volume) | 40% – 50% | 100% Base / 65% Clear | 100% Epoxy / 85-100% Poly |
| Total Dry Film Thickness (DFT) | 2.5 to 3.5 Mils | 12 to 16 Mils | 25 to 35 Mils (High-Build) |
| Surface Prep Requirement | Muriatic Acid Wash | Diamond Grind (CSP 2) | Diamond Grind (CSP 2-3) |
| Hot-Tire Pickup Resistance | Fails in 3 to 12 Months | High (Up to 220°F) | Immune (Up to 350°F) |
| UV Sun Yellowing Resistance | Poor (Yellows in 1 Year) | Moderate (Aliphatic urethane) | 100% UV Stable (No Yellowing) |
| Abrasion Loss (ASTM D4060) | 65 – 90 mg loss | 25 – 35 mg loss | 12 – 18 mg loss (Ultra-Tough) |
| Return to Vehicle Traffic | 7 Days Minimum | 4 to 5 Days | 24 to 48 Hours |
| 2026 Turnkey Cost / Sq Ft | $1.50 – $2.50 (Self) | $4.50 – $7.00 | $5.50 – $9.50 |
| Service Lifespan | 1 to 3 Years | 10 to 15 Years | 15 to 25+ Years |
4. Step-by-Step Professional Application Protocol
Follow the precise multi-stage installation sequence used by certified concrete coating technicians:
- Moisture Vapor Testing (ASTM F1869 / ASTM D4263): Verify concrete dryness using a calcium chloride dome kit or 16x16-inch plastic sheet taped to the slab for 24 hours. Moisture vapor emission rates (MVER) exceeding 3.0 lbs / 1,000 sq ft / 24 hr mandate an ASTM F3010 epoxy moisture barrier primer before basecoating.
- Planetary Diamond Grinding & Vacuum Extraction: Run a commercial walk-behind planetary diamond grinder connected to an OSHA-compliant HEPA dust collector. Grind all open floor areas to an even CSP 2-3 profile. Grind perimeter edges and door thresholds with a 7-inch hand-held diamond cup grinder equipped with a dust shroud.
- Crack Routing & Polyurea Joint Repair: Chase all control joints, micro-fissures, and surface spalls using an angle grinder with a diamond V-groove blade. Blow out debris and inject low-viscosity, fast-curing polyurea joint filler. Once hardened (20 minutes), scrape or grind the patches perfectly flush with the concrete surface.
- Basecoat Mixing & Application: Mechanically mix Part A resin and Part B hardener of 100% solids epoxy at exact manufacturer ratios using a spiral Jiffy mixing blade at 350 to 450 RPM for 3 minutes. Pour immediately in ribbons onto the floor. Spread using a calibrated notched rubber squeegee (100 to 130 sq ft per gallon), followed by cross-rolling with a 3/8-inch lint-free shed-resistant roller nap.
- Full Vinyl Flake Broadcast to Rejection:While wearing spiked shoes, walk into the wet epoxy basecoat within 10 minutes and toss commercial color vinyl chips high into the air, letting them rain down evenly. Continue throwing flake until the wet resin is completely masked and refusing additional flake ("broadcast to refusal," roughly 0.15 lbs flake per sq ft).
- Flake Scraping & Polyaspartic Clear Coat: Allow the epoxy basecoat to cure for 10 to 14 hours. Vacuum loose unbonded flake. Scrape the floor in perpendicular directions with a rigid floor scraper to shave down protruding flake edges, then vacuum thoroughly. Mix and roll a clear aliphatic polyaspartic topcoat (120 to 150 sq ft per gallon). Broadcast fine aluminum oxide powder (54 to 70 mesh) into the wet topcoat to deliver an ANSI A137.1 slip-resistant finish.
5. Five Costly Garage Epoxy Mistakes That Cause Delamination & Peeling
1. Relying on Hardware-Store Acid Washing
Acid washing only cleans the surface chemical film; it cannot cut through curing compounds, tire grease, or hard troweled machine paste. Applying epoxy over acid-washed smooth concrete guarantees tire pickup within months.
2. Ignoring Subterranean Moisture Vapor (MVT)
Groundwater beneath uninsulated garage slabs migrates upward through concrete capillaries as hydrostatic vapor. Without an ASTM F3010 moisture barrier, this vapor condenses beneath the impermeable epoxy, blowing dinner-plate-sized blisters in the coating.
3. Exceeding Pot Life & Leaving Mixed Resin in the Bucket
Epoxy curing is an exothermic chemical reaction. Leaving 2 gallons of mixed resin sitting inside a plastic mixing bucket concentrates heat, causing the resin to boil, smoke, and flash-cure into a solid rock within 12 to 15 minutes. Always pour ribbons immediately.
4. Using Aromatic Epoxy as the Exposed Topcoat
Clear epoxy is an aromatic polymer chemically sensitive to UV radiation. When sunlight hits the open garage doorway or apron, clear epoxy degrades, turns muddy amber, and chalks. Always specify aliphatic polyaspartic or polyurethane for UV exposure.
5. Parking Heavy Vehicles Before Complete Cross-Linking
Epoxy may feel dry to the touch after 24 hours, but complete molecular cross-linking requires 72 to 96 hours at 70°F (and up to 7 days in colder weather). Parking a hot vehicle prematurely imprints tire tread patterns permanently into the plasticized resin or shears the uncrosslinked bond.
6. 2026 Material Takeoff & Contractor Pricing Analysis
Whether you plan to rent commercial grinding equipment for a DIY build or hire a certified polyaspartic coating contractor, review these realistic 2026 cost baselines for typical residential garage footprints:
DIY Commercial Materials
$1.80 – $3.20 / sq ft
Includes 100% solids epoxy base, 50 lbs flake, polyurea crack mender, and polyaspartic topcoat.
Grinder & HEPA Rental
$220 – $340 / 24-hr day
Walk-behind single/dual disc planetary grinder, diamond tooling wear fees, and vacuum shroud.
2-Car Garage Turnkey
$2,600 – $4,200 installed
Standard 400 to 500 sq ft garage: 1-to-2 day professional installation with 15-year warranty.
3-Car Garage Turnkey
$3,800 – $6,200 installed
Standard 650 to 800 sq ft garage: includes crack stitch patching, full flake broadcast, and UV seal.
When calculating coating volume, always order a 15% overage for basecoat epoxy to account for surface absorption into porous concrete profiles. A standard 100% solids basecoat yields approximately 120 to 135 sq ft per gallon over CSP 2 ground concrete.
Frequently Asked Questions
Why do cheap DIY garage floor epoxy kits peel up under car tires?
Cheap boxed retail epoxy kits fail due to two primary chemical factors: low solids content (only 40% to 50% solids by volume, meaning half the product evaporates away leaving a fragile 2-to-3-mil film) and inadequate surface preparation (citric or weak muriatic acid etching cannot profile hard-troweled concrete). When vehicle tires drive at highway speeds, friction heats the rubber tread to 140°F to 180°F. When parked, cooling tires contract, creating intense vulcanization suction that easily shears the thin, poorly anchored water-based coating right off the concrete in a defect known as hot-tire pickup.
How long does a professionally installed 100% solids epoxy floor last?
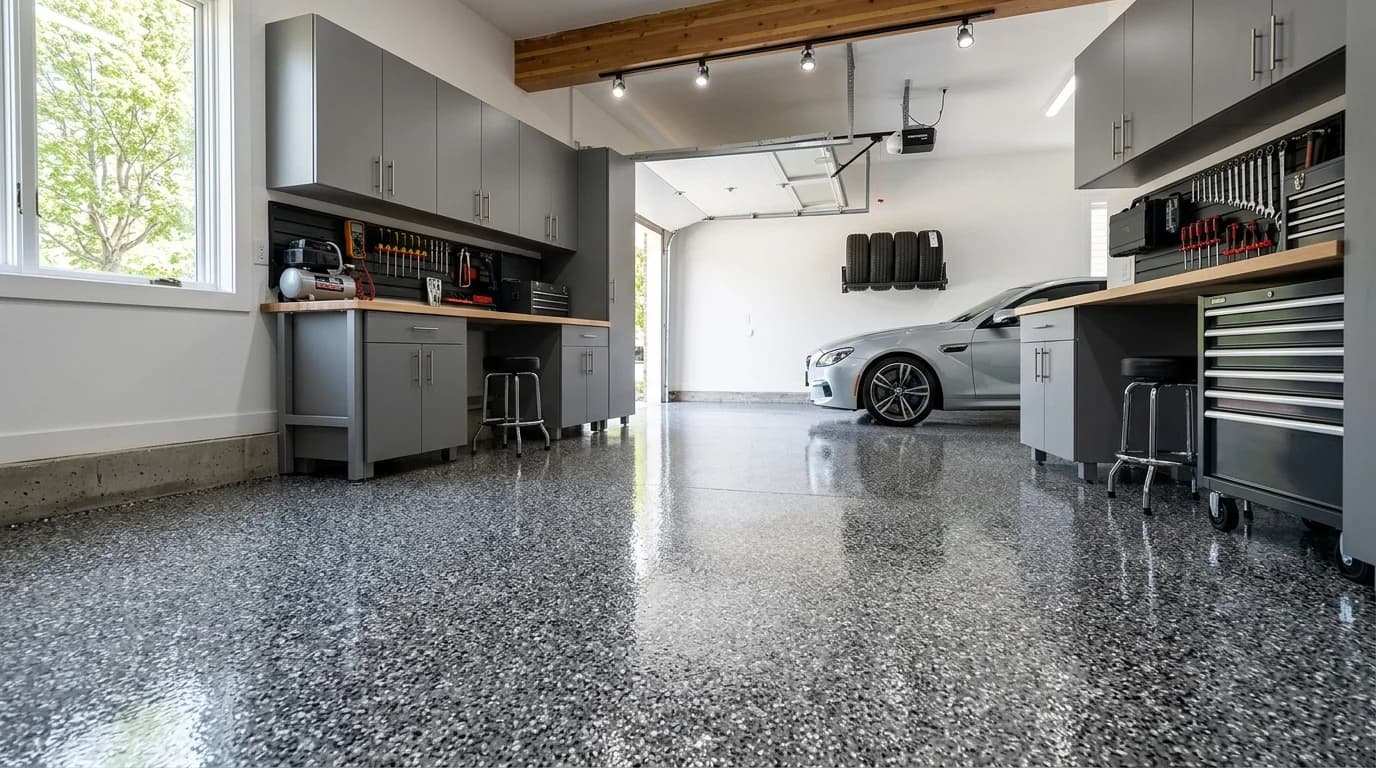
A professionally installed coating system featuring diamond-ground concrete (ICRI CSP 2-3), a 100% solids cycloaliphatic epoxy primer, full broadcast decorative flake, and an aliphatic polyaspartic clear topcoat typically lasts 15 to 25+ years in residential garages. The polyaspartic topcoat provides superior chemical resistance against motor oil, hydraulic fluid, gasoline, road salts, and battery acid while resisting hot-tire marks permanently.
Can you apply epoxy over cracked or spalled garage concrete?
Yes, but structural cracks and surface spalls must be repaired before applying resin. Never pour self-leveling cement over cracks before epoxy. Instead, open cracks using a 4.5-inch angle grinder with a V-shaped diamond crack-chasing blade, vacuum dust completely, and fill with a two-part rapid-curing polyurea or structural epoxy gel. Once cured (typically 20 to 30 minutes for polyurea), grind the patch flush with the surrounding concrete profile before rolling primer.
How do you test a concrete garage floor for excess moisture before coating?
Perform an ASTM F1869 calcium chloride dome test or an ASTM D4263 16x16-inch plastic sheet test. Tape a 16x16-inch square of heavy clear polyethylene plastic sheeting to the bare concrete with moisture-resistant tape. Leave it sealed for 24 to 48 hours. If condensation forms beneath the plastic or the concrete turns distinctly dark, high moisture vapor transmission (MVT) is present. For readings exceeding 3.0 lbs per 1,000 sq ft per 24 hours, you must apply a specialized epoxy moisture vapor barrier primer (ASTM F3010) before basecoating.
What is the difference between an epoxy topcoat and a polyaspartic topcoat?
Standard epoxy is an aromatic resin that turns chalky, amber, and brittle when exposed to solar ultraviolet (UV) radiation coming through open garage doors. In contrast, polyaspartic is an aliphatic polyurea ester that is 100% UV-stable (never yellows), cures 3 to 4 times harder than epoxy with 400% greater abrasion resistance (ASTM D4060 Taber abrasion), tolerates extreme heat up to 350°F, and cures fast enough for foot traffic in just 4 to 6 hours.
Building Codes & Primary Standards Cited
Standard Practice for Surface Cleaning Concrete for Coating
Establishes professional procedures for oil, grease, and chemical contaminant removal before resin placement.
Standard Test Method for Measuring Moisture Vapor Emission Rate of Concrete Subfloor
Specifies anhydrous calcium chloride testing methodology and maximum moisture tolerance limits for polymer coatings.
Selecting and Specifying Concrete Surface Preparation for Sealers and Coatings
Authoritative concrete repair institute standard defining Concrete Surface Profile (CSP) roughness benchmarks.
Estimations adhere to standard North American modular 3/8-inch mortar joint physics and 5% to 10% material waste factors. Local municipal building inspectors, stamped architectural blueprints, and local frost depth requirements supersede general reference guidelines.
Popular Quick Estimates
Pre-engineered takeoffs & benchmarks matched to this project
Related Calculators
Specialized tools for foundation, core fill, and budgeting
Primer, acrylic block filler and topcoat paint gallons
Detached garage walls, vehicle doors and perimeter courses
Heavyweight structural blocks and bond beam units
Reinforced cinder block swimming pool shell construction
Blogs & Construction Guides
Technical articles, IRC code standards, rebar schedules & freight logistics
How to Paint Cinder Block Walls: Primer & Sealer Guide
How to Paint Concrete Porches: Primers & Acrylic Paint
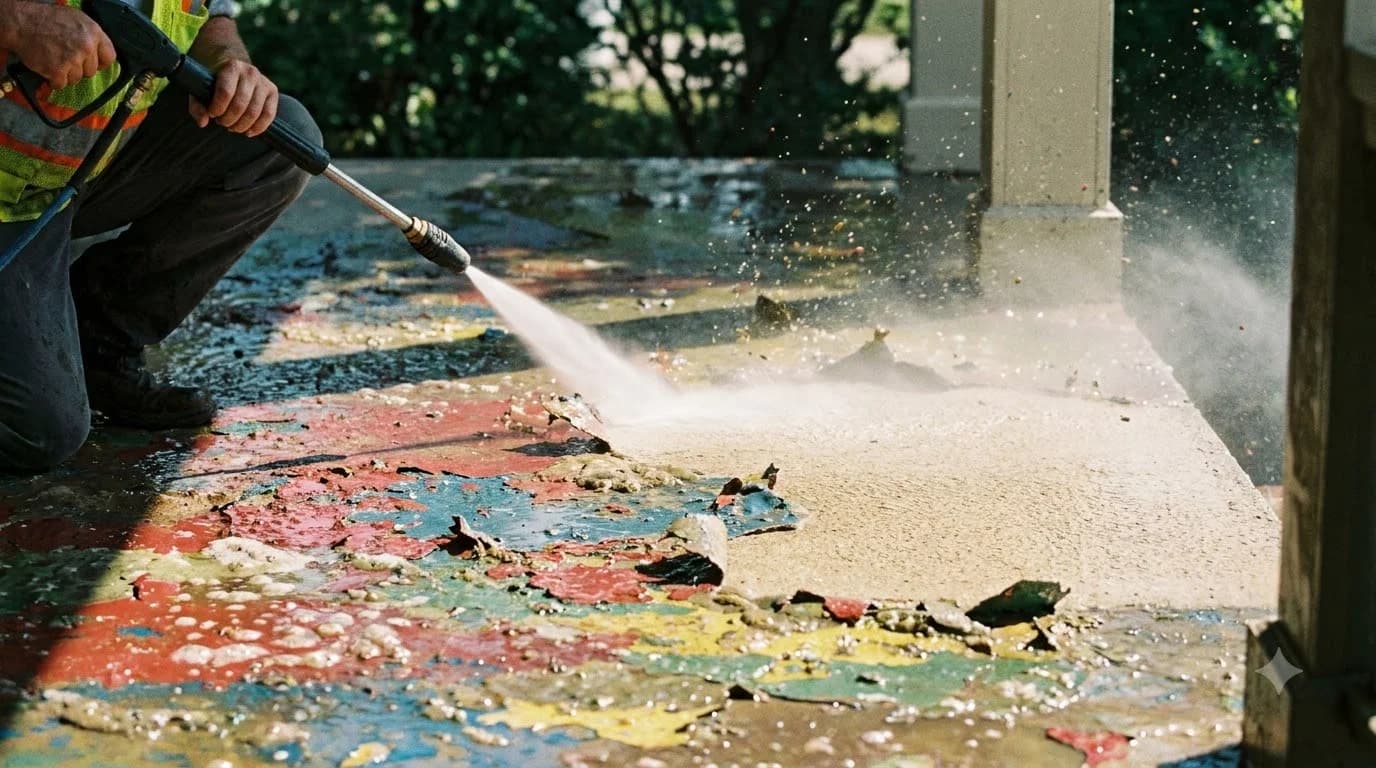
How to Remove Paint from Concrete: Strippers & Tools