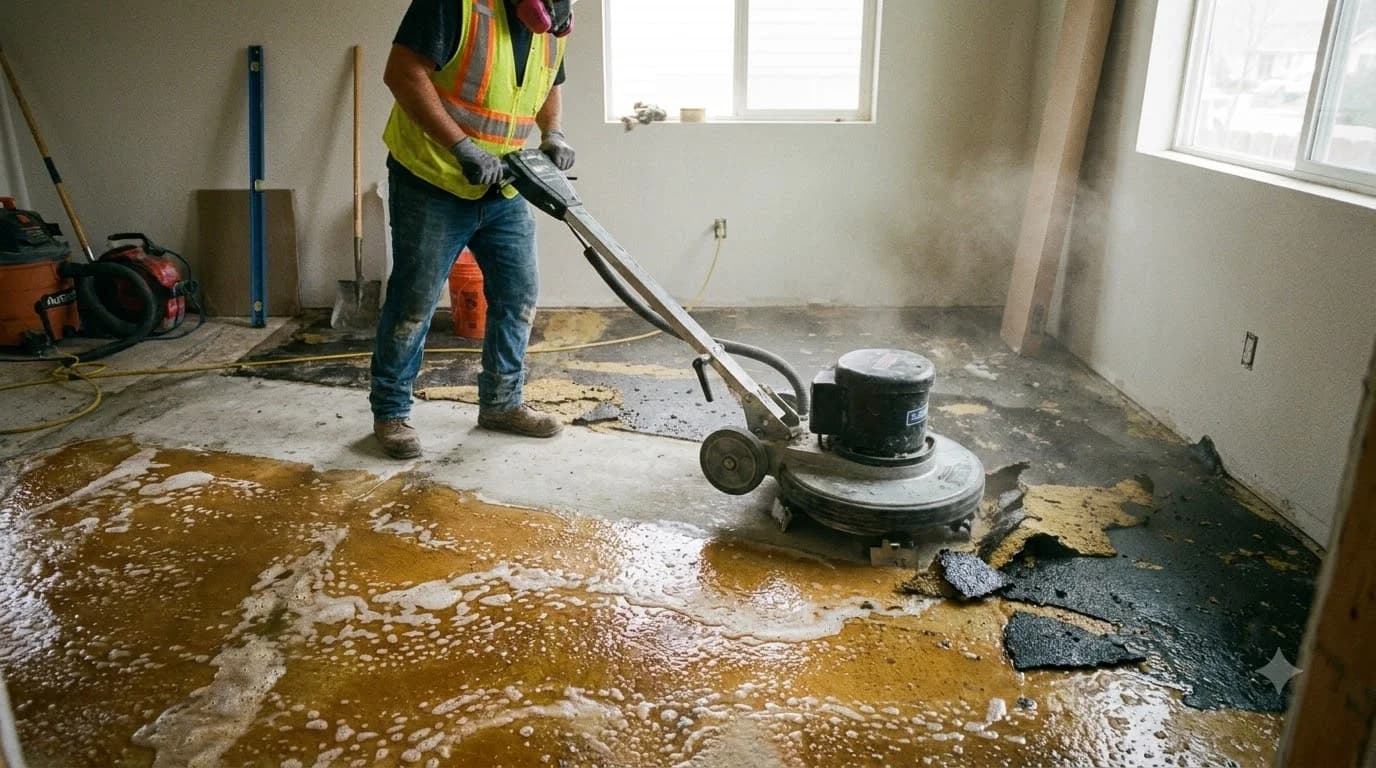
Tuckpointing Mortar Calculator
Accurately estimate preblended repointing mortar bags, linear feet of joint cutout, diamond grinding tuckpoint discs, and restoration labor hours for brick facades, chimneys, and CMU walls per ASTM C1714 and NPS Preservation Brief 2.
Confirm product yields, unit core volumes, supplier pack sizes and local prices before ordering. Reinforcement quantities are material allowances; laps, hooks, embedment and engineered design are excluded.
CinderCalc
Masonry Repointing & Tuckpointing Bill of Materials
Project Takeoff Sheet
Generated: 10/30/2026
1. Project Elevation & Joint Deterioration Scope
| Facade Area | 500 Sq Ft | Masonry Unit Type | brick |
| Joint Defect Rate | 30% (150 Sq Ft) | Cutout Rake Depth | 0.75" Uniform Depth |
2. Material Takeoff & Consumables
| Item Description | Standard / Yield | Quantity |
|---|---|---|
| Preblended Repointing Mortar | ASTM C1714 Type N/O Dry Premix (0.67 cu ft/bag) | 4 Bags |
| Net Joint Mortar Volume | Compacted Joint Infill Volume | 2.2 Cu Ft |
| Total Raked Joint Cutout Length | Linear Foot of Joint Raking & Pointing | 1,125 LF |
| Diamond Tuckpoint Sandwich Blades | 4.5" Dual-Segment Discs (~150 LF/blade) | 8 Blades |
| Estimated Field Labor Allowance | Cutout, Vacuum Clean, Pack & Strike (~25 LF/hr) | ~45 Hours |
Contractor Quality Control Instructions (NPS Brief 2):
• Rake joints to square back profiles at minimum 1/2" to 3/4" depth. Do not feather edge mortar onto brick face.
• Pre-hydrate dry mortar for 60–90 minutes with water to a stiff ball to minimize curing shrinkage.
• Compact mortar firmly into joints in layers no greater than 1/4" thick using dedicated tuckpointing trowels.
• Tool joints when thumbprint-hard to match original historical profile (concave, weathered, or flush).
Repointing vs. Tuckpointing: Essential Terminology & Trade Differences
While property owners and contractors frequently use the terms interchangeably, masonry trade preservationists draw precise technical distinctions between pointing, repointing, and true decorative tuckpointing.
Pointing
The initial placement and compacting of fresh mortar into bed and head joints during new construction as brick or CMU blocks are laid course by course.
Repointing
The remedial process of raking out failed, weathered, or water-permeable mortar to a uniform depth (1/2" to 3/4") and repacking new mortar tightly into the joint cavity.
True Tuckpointing
A high-end historic English technique where base mortar matching the brick color is placed in the joint, followed by grooving and laying a fine 1/8" white lime ribbon to create razor-sharp modular lines.
ASTM C270 & ASTM C1714 Mortar Selection Guide for Repointing
The fundamental rule of masonry restoration: The repointing mortar must always be softer and more vapor-permeable than the adjacent brick or stone units. Using overly hard mortar causes catastrophic face spalling when moisture freezes inside trapped bricks.
| Mortar Type | Compressive Strength (28-day) | Flexibility & Bond | Primary Masonry Applications | Repointing Compatibility |
|---|---|---|---|---|
| Type N | ~750 psi (5.2 MPa) | Medium-high bond, flexible | Exterior above-grade walls, modern brick, CMU block chimneys | Best for post-1940 structures |
| Type O | ~350 psi (2.4 MPa) | High elasticity, vapor open | Non-loadbearing interior walls, historic soft brick facades | Ideal for 1900–1940 brickwork |
| Lime-Sand (ASTM C207) | ~100–250 psi (Non-hydraulic) | Maximum vapor transmission | Pre-1900 historic preservation, soft handmade low-fire brick | Mandatory for historic landmarks |
| Type S | ~1,800 psi (12.4 MPa) | High shear, low flexibility | Retaining walls, footings, structural below-grade CMU cores | Avoid: Too rigid for brick repointing |
| Type M | ~2,500 psi (17.2 MPa) | Extreme rigidity, low flex | Heavy foundations, manholes, high-load structural pilasters | Strictly prohibited for repointing |
Joint Cutout Depth Standards & OSHA Silica Dust Control
Improper joint preparation is the single largest cause of repointing failure. Shallow raking leads to thin mortar "veneers" that pop off after the first freeze-thaw winter cycle.
The 2× Joint Width Rule (NPS Brief 2)
National Park Service preservation guidelines specify that old deteriorated mortar must be removed to a depth of twice the width of the joint (typically 3/4 inch for a 3/8-inch joint), or until sound mortar is encountered.
- Square the Back: Ensure the bottom of the cut is flat and square, not V-grooved.
- Protect Brick Arrises: Never let grinding wheels score the top or bottom edges of surrounding brick units.
- Manual Head Joints: Grind horizontal bed joints with an angle grinder, but chisel vertical head joints by hand to prevent gouging adjacent bricks.
OSHA 29 CFR 1926.1153 Silica Compliance
Mechanical grinding of mortar produces dangerous airborne respirable crystalline silica dust. OSHA Table 1 requires specific engineering controls when using handheld grinders for mortar removal:
- HEPA Shroud: Grinder must be equipped with a commercially designed dust extraction shroud.
- Air Flow Rating: Dust collector must deliver at least 25 CFM per inch of wheel diameter (≥110 CFM for a 4.5" grinder) with a 99.97% HEPA filter and reverse-pulse filter cleaner.
- Respirator Protection: Workers must wear an APF 10 half-mask respirator (N95 or P100) if grinding indoors or exceeding 4 hours outdoors.
Professional 5-Stage Repointing Execution Workflow
Follow this proven field procedure to guarantee maximum mechanical bond, zero joint shrinkage, and weather-tight water shedding.
Joint Cutout & Cavity Flush
Grind or hand-chisel old mortar to 3/4-inch depth. Thoroughly vacuum dust and flush joints with clean low-pressure water to remove all loose grit and prevent dry brick from sucking water out of fresh mortar.
Mortar Pre-Hydration (Slaking)
Mix preblended ASTM C1714 Type N or O mortar with just enough water to form a damp, crumbly ball that holds together without glistening. Allow to stand covered for 60 to 90 minutes to satisfy cement hydration before final tempering.
Layered Compacting in 1/4" Lifts
Using a dedicated tuckpointing trowel and hawk, push mortar firmly to the back of the joint in successive lifts no thicker than 1/4 inch (6 mm). Pack head joints first, then horizontal bed joints.
Joint Striking & Tooling
When the outer lift reaches "thumbprint hardness" (resists thumb pressure with only slight indentation), strike the joint with a convex jointer or flat slicker. Compacting the surface creates a dense, water-repellent skin.
Controlled Moist Curing
Mist fresh repointed joints with water twice daily for 48 to 72 hours, or hang damp burlap sheeting. Proper moist curing prevents rapid evaporation that causes hair-cracks and weak friable joints.
Joint Tooling Profiles & Weather-Tight Performance
The tooling profile dictates how efficiently wind-driven rain runs off the masonry face versus accumulating on mortar ledges.
Concave Joint
Curved inward with a rounded jointer. Highly recommended by BIA for exterior walls due to excellent water runoff and joint compaction.
Weathered Joint
Sloped outward from the upper brick arris down to the lower brick. Sheds rain effectively without horizontal pooling ledges.
Flush Joint
Leveled flat with the brick face using a trowel edge. Good for walls receiving stucco or paint, but prone to hairline edge gaps.
Raked / Recessed
Mortar scraped back 1/4" creating sharp shadow lines. Prohibited in severe freeze-thaw zones because top ledges retain standing water and ice.
Illustrative Repointing Material & Labor Budget Benchmarks
Planning cost ranges for typical brick and CMU repointing projects. Figures represent national contractor estimating benchmarks before local site access and scaffolding factors.
Note: Chimneys, elevated church spires, and historic multi-story facades incur additional staging, lift equipment, and containment fees. Always obtain dated local bids.
Contractor Field Quality Control & Inspection Checklist
• Confirm Depth Uniformity: Check raked joints across the facade with a depth gauge to verify a consistent 1/2" to 3/4" clean cavity before mixing mortar.
• Mortar Color Sample Panel: Prepare a 2×2-foot test panel on an inconspicuous wall elevation. Allow to cure for 14 days to confirm matching color, aggregate grit texture, and tooling profile.
• Avoid Feather-Edging: Never smear mortar across the exterior brick face to cover spalled edges. Feather-edged mortar will crack and peel away within months.
• Weather Restrictions: Repoint only when ambient temperatures remain above 40°F (4°C) for a minimum of 48 hours. Never install mortar into frozen joints or under direct blistering noon sun.
• Final Sponge Clean: Wipe excess mortar residue from brick faces with a clean, slightly damp sponge within 1 to 2 hours of tooling to eliminate need for aggressive acid washing.
Material estimates depend on the selected dimensions, product yields, and waste allowance.
Tuckpointing & Repointing FAQ
Authoritative answers on mortar selection, cutout depth, diamond blades, and preservation standards.
Popular Quick Estimates
Illustrative takeoffs with stated assumptions; verify project quantities
Type S Mortar Bags
Example 30 blocks per 80-lb bag; check product yield
Cinder Blocks for a 10x10 Wall: Exact Count & Mortar Math
Standard residential yard & garden wall run
1000 Sq Ft Sizing
High-volume logistics & bulk pallet freight
Cinder Block Grout Calculator: Cubic Yards & Bag Math
Example: 0.22 ft³ cores × 1/6 fill; excludes waste
Related Calculators
Specialized tools for foundation, core fill, and budgeting
Mechanical paddle mixer shovel counts, cement bags and water gallons
Type S and M bags, cubic feet and batching sand volume
Preblended ASTM C91 masonry cement 70-lb bags, ASTM C144 sand, and water ratios
ASTM C270 Type M, S, N site-mix Portland cement, hydrated lime, and sand batches
Blogs & Construction Guides
Practical guides to block sizing, material estimates and project planning
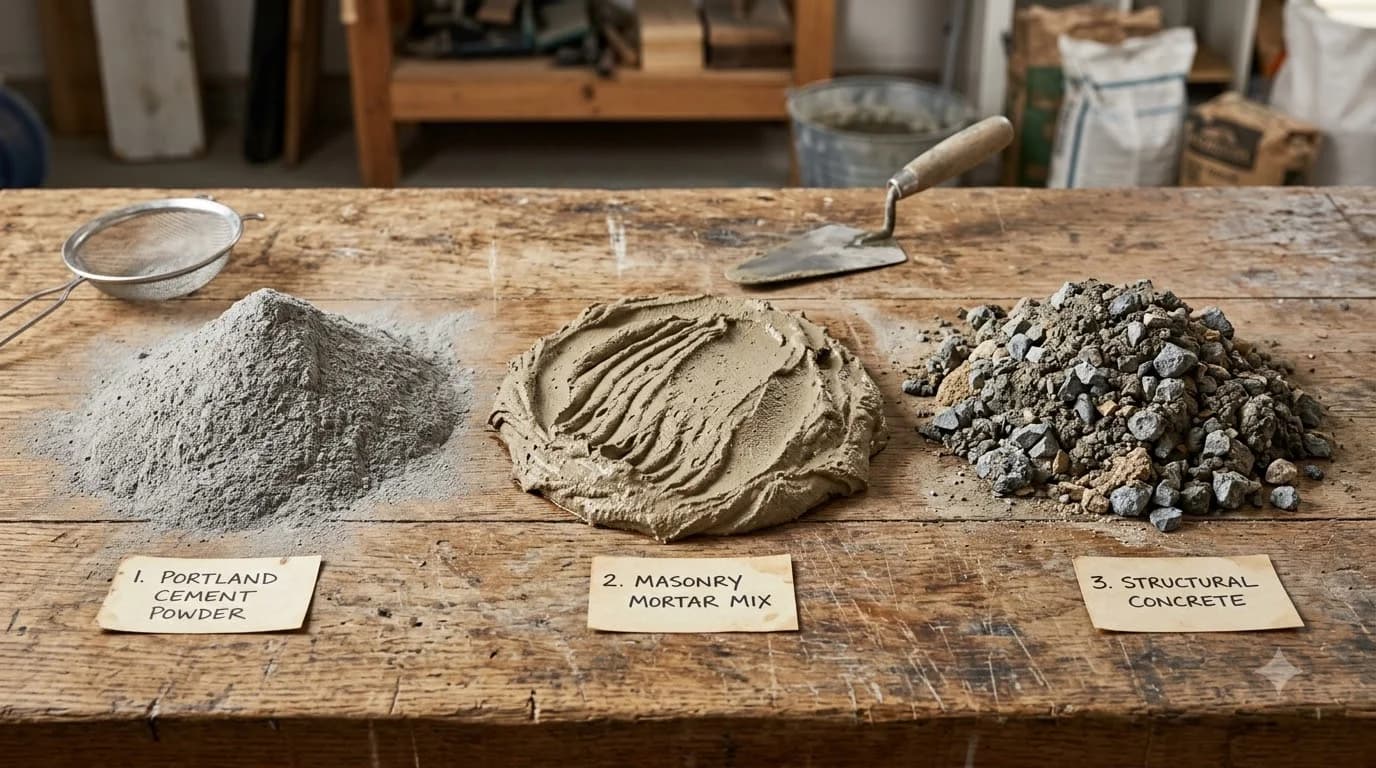
Concrete vs Cement vs Mortar: Key Differences & Mixes
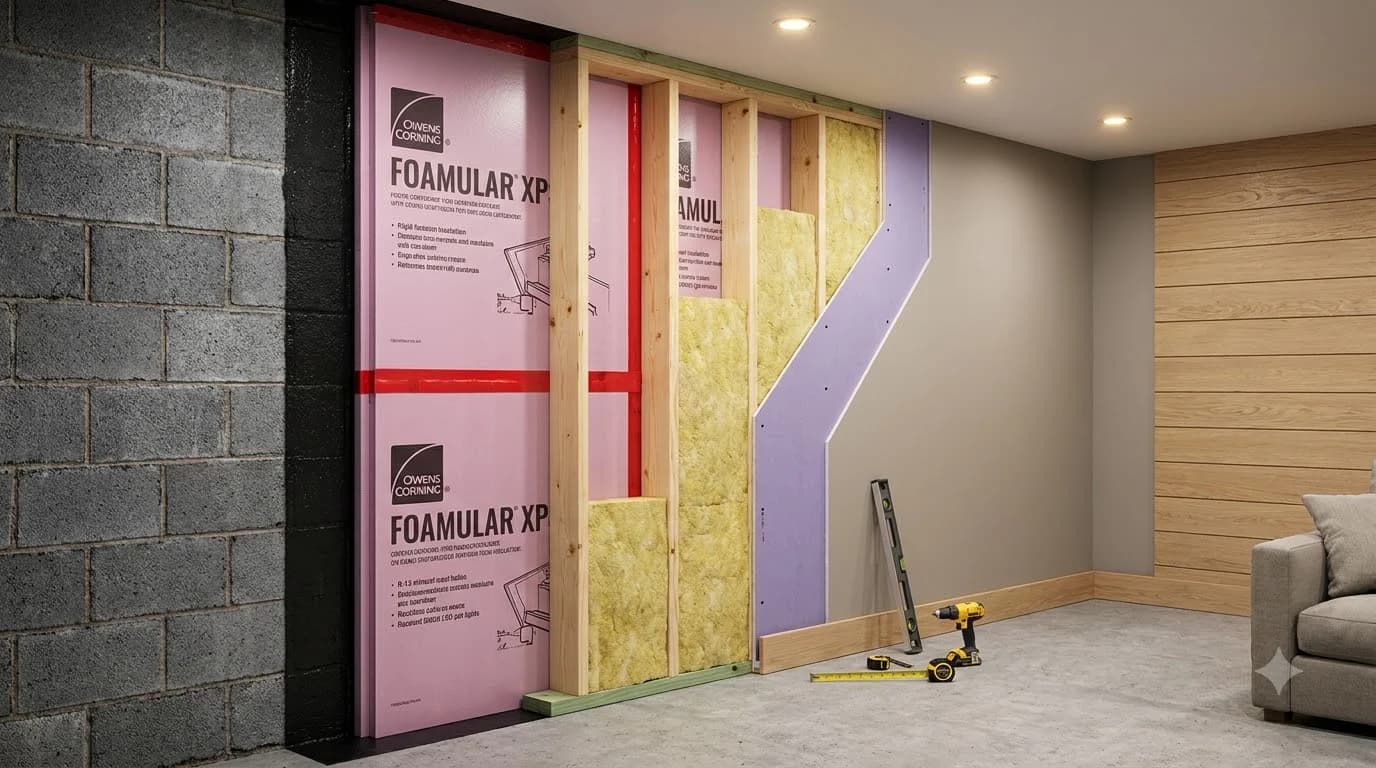
How to Cover Interior Cinder Block Walls (Top 5 Ways)
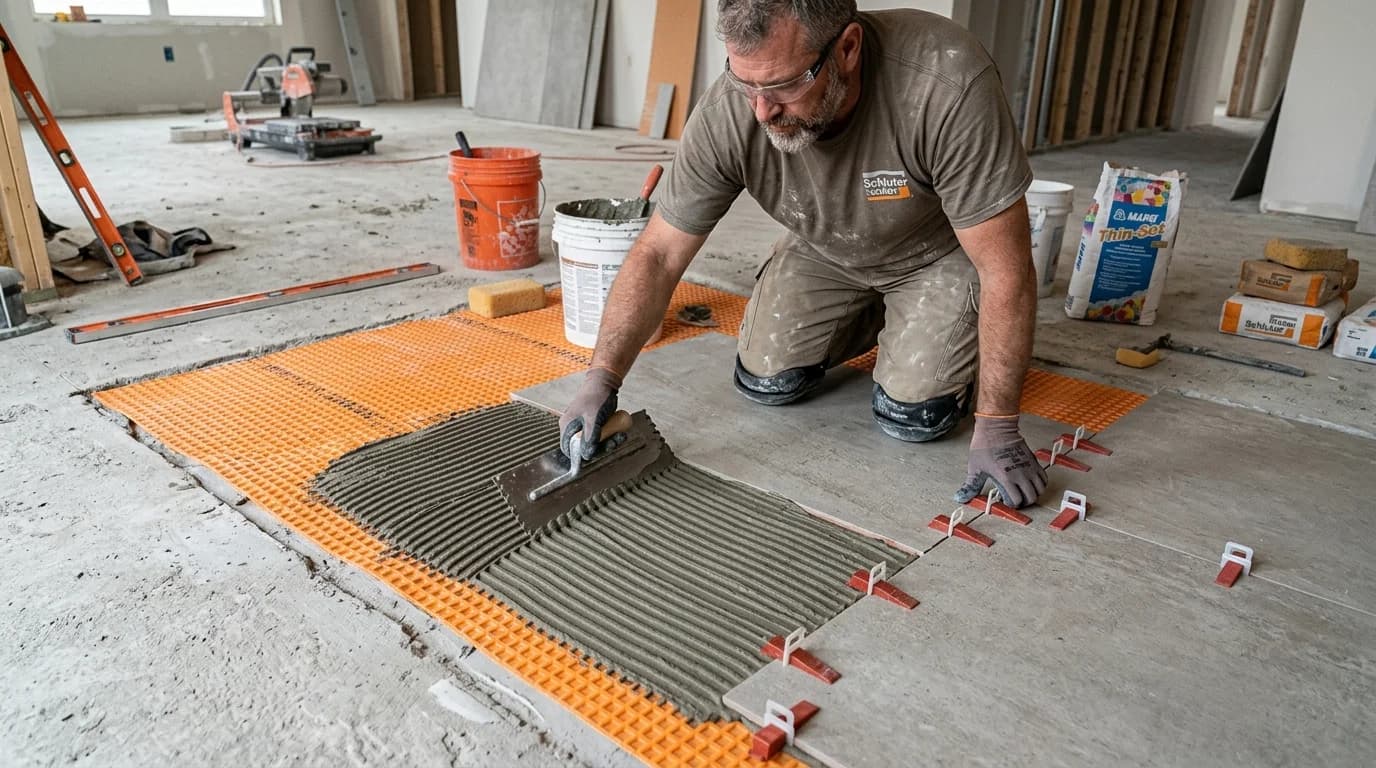
How to Lay Tile on a Concrete Slab: Thinset & Prep Guide