Existing Cinder Block Opening Saw-Cut, Shoring & Lintel Retrofit Estimator
Estimate lintel bearing length (+16" overall), jack-post shoring props, concrete slurry volume, and masonry saw passes for wall cutouts.
1. Pre-Cut Inspection: Load-Bearing Paths, Bond Beams & Utilities
Before snapping a single chalk line on an existing cinder block wall, treat the project as a structural modification rather than simple demolition. A standard 8×8×16 cinder block wall often supports roof trusses, second-story floor joists, or lateral backfill soil pressure—and many modern walls contain hidden horizontal grouted bond beams and vertical steel rebar inside select hollow cores.
Check Joist Framing & Hidden Grouted Beams
- Load-Bearing Check: Inspect the ceiling or basement above. Walls running perpendicular to floor joists or roof rafters carry active gravity loads and require temporary shoring plus an engineered lintel.
- Bond Beam & Rebar Scan: Use a deep-scanning rebar detector or drill small exploratory pilot holes in mortar joints at the planned head height. Cutting through a grouted bond beam or vertical #5 bar without engineered splicing compromises diaphragm continuity.
- Basement & Retaining Walls: Any below-grade cinder block wall carries lateral earth pressure. Egress window cutouts below grade require stamped engineering details and exterior window wells with perimeter drainage.
Locate Embedded Conduit, Plumbing & Grade Clearances
- In-Cell Electrical Conduit: Electricians routinely drop EMT or PVC conduit vertically down hollow cinder block cores to wall receptacles and exterior sconces. Trace every nearby box and shut off breakers before sawing.
- Plumbing & Gas Lines: Check the opposite side of the wall for hose bibs, furnace flues, gas risers, and main sewer penetrations.
- Threshold & Sill Elevation: Keep exterior door sills above outside splashback grade (minimum 4 to 6 inches above finished walk/patio level) so wind-driven rain does not pool inside the cut block cores.
2. Step 1 — Install Temporary Shoring Jacks Before Any Saw Cut
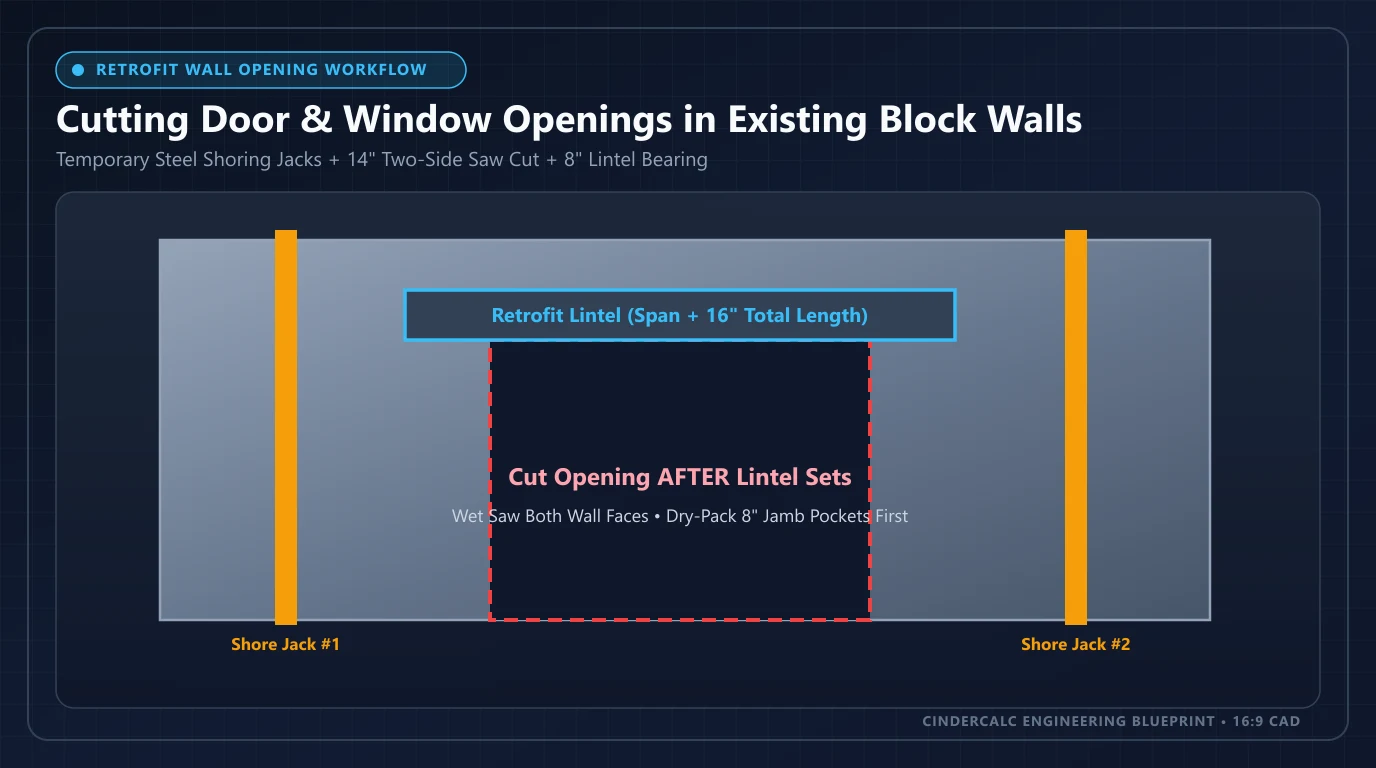
The number one mistake in masonry retrofits is cutting the vertical doorway or window rectangle first and trying to slide a lintel in afterward. The instant a diamond blade cuts across the top course, the blocks directly above your cutout rely purely on mortar tensile bond and can drop out of the wall or allow floor joists to sag.
How to Build a Safe Temporary Shoring Wall
- Set Back 24 to 36 Inches: Position your temporary shoring line parallel to the cinder block wall about 2 to 3 feet back so crews have clear room to handle a 14-inch wet saw and lift heavy lintels.
- Spread Floor & Ceiling Loads: Lay a continuous 2×8 or double 2×6 sole plate on the concrete slab and hold a continuous double 2×8 (or 4×6) header beam tight under the ceiling joists spanning at least 24 inches past both sides of the planned opening.
- Space Adjustable Screw Jacks Every 36–48 Inches: Install heavy-duty steel adjustable shoring posts (minimum 2 jacks for a 36-inch door, 3+ jacks for openings 5 to 8 feet wide) and snug the screw collars until they carry firm load without lifting the floor framing.
- Needle Beams for Multi-Course Masonry Above: If two or more courses of heavy cinder block sit above the lintel without a floor joist ledge to catch them, cut small pockets above the lintel slot and pass 4×4 steel tubes or 4×6 timber needle beams perpendicular through the wall, shored on both the interior and exterior sides.
3. Step 2 — Cut the Lintel Pocket First & Compare Lintel Systems
Once shoring is locked in, mark and cut the lintel pocket first—while the masonry below is still intact and supporting the wall. Under IRC Section R606 and TMS 402/602 detailing, precast concrete and grouted masonry lintels require a minimum 8-inch bearing pad on each masonry jamb (equal to half of a 16-inch nominal block), meaning total lintel length equals Rough Opening Width + 16 inches, rounded up to the next 8-in. module. Steel angle lintel thickness, leg size, and bearing length must be verified by a licensed structural engineer for the specific span and roof/floor tributary load.
| Retrofit Lintel System | Pocket Cutout Needed | Min Bearing (Each Jamb) | Handling & Installation Notes |
|---|---|---|---|
| Precast Concrete Lintel (7-5/8"×7-5/8") | Full 8-in. course height × full wall thickness | 8 in. min each side (+16" total) | Matches 8-in. block coursing flush; heavy (~42–50 lb/ft, so a 4'-8" beam weighs ~200+ lb) requiring 2–3 installers or a material lift. |
| Dual Hot-Dip Galvanized Steel Angles | Horizontal mortar-joint slot + vertical pocket on each face | 6–8 in. per structural engineer & IRC R606 | Easiest retrofit for tight existing walls: install exterior L-angle first, dry-pack, then set interior L-angle and bolt/tie across the wall. Verify corrosion coating (ASTM A153) for exterior exposure. |
| Grouted U-Block Bond Beam | Full 8-in. course + open access above to pour grout | 8 in. min over solid-grouted jamb cells | Best when rebuilding the top of a low wall or adding a wide garage span (> 8 ft); requires temporary soffit form, #4/#5 rebar, and ASTM C476 core grout cure before cutting below. |
Setting & Dry-Packing the Lintel Tightly
After chipping out the lintel pocket and vacuuming away concrete slurry, confirm the 8-inch jamb bearing pads sit on solid masonry (pack open hollow jamb cells directly beneath the bearing pads with stiff Type S mortar or non-shrink grout first so the concentrated beam reaction cannot crush thin face shells). Spread a 1/2-inch bed of ASTM C270 Type S mortar on both bearing pockets, slide the precast concrete or steel angle lintel into level position, drive galvanized steel shims tight between the top of the lintel and the course above, and firmly dry-pack the top joint with non-shrink structural grout. Allow at least 24 to 48 hours of curing before removing masonry beneath the lintel.
4. Modular Layout & Worked Example: 36" × 80" Standard Man Door
Standard cinder blocks measure 7-5/8 × 7-5/8 × 15-5/8 inches actual (8 × 8 × 16 inches nominal with 3/8-inch mortar joints). Aligning your vertical jamb cuts with existing head joints or half-block (8-inch) increments reduces ragged cuts through cross-webs and simplifies jamb sealing. For a 36" × 80" exterior door, add 1-1/2 inches total (3/4 in. per side for 1× pressure-treated PT jamb bucks, plus 1/2 in. shim tolerance) for a 38" × 82" masonry cutout—or 40" × 82" (2.5 blocks wide) if framing with 2×8 (1-1/2 in. thick) PT lumber bucks.
Worked Takeoff: 38" × 82" Cutout in an 8-in. Cinder Block Wall
- 1. Modular Lintel Length:
ceil((38 + 16) / 8) × 8= 56 inches (4'-8") precast concrete lintel or steel angle assembly (providing 9 in. bearing on each side, clearing the 8 in. minimum). - 2. Wet Saw Cut Perimeter:
(38 + 82 × 2) ÷ 12= 16.8 linear feet per wall face, or 33.6 LF total cutting both interior and exterior faces with a 14-in. wet diamond saw. - 3. Temporary Shoring Jacks:
max(2, ceil(38 / 48) + 1)= 2 steel screw jacks under a continuous wood header prior to saw cutting. - 4. Demo Rubble Weight (Illustrative Example):
ceil((38 × 82 ÷ 144) × 1.125)= ~25 blocks removed. At an illustrative 36 lb per 8-in. cinder block, total rubble weighs ~900 lb (actual weight varies by unit density and any grouted cells).
| Opening Type | Masonry Cutout (W × H) | Min Lintel Length (+16") | Shoring Jacks | Saw Cut LF (×2 Faces) | Illustrative Rubble (8" CMU) |
|---|---|---|---|---|---|
| 32" × 80" Utility Door (1× PT Buck) | 34" × 82" | 56" (4'-8") | 2 jacks | 16.5 LF × 2 | ~22 blocks (~792 lb) |
| 36" × 80" Standard Man Door (1× PT Buck) | 38" × 82" | 56" (4'-8") | 2 jacks | 16.8 LF × 2 | ~25 blocks (~900 lb) |
| 36" × 80" Man Door (2× PT Buck Modular) | 40" × 82" | 56" (4'-8") | 2 jacks | 17.0 LF × 2 | ~26 blocks (~936 lb) |
| 48" × 48" Basement Egress Window | 48" × 48" | 64" (5'-4") | 2 jacks | 12.0 LF × 2 | ~18 blocks (~648 lb) |
| 72" × 80" Double French / Patio Door | 74" × 82" | 96" (8'-0") | 3 jacks | 19.8 LF × 2 | ~48 blocks (~1,728 lb) |
| 96" × 84" Wide Double Workshop Door | 96" × 84" | 112" (9'-4") | 3 jacks | 22.0 LF × 2 | ~63 blocks (~2,268 lb) |
5. Step 3 — Wet Diamond-Saw Cutting, Clean Corners & OSHA Silica Control
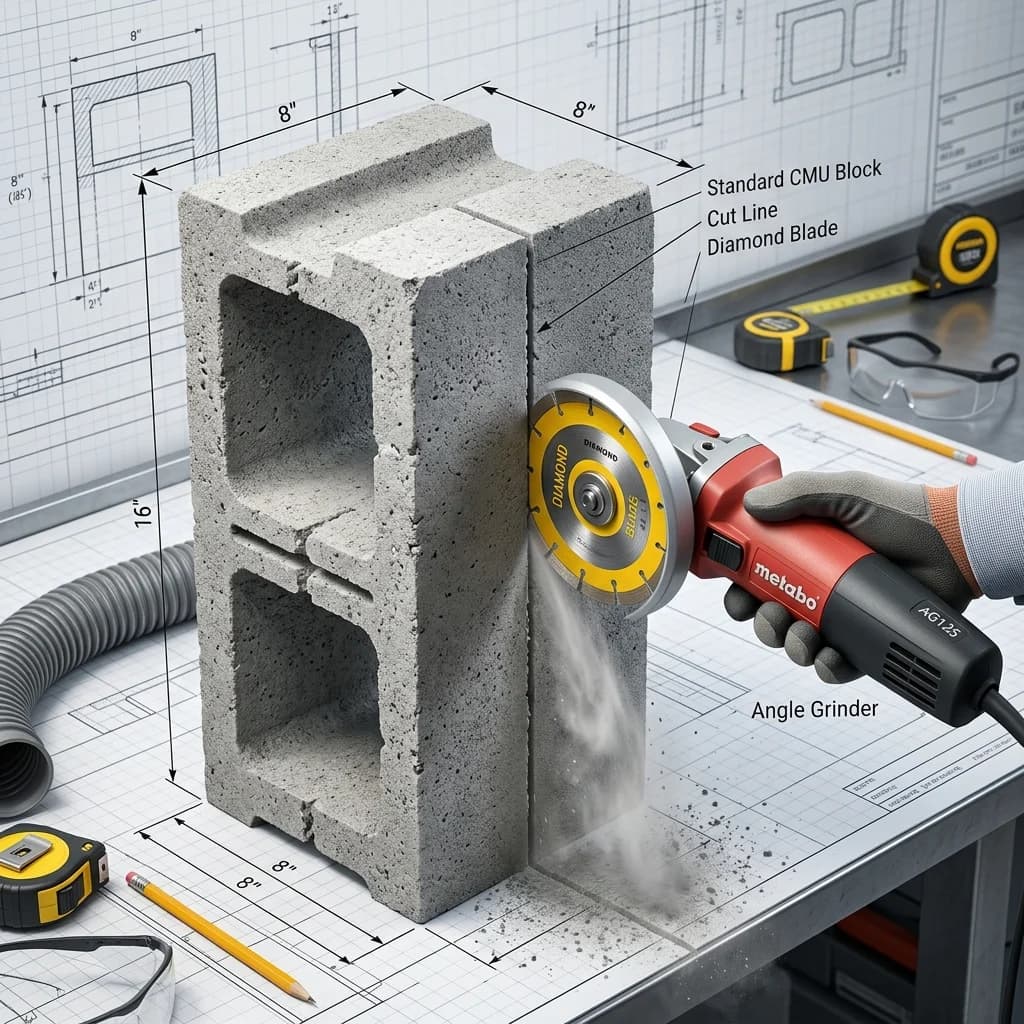
Once the lintel bed mortar has cured, cut the vertical jamb lines and window sill cut (doors extend down to the concrete slab). Matching the saw to your wall thickness prevents ragged breakout and excessive patching. For smaller repairs or trimming single blocks, see our companion guide on how to cut cinder blocks with a grinder or masonry saw.
14-in. Cut-Off Saw vs. Ring / Concrete Chainsaw
A standard 14-inch wet diamond masonry saw cuts 4.5 to 5 inches deep—just over halfway through an 8-inch cinder block. Transfer your layout lines accurately through small 3/8-inch pilot holes drilled at the top and bottom corners, then make plumb passes on both faces. For 12-inch foundation walls or tight interior corners where circular blade overcuts are unacceptable, rent a 16- to 20-inch concrete chainsaw or ring saw to plunge straight through in one pass with square 90-degree corners.
OSHA Table 1 Wet-Dust Silica & Slurry Protocol
Under OSHA 29 CFR 1926.1153 Table 1, never dry-cut concrete masonry walls indoors or outdoors without engineered dust capture. Connect a pressurized garden hose or portable water tank directly to your wet saw blade shroud to turn airborne crystalline silica into heavy slurry. Tape 6-mil poly containment plastic along interior finishes, run a wet/dry HEPA shop vacuum behind the cut to capture slurry, plug electric saws into GFCI outlets (or use gas/hydraulic saws outdoors only), and wear eye protection, ear protection, and a fit-tested N95 or P100 respirator.
6. Step 4 — Top-Down Removal, Solid Jamb Parging & PT Buck Anchoring
Never knock an entire 900-pound cut wall panel over at once—falling masonry can crack concrete slabs, snap plumbing lines, or injure crew members. Instead, score horizontal mortar joints or make horizontal relief cuts every 2 to 3 courses and knock the infill blocks out from the top course downward with a 4-lb lump hammer and cold chisel.
- Pack & Parge Exposed Hollow Jamb Cores: Slicing across a running-bond wall leaves open hollow cavities on every alternating course. Clamp temporary 1×6 boards flush across the interior and exterior block faces and pack the exposed jamb cells solid with stiff ASTM C270 Type S mortar or non-shrink grout (or parge half-inch mortar coats over wire lath if only sealing a shallow cavity). Review CMU corner and sash jamb block dimensions if rebuilding partial jamb ends with factory units.
- Install Sill Pan & Pressure-Treated PT Bucks: Line the masonry sill and jamb faces with a continuous EPDM or peel-and-stick sill flashing membrane to keep alkaline concrete moisture away from wood framing. Set kiln-dried 1× or 2× pressure-treated (PT) wood jamb bucks plumb and square using plastic/composite shims.
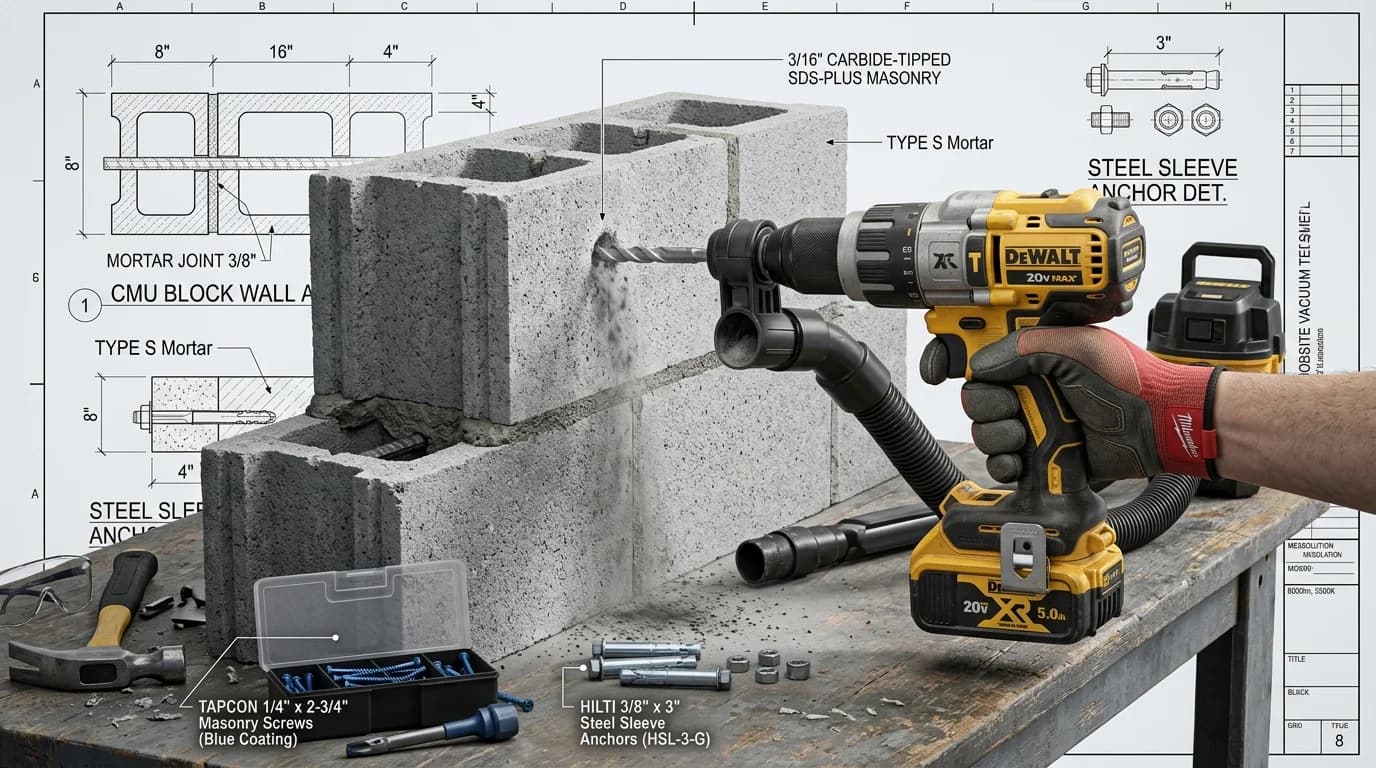
- Anchor Into Solid Jambs: Fasten the PT bucks every 16 to 24 inches on center using 1/4" × 3-1/4" masonry screws or 3/8" sleeve anchors embedded at least 1-1/2 inches into solid-packed jamb grout or thick face shells (follow our cinder block drilling and anchor guide). Seal exterior trim joints with backer rod and high-movement polyurethane caulk, plus a Z-flashing drip cap tucked under the lintel.
Structural Verification & Planning Estimate Notice
All cutout dimensions, lintel lengths, shoring jack counts, and rubble weights (~36 lb per 8-in. cinder block) in this guide and interactive estimator are illustrative planning examples. Actual lintel depth, steel angle leg thickness, bearing length, and shoring requirements depend on roof/floor tributary loads, grouted cell locations, and seismic/wind exposure. Always obtain building permits and licensed structural engineer approval before cutting load-bearing or below-grade cinder block walls under locally adopted IRC R606 provisions.
Size Your Retrofit Lintel & Masonry Material Takeoff
Need rebar, ASTM C476 core grout, or precast lintel dimensions for your opening retrofit? Run your exact spans in our dedicated masonry estimators:
Frequently Asked Questions
Do I need temporary shoring before cutting a door in a cinder block wall?
Yes. Any load-bearing cinder block wall carrying floor joists, roof trusses, or upper masonry courses must be supported with temporary steel screw jack posts and continuous wood headers (or needle beams) before making a single saw cut. Removing even one course of block breaks the wall's vertical load path and risks sudden sagging or collapse.
How wide should a lintel be when cutting an opening in a cinder block wall?
Under standard masonry practice and locally adopted IRC Section R606 / TMS 402 guidelines, precast concrete and grouted masonry lintels typically require at least 8 inches of solid bearing on each jamb, making the total lintel length equal to the rough masonry opening width plus 16 inches. For example, a 38-inch rough door cutout uses a 56-inch (4-foot-8-inch) modular lintel.
Can a 14-inch concrete saw cut all the way through an 8-inch cinder block wall?
No. A standard 14-inch handheld diamond masonry saw achieves a maximum cutting depth of 4.5 to 5 inches, which penetrates only slightly past the center web of a 7-5/8-inch-thick cinder block. You must snap matching plumb layout lines and wet-cut from both the interior and exterior faces—or use a 16- to 20-inch hydraulic concrete chainsaw or ring saw for single-side plunge cuts.
What size cutout do I need for a 36x80 door in a cinder block wall?
A standard 36 by 80 inch exterior prehung door typically requires about a 38 by 82 inch framed rough opening, or 38 to 40 inches wide by 82 inches high in masonry when accounting for 1-1/2 inches of 1x pressure-treated jamb bucks (3/4 inch per side) or 3 inches for 2x PT bucks plus sill and shim clearance. Always check the door manufacturer's rough-opening spec before chalking cut lines.
Precast concrete lintel vs. steel angle lintel: which is easier to retrofit?
Back-to-back galvanized steel angle lintels (sized by a structural engineer for the span and tributary load) are generally easier to retrofit into existing 8-inch cinder block walls because each L-angle slips into a shallow slot cut from one side at a time without clearing a full 8-inch course height. Precast concrete lintels match standard 7-5/8-inch block coursing cleanly but require cutting a full 8-inch-tall header pocket and lifting 140 to 250+ pounds into place.
Why must you seal or grout cut hollow cinder block jambs before installing a frame?
Slicing vertically through a running-bond cinder block wall exposes open hollow cores on every second course. Leaving those cavities open blocks secure anchor-bolt fastening, traps exterior water and insects, and leaks conditioned air. Packing the exposed jamb cells with stiff Type S mortar or non-shrink grout provides continuous solid backing for Tapcon or sleeve anchors and creates a weather-tight flange.
Reference Standards & Source Catalogs
International Residential Code: General Masonry Construction
Establishes residential masonry wall lintel bearing rules, lateral support, anchorage, and reinforced jamb requirements; always confirm your locally adopted code edition and municipal permit rules.
Read sourceBuilding Code Requirements & Specification for Masonry Structures
Governs reinforced masonry lintel flexural/shear design, 8-inch modular bearing pads, grouted jamb cores, and anchor bolt edge distances.
Read sourceLoadbearing Concrete Masonry Units & Type S Mortar
Covers 8×8×16 modular cinder/concrete block tolerances (7-5/8 × 7-5/8 × 15-5/8 in. actual) and 1,800-psi Type S bedding mortar for structural lintels and jamb parging.
Read sourceRespirable Crystalline Silica Standard for Construction (Table 1)
Mandates integrated continuous water delivery systems (wet cutting) and respiratory controls when operating handheld masonry power saws on concrete block walls.
Read sourcePublisher links identify where to find the applicable standard; they do not establish certification or confirm every statement on this page. Check the edition, manufacturer data, and local adoption. Material takeoffs are planning estimates, and structural dimensions and reinforcement must come from the project design.
Popular Quick Estimates
Illustrative takeoffs with stated assumptions; verify project quantities
10x10 Wall Estimate
Standard residential yard & garden wall run
20x20 Wall Estimate
Large perimeter enclosure or garage structure
Core Grout Cell Volume
Example: 0.22 ft³ cores × 1/6 fill; excludes waste
Type S Mortar Bags
Example 30 blocks per 80-lb bag; check product yield
Related Calculators
Specialized tools for foundation, core fill, and budgeting
U-block counts, pea gravel core grout and rebar for wall openings
Straight and multi-wall runs with mortar and waste allowances
TMS 402 & ACI 318 tension splice lengths, 90° hooks, and 20-ft bar stock counts
16×16 and 16×20 chimney flue blocks, 24-in clay liners, refractory & crown concrete
Blogs & Construction Guides
Practical guides to block sizing, material estimates and project planning
How to Cut Cinder Blocks: Grinder, Masonry Saw & Chisel
How to Drill into Cinder Block & Install Heavy Anchors
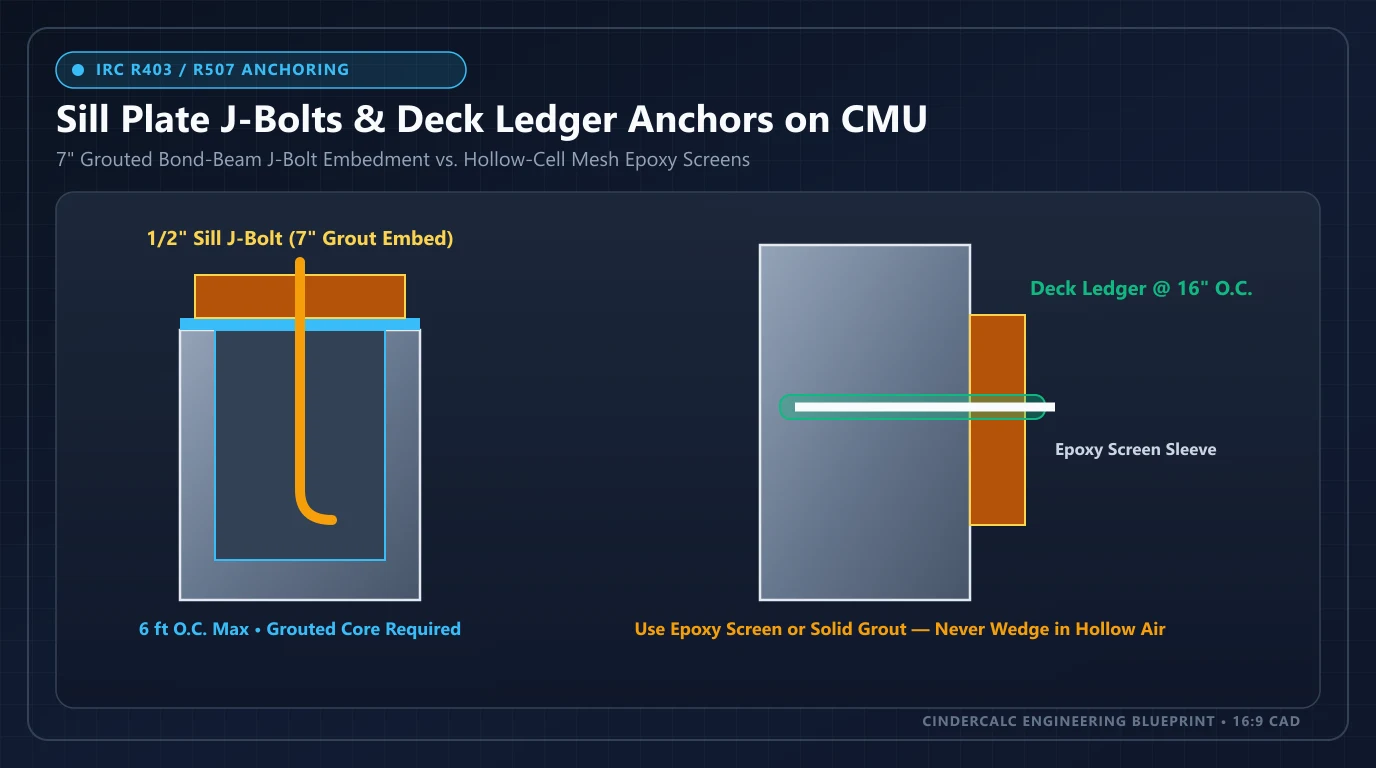
Attach Sill Plates & Ledger Boards to CMU Walls: IRC Guide