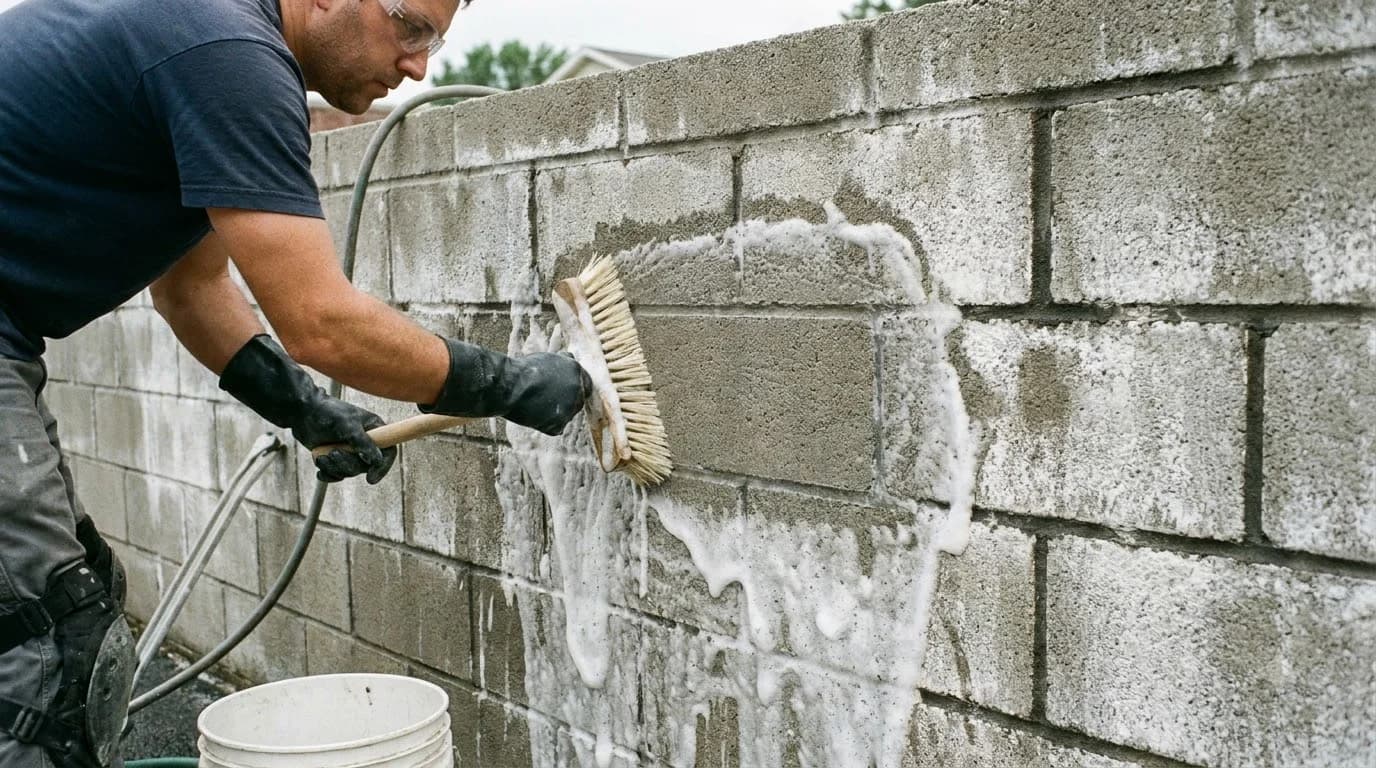
OSHA 29 CFR 1926.1153 Silica Dust & PPE Rule
Dry grinding masonry mortar releases respirable crystalline silica. Always run a shrouded 4.5-inch grinder connected to a HEPA-filtered dust extractor (≥ 99% efficiency with filter-cleaning mechanism per OSHA Table 1), wear an approved P100 or N95 respirator, ANSI Z87.1 wrap-around eye protection, and hearing protection.
Tuckpointing Mortar Bag & Diamond Grinder Blade Estimator
Calculate raked mortar volume, 60-lb or 80-lb repointing mortar bags, and 4.5-inch diamond tuckpoint blades by wall area and joint density.
1. Repointing vs. Tuckpointing: Clarifying the Trade Terms
Homeowners and contractors routinely use “tuckpointing” as a catch-all term for mortar repair, yet National Park Service (NPS) Preservation Brief 2 and the Brick Industry Association (BIA Technical Note 7F) draw a clear distinction between the two methods:
Repointing (Structural Mortar Replacement)
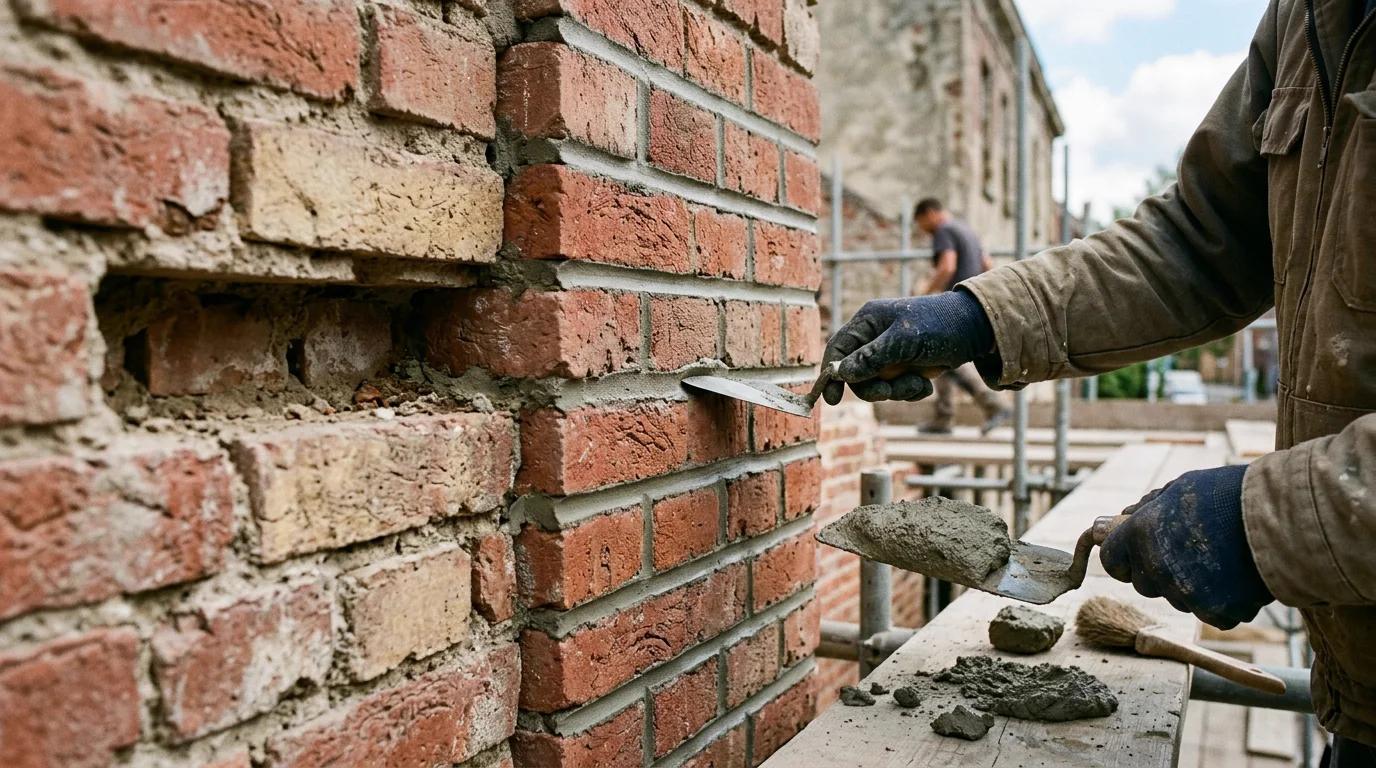
Grinding or chiseling out weathered, recessed, or cracked mortar to a solid backing at least 3/4 inch deep, then packing new color- and strength-matched mortar into the cleaned channel. This restores water-shedding integrity and even bearing across 95% of residential brick walls, chimneys, and CMU block structures.
Traditional Tuckpointing (Two-Color Fillet)
An 18th-century architectural technique used on rough, uneven hand-molded brick. The mason fills the raked joint flush with mortar tinted to match the brick color, scores a narrow groove down the center, and presses a crisp raised 1/8-inch lime-putty ribbon (“tuck”) in contrasting white or black to simulate fine rubbed-brick joints.
For nearly all modern clay brick facades, chimneys, and hollow or grouted concrete masonry unit (CMU) foundation walls, the practical repair workflow is structural repointing—even when suppliers label the narrow slickers and diamond blades as “tuckpointing” tools.
2. Step-by-Step Tuckpointing & Repointing Workflow (7 Field Steps)
Rushing joint prep or mixing overly wet mortar causes more callbacks than any other mistake. Follow these seven sequenced field steps to lock new mortar mechanically into brick or CMU walls without damaging unit edges.
Step 1: Test Existing Mortar Hardness & Match Type N, O, K, or Lime
Scrape an unweathered section of original mortar with a tempered steel awl or pocketknife. Soft, chalky white mortar with visible shell or coarse sand flecks on pre-1920 buildings indicates high-lime mortar; medium-gray mortar that resists a thumbnail but yields to a steel chisel typically aligns with Type O or Type N. Follow the cardinal rule of masonry conservation: never install ASTM C270 Type M mortar (2,500+ psi) on pre-1950 or soft clay brick. Match the sand color and sieve profile on a small test patch that dries completely before mixing full batches. Compare binder ratios in our ASTM C270 mortar types M, S, N, and O guide and Portland-lime mortar calculator.
Step 2: Score Head & Bed Joints to 2×–2.5× Width (3/4″ Minimum)
Set the depth stop on a 4.5-inch angle grinder equipped with a dual-blade (“sandwich”) 1/4-inch diamond tuckpointing blade and HEPA vacuum shroud to at least 3/4 inch (19 mm)—or 2× to 2.5× the joint width if joints measure 1/2 inch wide. Run horizontal bed joints smoothly along the centerline without nicking upper or lower brick arrises. Because spinning circular blades overcut at corners, never run the grinder vertically into short head joints unless you have generous clearance; instead, chisel out vertical head joints by hand with a narrow plugging chisel or pneumatic oscillating mortar rake to preserve sharp brick corners. Leave a clean, square-backed channel completely free of loose mortar ribbons along the brick top and bottom beds.
Step 3: Flush Dust & Pre-Wet to Saturated Surface Dry (SSD)
Fine mortar powder acts like talcum powder, breaking bond between fresh mortar and brick pores. Brush and vacuum every raked slot thoroughly, then flush from top to bottom with clean low-pressure water. Allow surface sheen to flash off until the substrate reaches Saturated Surface Dry (SSD)—cool and damp inside the pores with zero standing water or dripping film. Dry, thirsty brick sucks hydration water out of fresh mortar within seconds, while flooded joints cause the fresh lift to slump and bleed laitance onto the brick face.
Step 4: Mix Pre-Hydrated Dry-Pack Repointing Mortar
Repointing mortar uses far less water than block-laying mortar. Blend dry sand and binder thoroughly before adding clean water slowly until a squeezed handful forms a cohesive ball that holds a deep thumbprint without wetting your palm or slumping. When batching traditional Portland-lime mixes without rapid-set admixtures, let the damp mix rest in the tub for 45 minutes (pre-hydration) covered with damp cloth so initial volume shrinkage occurs in the mixing pan rather than inside the wall. Temper with just enough extra water to hold cleanly on a mason's hawk, and discard any batch past its workable life (typically 90 to 120 minutes depending on ambient heat).
Step 5: Pack Back-to-Front in 1/4″–3/8″ Lifts
Hold a loaded mason's hawk flush beneath the joint and slice strips off the edge using a 3/8-inch (or 5/16-inch) tuckpointing slicker matched slightly narrower than the joint width. Always fill and compact vertical head joints first, followed by horizontal bed joints, working from the top of the wall section downward. Press mortar firmly against the very back of the 3/4-inch cavity in two or three 1/4–3/8 inch lifts, allowing each deeper lift to stiffen slightly (finger-firm, not crusted dry) before packing the outer finish lift flush with the masonry face. Packing deep joints in a single thick pass leaves hollow air pockets behind the surface skin.
Step 6: Strike Concave or Weatherproof Joint at Thumbprint-Hard Stage
Resist tooling immediately while mortar is glossy wet, which drags binder paste onto brick edges and weakens the surface crust. Wait 20 to 60 minutes until the mortar reaches the thumbprint-hard stage (firm enough to accept an imprint without sticking to a gloved finger). Draw a curved steel jointer—or a profile iron matching the surrounding historic wall—firmly across head joints first, then smoothly along continuous bed joints to compress aggregate tightly against both unit faces. Wait for crumbs to dry slightly, then sweep clean with a soft tampico masonry brush.
Step 7: Mist-Cure Under Breathable Burlap for 72 Hours
Hydration slows or halts if wind and direct sun bake moisture out of a 3/4-inch patch during the first three days. Hang breathable damp burlap (never sealed plastic taped directly against dark brick that causes efflorescence mottling) over exposed elevations and lightly mist the joints several times daily for 72 hours. Schedule exterior repointing when ambient temperatures stay above 40°F (4°C) for at least 48 hours after placement unless heated enclosures per cold-weather masonry standards are maintained.
3. Repointing Mortar Selection by Building Age & Brick/CMU Era
Selecting mortar solely by the highest bag PSI rating is the leading cause of spalled historic brickwork. Use this compatibility reference alongside ASTM C270 and NPS Preservation Brief 2 when specifying your repointing mix:
| Building Era & Unit | Recommended Mortar | Typical 28-Day Compressive Range | Volumetric Ratio (Binder : Lime : Sand) | Key Field Rule |
|---|---|---|---|---|
| Pre-1920 Soft Clay Brick & Rubble Stone | NHL 3.5 Hydraulic Lime or Type K / Soft Type O | ~75 – 350 psi | 1 : 2 : 9 (Type O) or 1 : 2.5 Lime : Sand | High vapor permeability; zero rigid Portland Type M or Type S. |
| 1920–1960 Transitional Clay Brick | ASTM C270 Type O (Interior/Sheltered) or Soft Type N | 350 – 750 psi | 1 : 2 : 9 (O) or 1 : 1 : 6 (N) | Match existing sand color and texture; test hardness before full grinding. |
| Post-1960 Kiln-Fired Brick & Chimneys | ASTM C270 Type N (Portland-Lime) | ~750 psi min | 1 : 1 : 6 | Balanced weather durability and flexibility for exposed exterior walls. |
| Structural & Below-Grade CMU Block Walls | ASTM C270 Type S (or Type N above grade) | ~1,800 psi min (Type S) | 1 : 1/2 : 4.5 (Type S) | Use Type S where CMU walls resist lateral earth pressure or exterior splashback. |
* Values reflect ASTM C270 laboratory property baselines for planning reference; field repointing mortar with lower water-to-binder ratios and natural lime prioritizes elasticity and moisture breathability over raw compressive PSI.
4. Mortar Volume Formula & Worked Material Example (200 Sq Ft Wall)
Ordering too few bags causes mid-wall color shifts between batches, while over-ordering strands opened sacks that absorb humidity. Calculate raked joint volume directly from linear joint length, joint width, grind depth, and a 15% hawk-and-drop waste multiplier:
Worked Example: 200 Sq Ft Standard Modular Brick Wall (3/8″ × 3/4″ Deep)
- Step A — Total Linear Feet of Joint: Standard modular brick running bond has roughly 22 LF of 3/8-inch head and bed joints per square foot (versus 2.25 LF/sq ft on 8×16 CMU block). 200 sq ft × 22 LF/sq ft = 4,400 LF.
- Step B — Raked Cavity Volume (+15% Waste): 4,400 × (0.375 / 12) × (0.75 / 12) × 1.15 = 9.88 cu ft (~9.9 cu ft).
- Step C — Mortar Bags Required (Illustrative Bag Yields): Assuming standard dry pre-blended yields of 0.60 cu ft per 80-lb bag or 0.45 cu ft per 60-lb bag: 17 × 80-lb bags (9.88 ÷ 0.60 = 16.5 → round up) or 22 × 60-lb bags (9.88 ÷ 0.45 = 21.96 → round up).
- Step D — Diamond Tuckpoint Blades: At an illustrative service life of ~1,200 LF per 4.5-inch segmented sandwich diamond blade in clay-brick mortar (~900 LF in harder CMU mortar), budget 4 diamond tuckpoint blades for 4,400 LF.
Need to adjust wall dimensions, deeper 1-inch cavity rakes, or 8×16 CMU joint densities? Run your exact elevation numbers through our standalone tuckpointing mortar calculator.
5. Joint Profile & Tooling Guide: Weather Resistance vs. Frost Spalling
The final shape you strike with your jointer determines whether rainwater sheds away from the wall or pools inside horizontal ledges and freezes. Unless matching a protected historic profile, specify a compacted concave or weathered joint:
| Joint Profile | Tooling Method | Weather Resistance | Frost & Moisture Performance |
|---|---|---|---|
| Concave Joint | Curved 3/8″–1/2″ steel sled or barrel jointer | Best (Recommended Default) | Compresses mortar tightly against upper and lower brick edges; sheds runoff cleanly. |
| V-Joint | Angled V-shaped jointer | Very Good | Strong edge compaction and crisp shadow lines; channels water outward effectively. |
| Grapevine Joint | Beaded steel grapevine jointer | Good (Historic Match) | Compacts joint face well while replicating Colonial/Federal raised bead detail. |
| Weathered Joint | Flat pointing trowel angled inward at top | Good | Slopes outward toward lower brick edge to shed rain; requires steady trowel angle. |
| Raked / Struck-In Joint | Square joint raker (recessed shelf) | Poor (Freeze-Thaw Warning) | Leaves an exposed horizontal brick ledge that traps rain and snowmelt, accelerating frost spalling. Avoid on exterior walls in freezing climates. |
6. Illustrative Material & Contractor Budget Benchmarks
Material costs for repointing are small compared to the labor hours spent grinding, dust control, scaffolding, and lift-packing. The figures below are illustrative planning examples only—verify actual bag prices, blade wear rates, and scaffold access quotes with your local masonry yard and contractors:
Illustrative example covering ~17×80-lb mortar bags ($8–$14/bag), 4 diamond tuckpoint blades ($20–$40 each), slicker, jointer, and HEPA bags (assumes owned grinder & vacuum).
Illustrative labor + material benchmark depending on story height, scaffolding, custom historic lime-sand matching, and chimney vs. ground-level access.
Avoid Acrylic Caulk “Mortar Patch” Tubes on Wide Walls
Latex caulk tubes marketed as mortar repair shrink into a rubbery film that blocks water vapor from escaping behind the brick face. Reserve flexible elastomeric sealants strictly for vertical CMU control joints and window perimeter gaps—never bed and head mortar joints.
Frequently Asked Questions
What is the difference between repointing and tuckpointing?
Repointing is the structural process of grinding out deteriorated mortar to at least 2x joint width (3/4 inch minimum) and packing fresh, compatible mortar back into the joint. Traditional tuckpointing is a decorative two-color technique that fills the joint with brick-matched mortar and applies a thin raised white or contrasting lime-putty fillet down the center. In North American trade usage, both terms commonly describe structural mortar joint restoration.
How deep should you grind out mortar joints before repointing?
Grind or rake deteriorated mortar to a uniform square-backed depth of 2 to 2.5 times the joint width, with a 3/4-inch (19 mm) minimum depth on standard 3/8-inch brick and CMU joints. Shallow feather-edging under 1/2 inch prevents mechanical interlock and allows freeze-thaw cycling to pop the new patch loose within one to two winters.
Why should you never use Type M mortar to repoint old brick?
ASTM C270 Type M mortar cures to roughly 2,500 psi or higher and has very low vapor permeability. Historic and pre-1960 clay bricks often have lower compressive strength and higher thermal expansion than Type M mortar. Because repointing mortar must always remain softer and more sacrificial than the masonry unit, rigid Type M traps moisture and forces thermal stress into the brick face, causing irreversible spalling.
What does pre-hydrating repointing mortar mean and why do masons do it?
Pre-hydrating (also called dry-pack conditioning) involves mixing dry mortar ingredients with just enough water to form a damp ball that holds a thumbprint without slumping, then letting it rest 45 to 60 minutes (while still within manufacturer pot-life limits) before adding a minimal final splash to reach stiff packing consistency. Pre-hydration completes initial shrinkage in the bucket rather than inside the joint, minimizing hairline separation cracks.
How many bags of mortar do I need to tuckpoint 200 sq ft of brick?
A 200 sq ft standard modular brick wall contains roughly 4,400 linear feet of 3/8-inch head and bed joints (22 LF per sq ft). Raked to a 3/4-inch depth with a 15% hawk-and-drop waste factor, the joint volume equals approximately 9.9 cubic feet—requiring about 17 bags of 80-lb mortar (0.60 cu ft yield each) or 22 bags of 60-lb mortar (0.45 cu ft yield each) as a planning estimate.
How long should fresh tuckpointing mortar be moist-cured?
Keep freshly repointed joints lightly damp for 72 hours after tooling by misting intermittently and draping breathable wet burlap over sun-exposed or windy elevations. Rapid evaporation starves Portland-lime binders of hydration water, creating chalky, weak joints, while direct freezing temperatures below 40°F before initial set can rupture early crystal bonds.
Reference Standards & Source Catalogs
Standard Specification for Mortar for Unit Masonry
Defines Type M, S, N, and O property and proportion specifications for masonry mortars.
Read sourceRepointing Mortar Joints in Historic Masonry Buildings
National Park Service guidance on sacrificial softer mortar matching, 2x–2.5x rake depth, pre-hydration, and lift compaction.
Read sourceMoisture Resistance of Brick Masonry — Maintenance & Repointing
Brick Industry Association tooling, SSD pre-wetting, and concave joint water-shedding best practices.
Read sourceRespirable Crystalline Silica Standard for Construction
Table 1 engineering controls requiring shrouded masonry grinders, HEPA dust extraction, and respiratory PPE.
Read sourcePublisher links identify where to find the applicable standard; they do not establish certification or confirm every statement on this page. Check the edition, manufacturer data, and local adoption. Material takeoffs are planning estimates, and structural dimensions and reinforcement must come from the project design.
Popular Quick Estimates
Illustrative takeoffs with stated assumptions; verify project quantities
Type S Mortar Bags
Example 30 blocks per 80-lb bag; check product yield
100 Sq Ft Sizing
Standard 8x8x16 nominal coverage benchmark
10x10 Wall Estimate
Standard residential yard & garden wall run
Block Filler Gallons
Illustrative coverage; use the selected coating label
Related Calculators
Specialized tools for foundation, core fill, and budgeting
Repointing mortar bags, raked joint linear feet, diamond grinding blades, and labor
ASTM C270 Type M, S, N site-mix Portland cement, hydrated lime, and sand batches
Brick, block, and stone joint mortar bags and masonry sand
NCMA TEK 10-02D spacing, sash blocks, rubber shear keys and caulk tubes
Blogs & Construction Guides
Practical guides to block sizing, material estimates and project planning
Mortar Types M, S, N, and O Guide: Strength & Mix Ratios
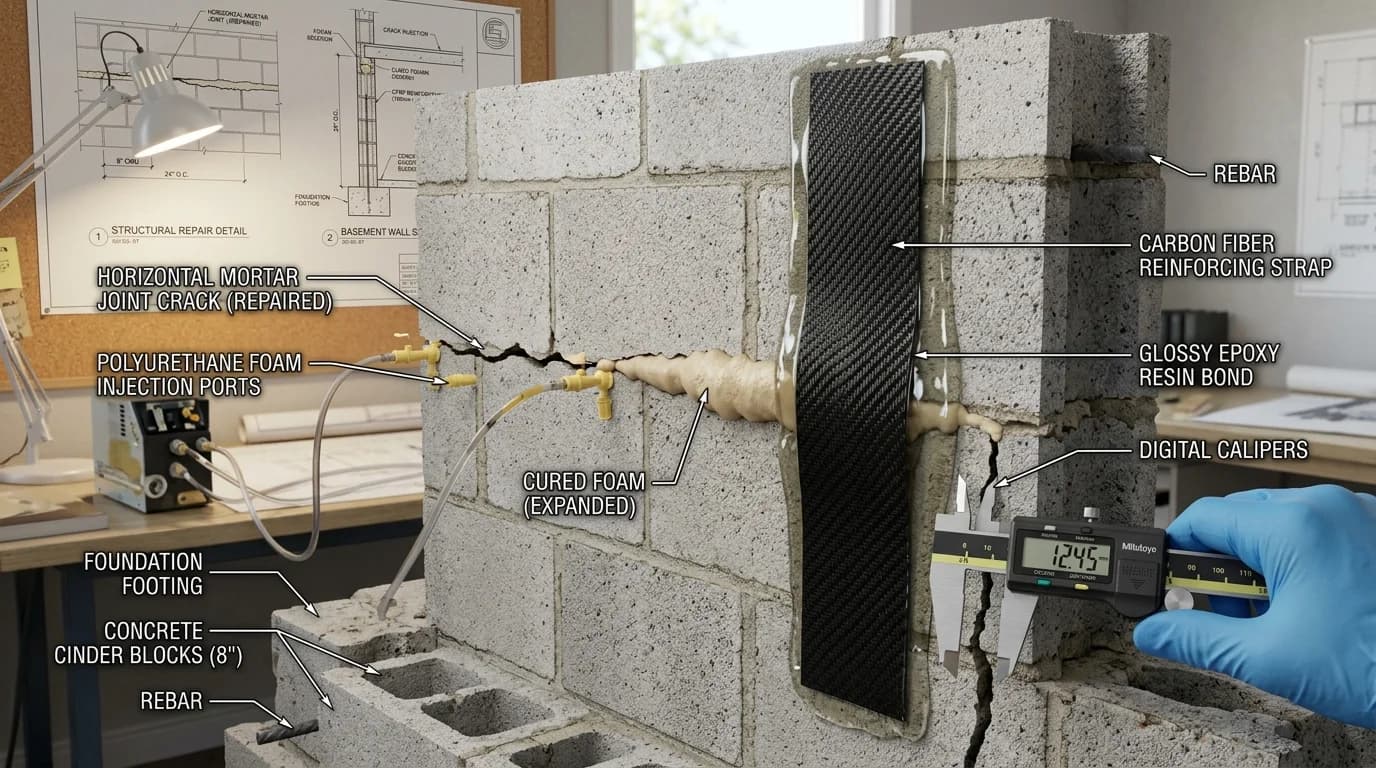
How to Repair Cracks in Cinder Block Foundation Walls
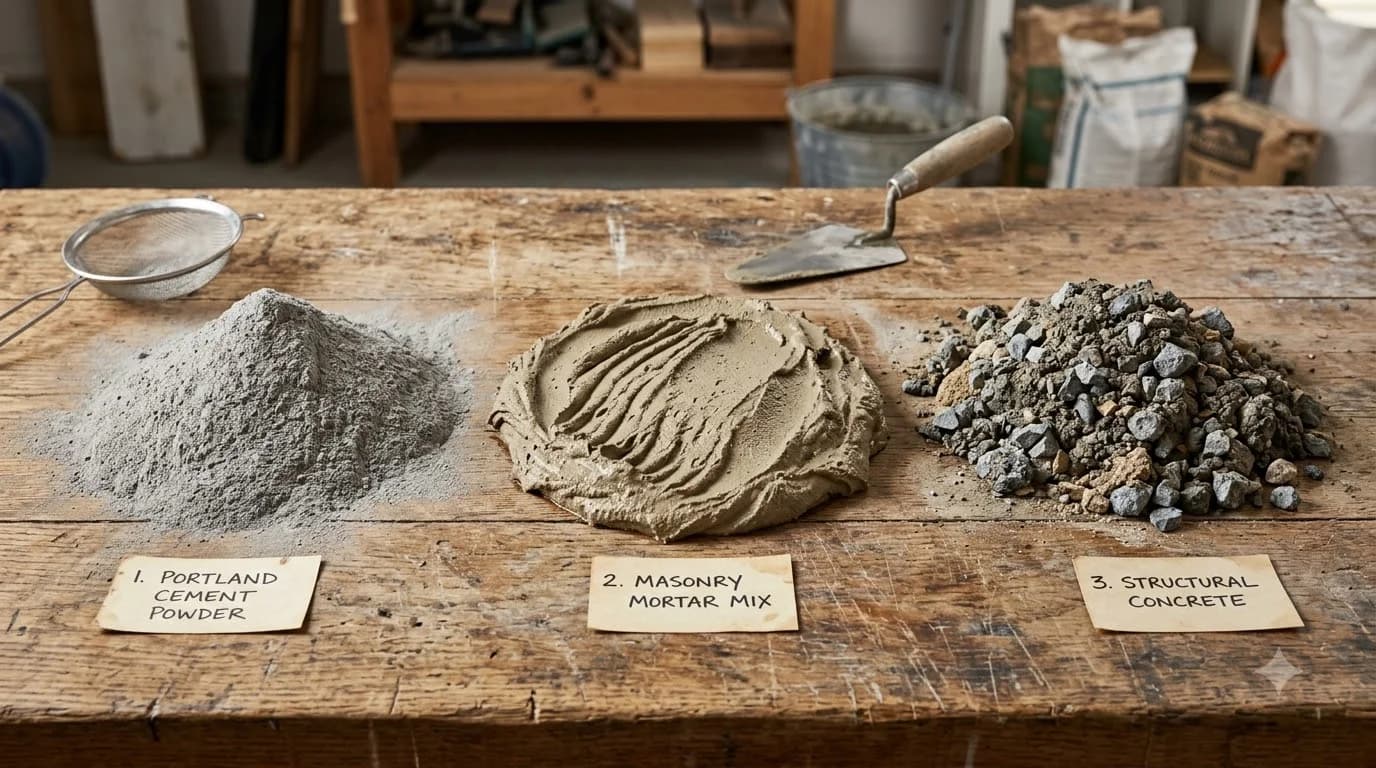
Concrete vs Cement vs Mortar: Key Differences & Mixes