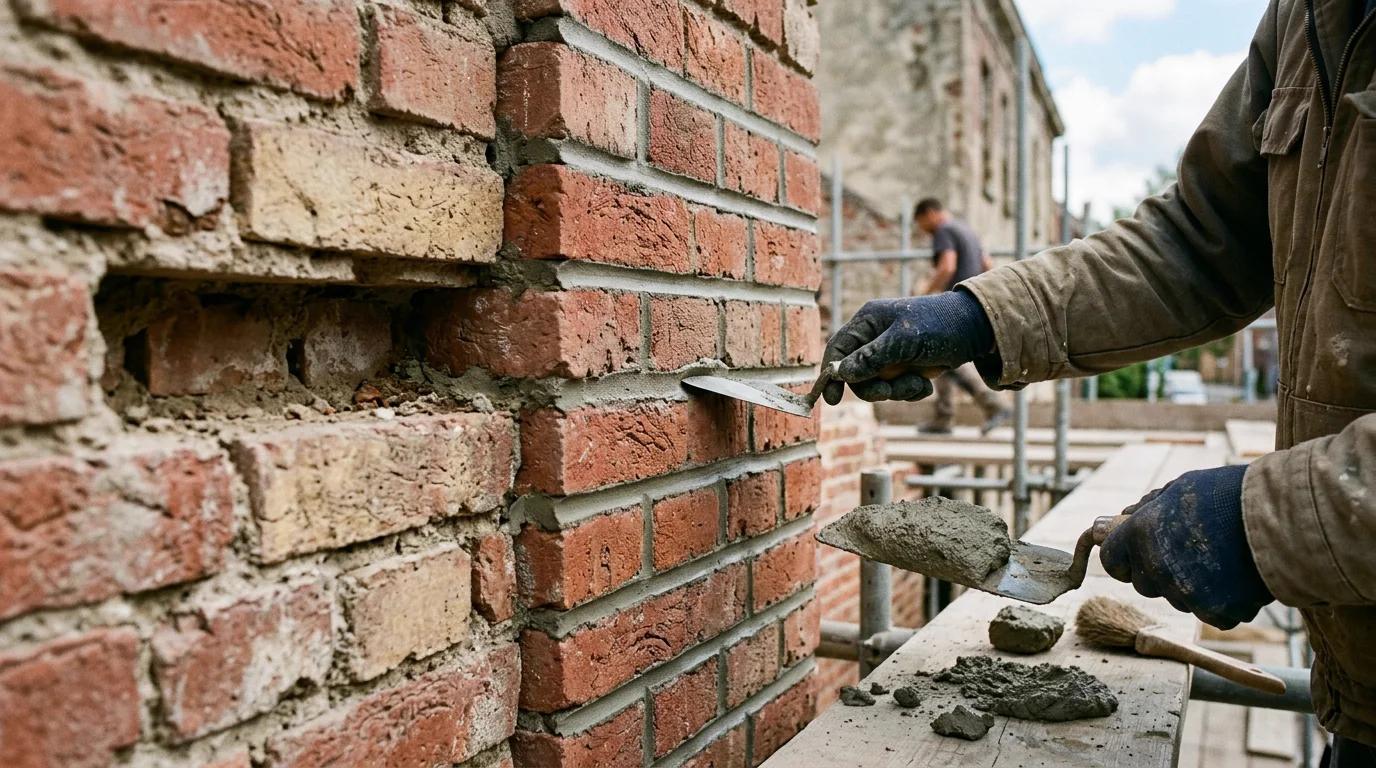
Wall Cap & Coping Calculator
Estimate 16-inch, 24-inch, and 36-inch precast concrete or stone wall caps, outside mitered corner allowances, 29-oz polyurethane adhesive tubes or Type S mortar bags, and 10-ft drip flashing sections.
CMU, Retaining & Parapet Wall Coping Material Schedule
https://cinderblockscalculator.com/wall-cap-coping-calculator
Date: 11/13/2026
Reference: ASTM C90 / ASTM C270 / TMS 402
| Material Item | Specification / Formula Basis | Quantity |
|---|---|---|
| Net Straight-Run Cap Units | 50 ft ÷ 2.00 ft/unit | 25 units |
| Total Coping Units to Order | Includes 2 mitered corner(s) (+0.5/ea) & 8% waste | 29 units |
| 29-oz Masonry Adhesive Tubes | Polyurethane landscape adhesive (~14 lf / 29-oz tube) | 4 tubes |
| Through-Wall Drip Flashing | 53 linear ft (50 ft + 5% lap margin) | 6 × 10-ft sections |
| Estimated Total Coping Weight | ~22 lb/lf illustrative precast weight | 1,276 lb |
Worked Wall Cap Takeoff: 50-ft × 12-in Wall with 24" Precast Coping
Accurate wall coping takeoffs account for modular unit length, angled miter waste at outside wall turns, bonding consumables, and flashing splice laps. Below is the complete calculation for a 50-foot long, 12-inch wide retaining or seat wall capped with 24-inch precast concrete units, 2 outside corners, and an 8% waste margin:
Step-by-Step Formula Verification (Matches Calculator Engine)
1. Unit Length in Feet = 24" ÷ 12 = 2.00 ft/unit | Net Straight Run = ceil(50 ÷ 2.00) = 25 cap units
2. Mitered Corner & Waste Order = ceil((50 ÷ 2.00 + 2 × 0.5) × 1.08) = ceil(26 × 1.08) = ceil(28.08) = 29 coping units
3. Adhesive Option = ceil(50 ÷ 14) = 4 × 29-oz polyurethane tubes | Mortar Option = ceil(50 ÷ 28) = 2 × 80-lb Type S bags
4. Through-Wall Flashing = ceil(50 × 1.05) = 53 linear ft → ceil(53 ÷ 10) = 6 × 10-ft flashing sections
5. Illustrative Coping Weight = round(29 × 2.00 ft × 22 lb/lf) = 1,276 lb total precast load
Notice that even though 50 feet divides evenly into 25 two-foot units on paper, ordering exactly 25 pieces leaves zero margin for the two 45-degree corner miters or a chipped edge on delivery. Always stock at least one to two spare units from the same production batch so color tone and aggregate texture match seamlessly.
Table 1: Precast Concrete Coping Width, Overhang & Drip-Edge Sizing
Coping must project past both faces of the masonry wall—even after accounting for exterior stucco, thin stone veneer, or parge coatings—so rainwater falls free of the vertical surface rather than staining or saturating upper courses.
| Nominal Wall Width | Actual Masonry Width | Recommended Cap Width | Overhang / Side | Illustrative Weight | Typical Applications |
|---|---|---|---|---|---|
| 8" Nominal CMU / Seat Wall | 7-5/8" – 8-1/4" | 11" – 12" Wide | 1.5" – 2.0" | ~14 lb / lf | Garden borders, low courtyard walls, single-wythe CMU |
| 12" Retaining / Parapet Wall | 11-5/8" – 12-1/2" | 15" – 16" Wide | 1.5" – 2.0" | ~22 lb / lf | Segmental retaining walls, 12-in CMU parapets, seat walls |
| 16" Wide Pilaster / Double-Wythe | 15-5/8" – 16-1/2" | 19" – 20" Wide | 1.5" – 2.0" | ~32 lb / lf | Insulated cavity walls, architectural piers, heavy parapets |
Table 2: Polyurethane Adhesive vs. Type S Mortar Selection Guide
Choosing between high-strength construction adhesive and ASTM C270 Type S bedding mortar depends on whether your wall is dry-stacked segmental concrete or mortared CMU masonry.
| Selection Criterion | Polyurethane Adhesive (29-oz) | Type S Bedding Mortar (80-lb) |
|---|---|---|
| Primary Wall Systems | Dry-stacked retaining walls, patio seat walls, low landscape curbs | Grouted CMU parapets, architectural stone walls, mortared site walls |
| Coverage & Yield Basis | ~14 linear ft per 29-oz cartridge (two 3/8" continuous beads) | ~28 linear ft per 80-lb ASTM C270 Type S bag (1/2"–3/4" bed) |
| Leveling Capability | Requires a flat, clean top course within ±1/8" tolerance | Compensates for ±1/4"–1/2" top-course elevation irregularities |
| Thermal & Freeze-Thaw Behavior | Remains slightly elastomeric; resists hairline bond separation | Rigid bed; requires flashing and elastomeric head-joint sealant |
| Curing & Application Window | Fast grab in 15–30 min; substrates must be dry and frost-free | Workable 60–90 min; protect fresh beds from rain and sub-40°F cold |
Drip-Edge Kerfs, Through-Wall Flashing & Head-Joint Detailing
A wall crown is the single most weather-exposed surface on any masonry structure. Properly detailed coping prevents freeze-thaw spalling, white efflorescence streaks, and water entry into hollow CMU cores:
Underside Drip Kerf & Sloped Wash
Verify that precast caps include a continuous 3/8-inch underside drip groove cut roughly 3/4 inch inward from both long outer edges—or cut one with a dry diamond blade before setting. On flat parapet tops, pitch the coping 1/4 inch per foot toward the roof or drainage side so water sheds rapidly instead of pooling.
Elastomeric Head Joints & Control Joints
Because thermal cycling moves coping units independently of shaded lower courses, align coping head joints with vertical wall control joints and seal every butt joint with closed-cell backer rod and flexible urethane sealant. On mortared walls, bed through-wall flashing continuously over the top block with 4-inch to 6-inch shingled overlaps.
Related Wall & Masonry Takeoff Calculators
Material estimates depend on the selected dimensions, product yields, and waste allowance.
Wall Cap & Precast Coping FAQs
Answers on coping overhang widths, outside mitered corners, polyurethane adhesive vs. Type S mortar yields, and through-wall drip flashing.
Popular Quick Estimates
Illustrative takeoffs with stated assumptions; verify project quantities
10x10 Wall Estimate
Standard residential yard & garden wall run
Retaining Wall Budget
Illustrative budget range; replace with local quotes
Type S Mortar Bags
Example 30 blocks per 80-lb bag; check product yield
Raised Garden Bed
Enter bed dimensions, block size and soil depth
Related Calculators
Specialized tools for foundation, core fill, and budgeting
Segmental retaining wall blocks, capstones, leveling pad gravel, and drainage rock
Flat stone sq ft, outside corner linear feet, polymer veneer mortar, lath, and WRB rolls
Heavyweight structural blocks and bond beam units
Brick, block, and stone joint mortar bags and masonry sand
Blogs & Construction Guides
Practical guides to block sizing, material estimates and project planning
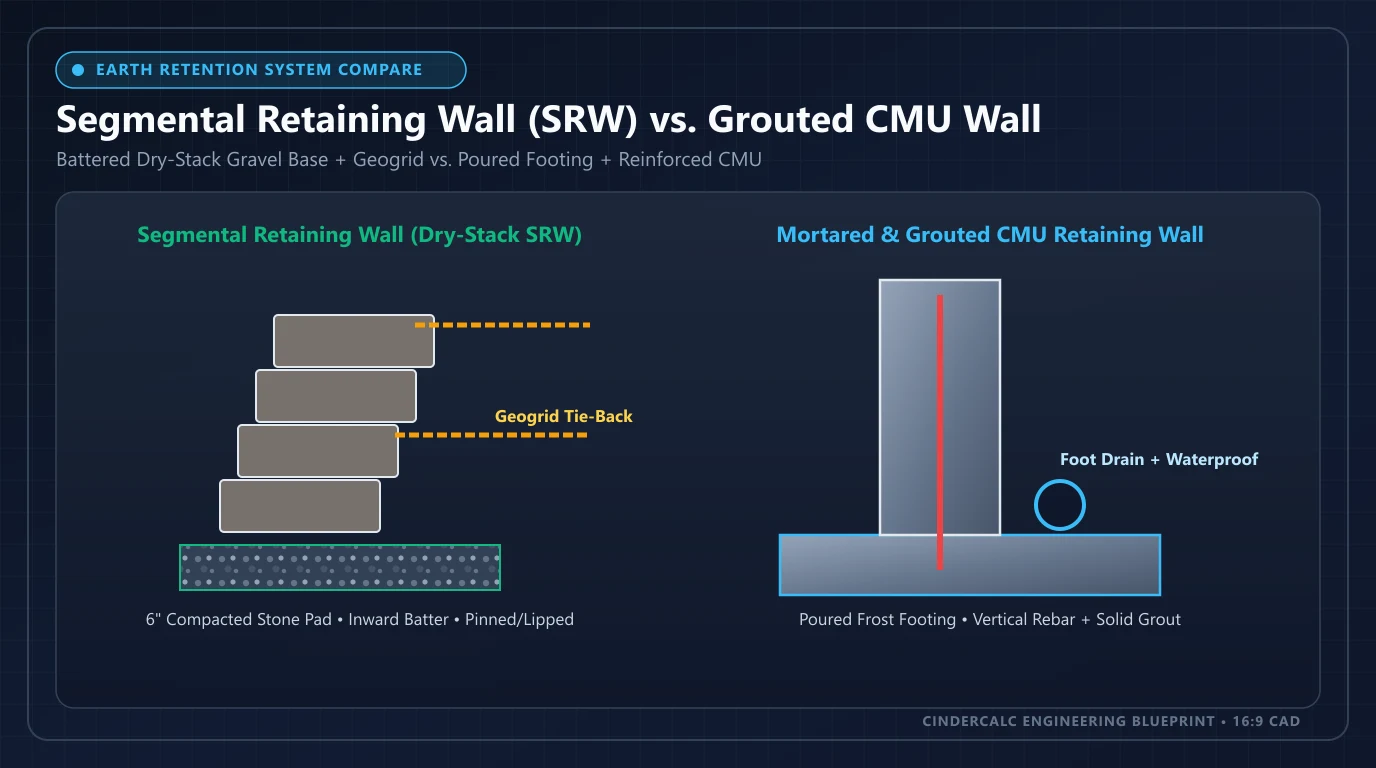
Segmental Retaining Wall vs CMU Block: Cost & Code Guide
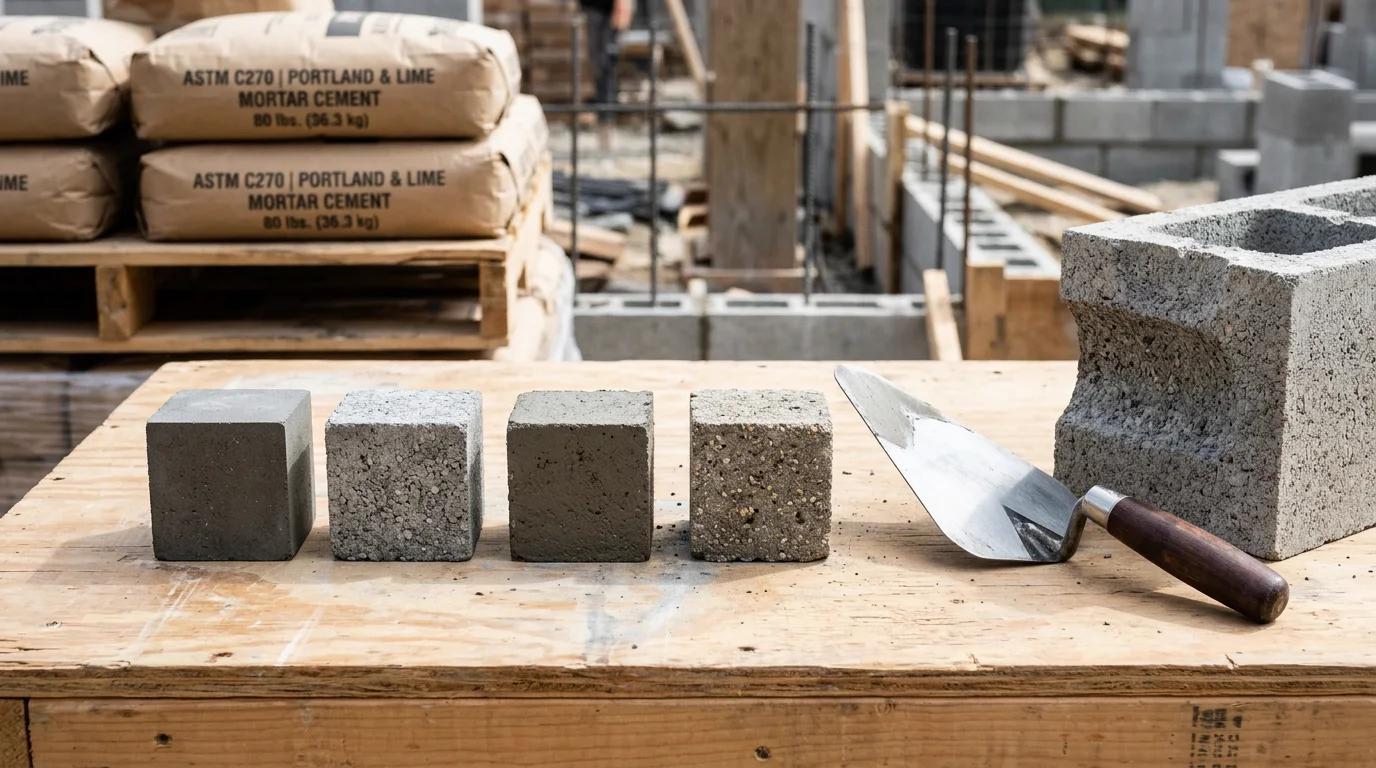
Mortar Types M, S, N, and O Guide: Strength & Mix Ratios
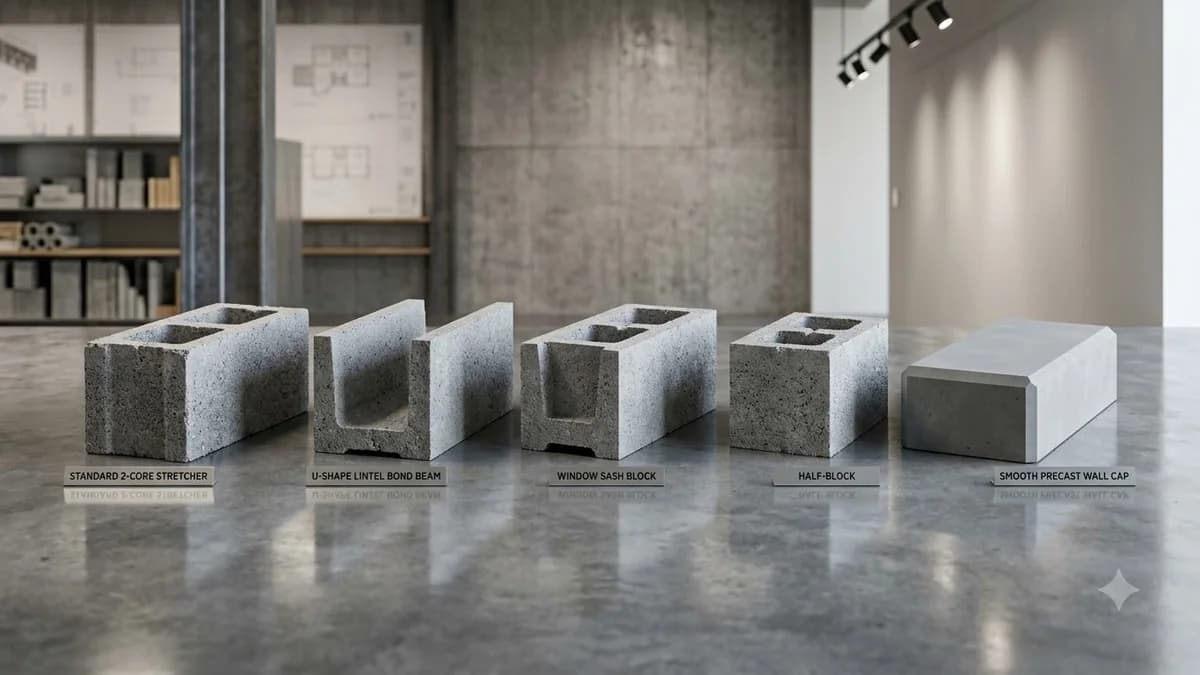
Types of Concrete Blocks: Shapes & Uses